The time has come… It’s time to Hook up with House of Hepworths!!! Show me the money, peeps! Next Thursday…
Read More
Archives for April 2010
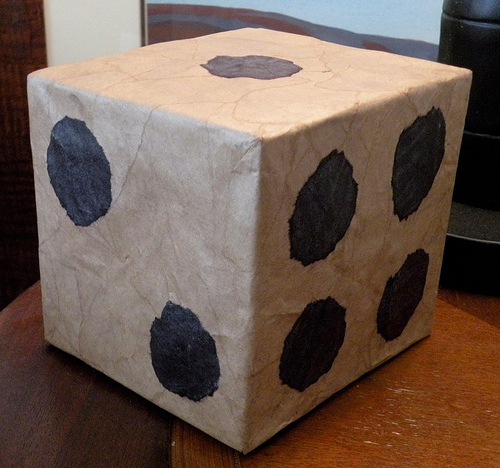
Rollin’ the DICE || HUGE dice paper mache tutorial
Who doesn’t love extra super duper large DICE decor? Today I’m going to show you how to make your own…
Read More
Thursday link party reminder!
Don’t forget my first link party TOMORROW! I’ll post the link party tonight before I go to bed (around 10ish…
Read More
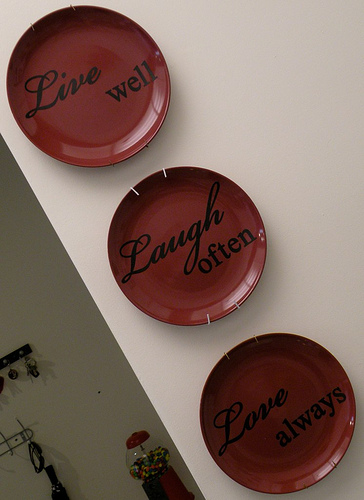
Inspirational Decorative Plate Trio
Today I’m going to show you how to make a trio of Inspirational Decorative Plates for only $4. Can’t beat…
Read More
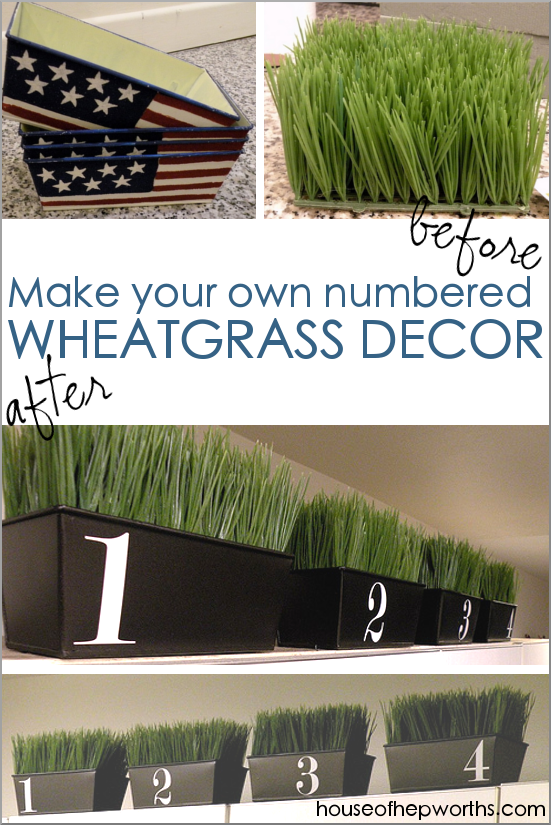
Farmhouse containers! Wheatgrass & vinyl numbers
Anyone remember these hideous things from last month? (I’ve got nothing against America, just these awful containers.) They had this…
Read More
Mirror, Mirror, On The Wall
This mirror certainly isn’t the fairest one of all! But it’s mini and we all know that anything mini is…
Read More
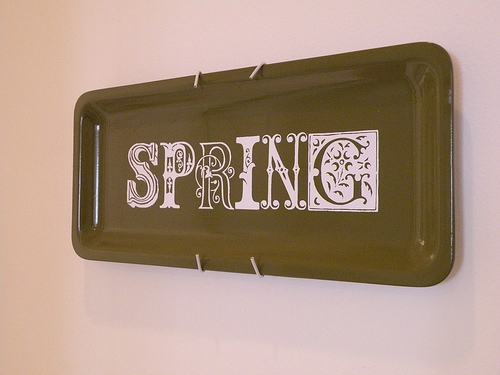
Springing the Tiki Platter || dollar store art
As promised, I’m back to deliver a second Spring decor craft! First, I needed a cheap rectangle platter. Isn’t this…
Read More
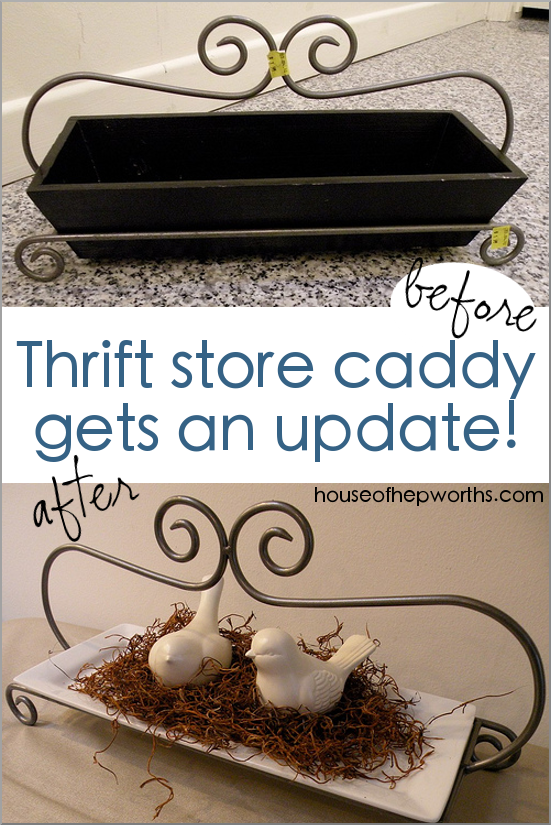
Thrift store caddy gets an update. Beautiful focal piece!
Happy Spring! I’ve been thrifting again (are you surprised?!). I am trying to decorate my house on a budget and…
Read More