I am excited to have Krista from The Happy Housie here today sharing how to make some easy pillow covers! I am seriously going ga-ga for her bedding shown at the end of this post. So pretty! Take it away Krista!
*****
Hello readers of House of Hepworths! I’m Krista from The Happy Housie and I am so excited to be here today sharing an easy sewing project for making extra large one piece envelope pillow covers!

Thank you so much to Allison for having me here today! As I said, I spend most of my bloggy time over at The Happy Housie . I called my blog this because I think of myself as a “housie”; someone whose hobby is all kinds of house related stuff like decorating, crafting, organizing, and DIY projects. And it is one of those projects that I am here to share with you today!
These extra large pillow covers look fabulous on a bed – I always like to have two on our king sized and I change them out every now and then for a fresh look. To get started you will need:
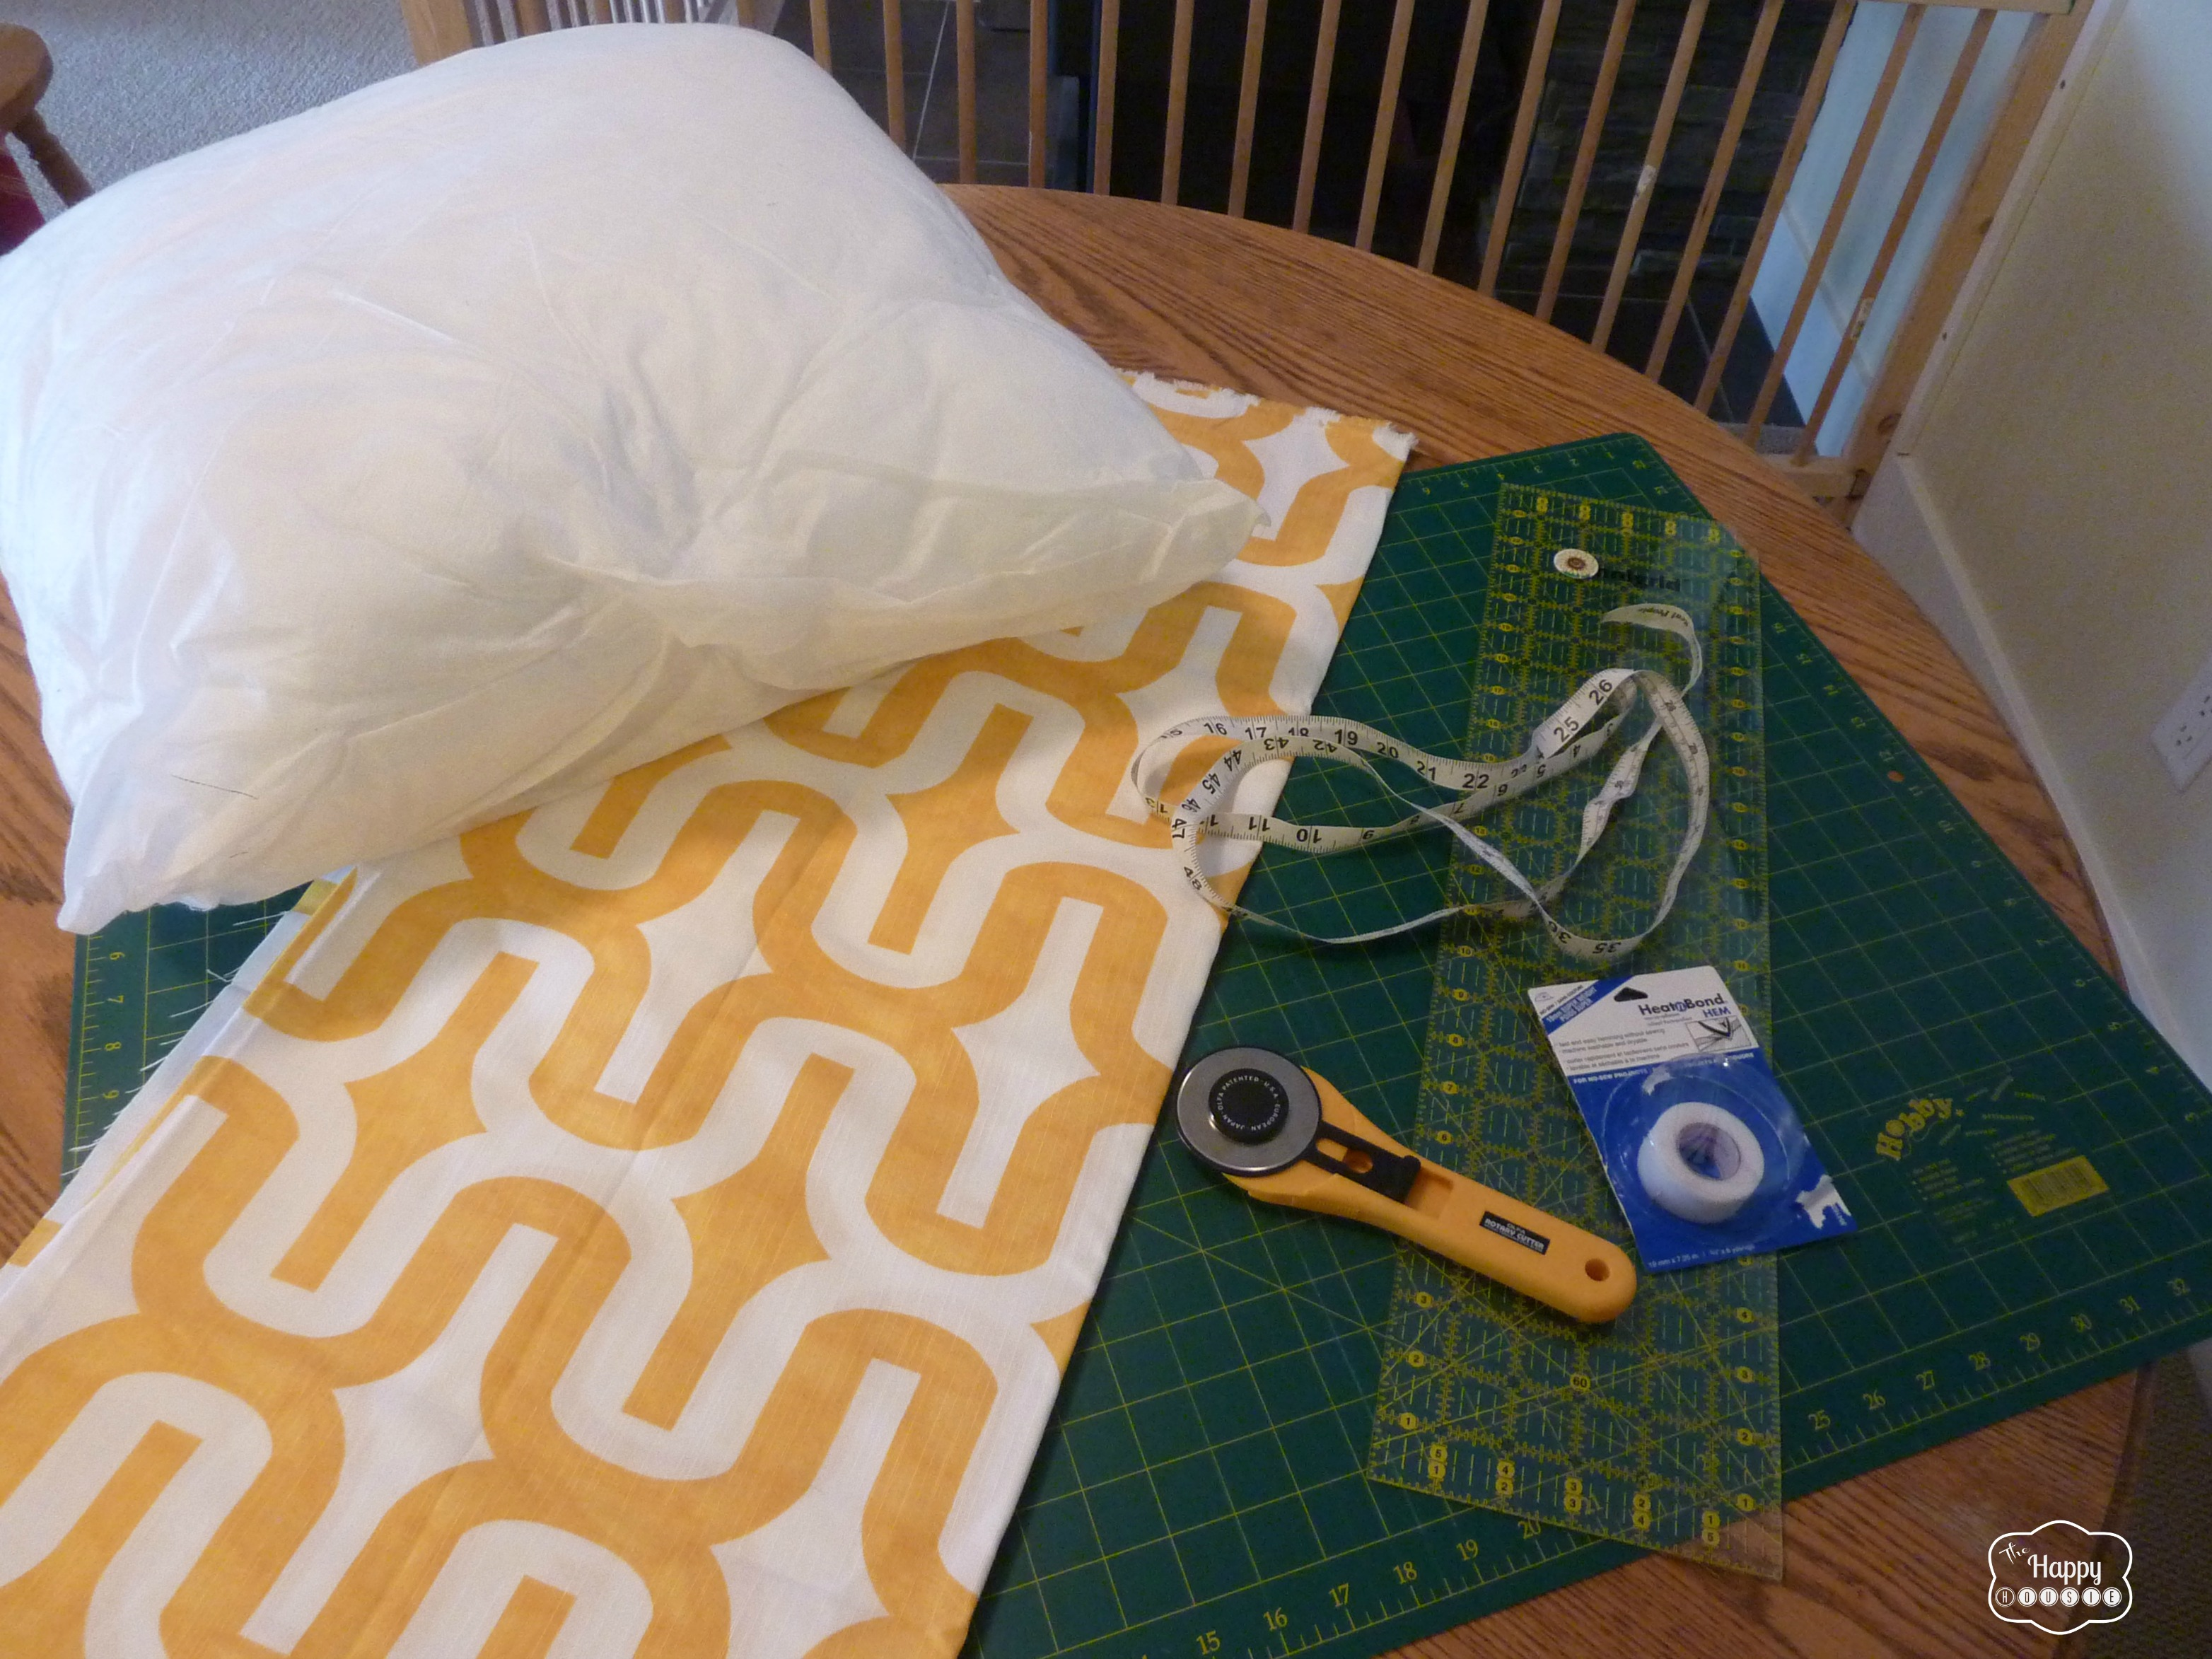
- Extra large pillow forms (you could use this same method with regular sized forms as well – just adjust the measurements accordingly).
- Cutting tools – I like to use a mat and rotary cutter but you could also use plain ol’ fabric scissors
- Measuring tape
- Fabric of your choice – I used 1.5 yards for two pillows with some leftover
- An iron (and no-sew hem tape is optional for the end seams)
- A sewing machine
First off… I need to confess that I tried to make these completely no-sew with my extra strong iron-on hemming tape…and it was a complete FAIL. The seams came apart in spots after I vigorously wrestled the extra large pillow forms into them – so today I am showing you the sewing version. It only requires 4 – 8 straight lines to be sewn for two pillows and if I can manage that then I think anyone can. And “straight” is a loose term…
Start by measuring your pillow to determine your fabric size:
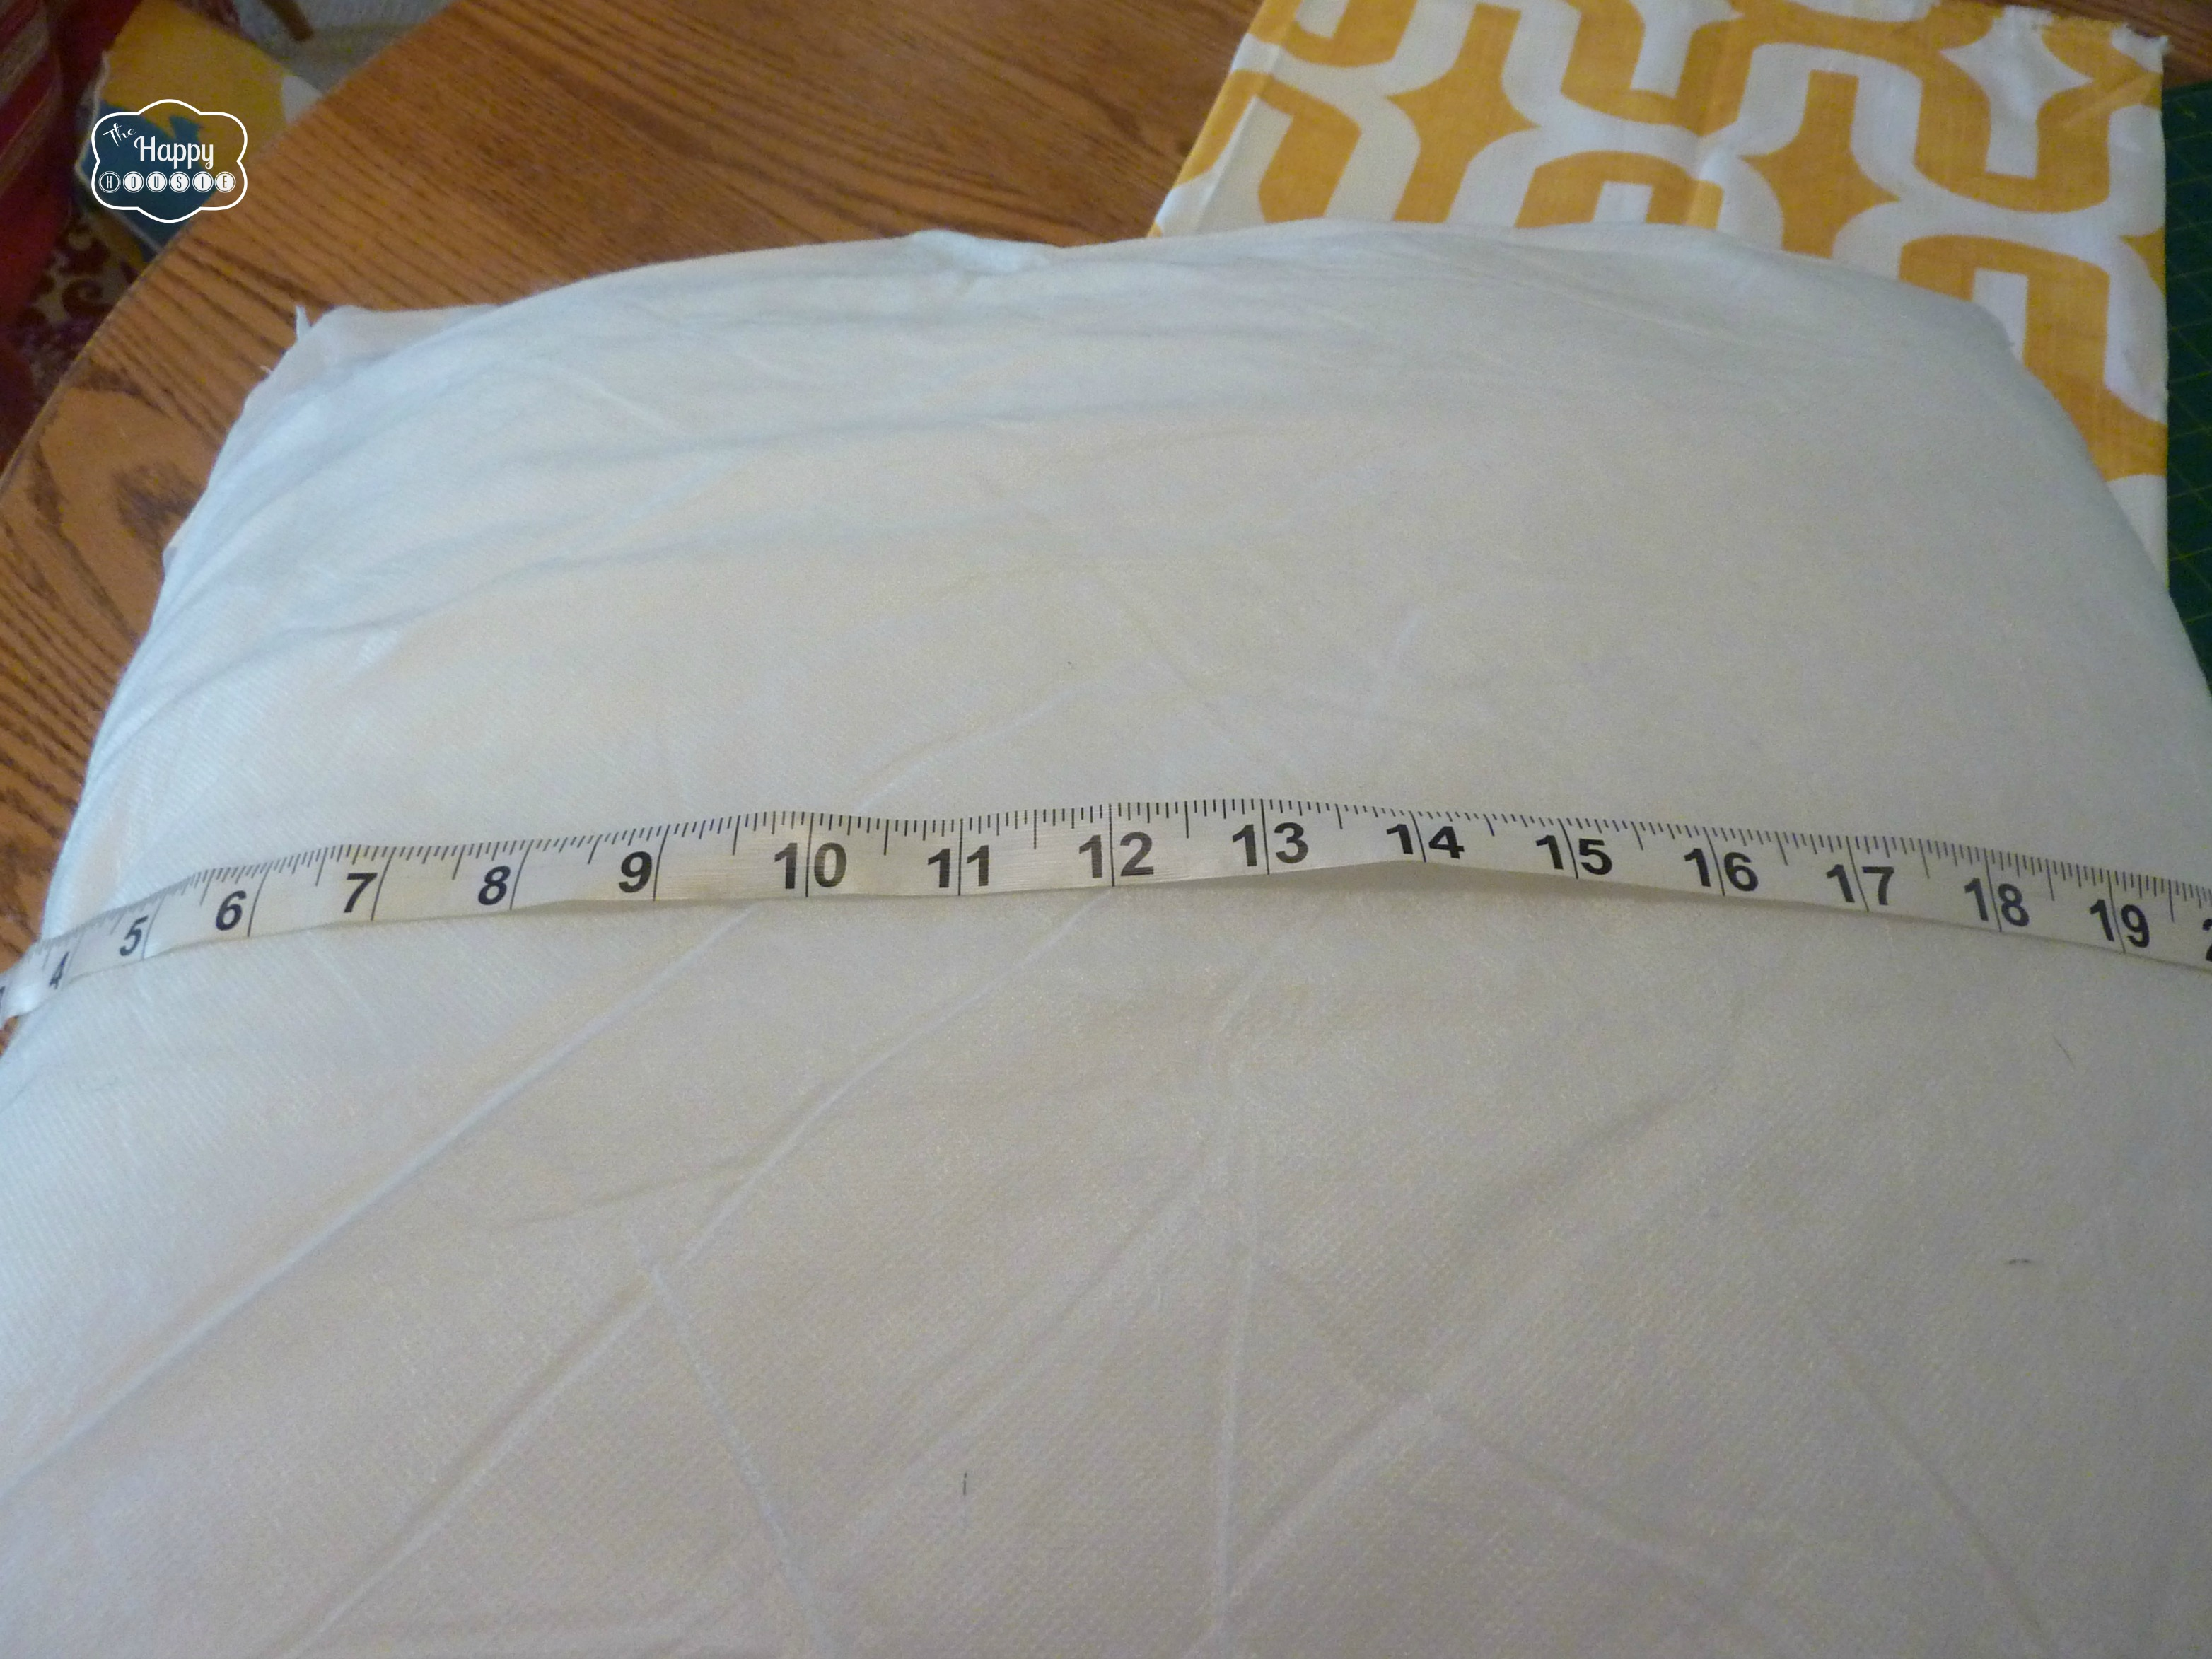
My pillows on the label said 24″x24″ but in reality they were more like 23″x24″ so I made the cover accordingly. Cut your fabric to the exact measurements of your pillow form or add a half inch if your form is really full – you want it to actually be a little smaller then the pillow form once sewn together. If it fits loosely it will look frumpy and baggy – not an attractive addition to your bed.
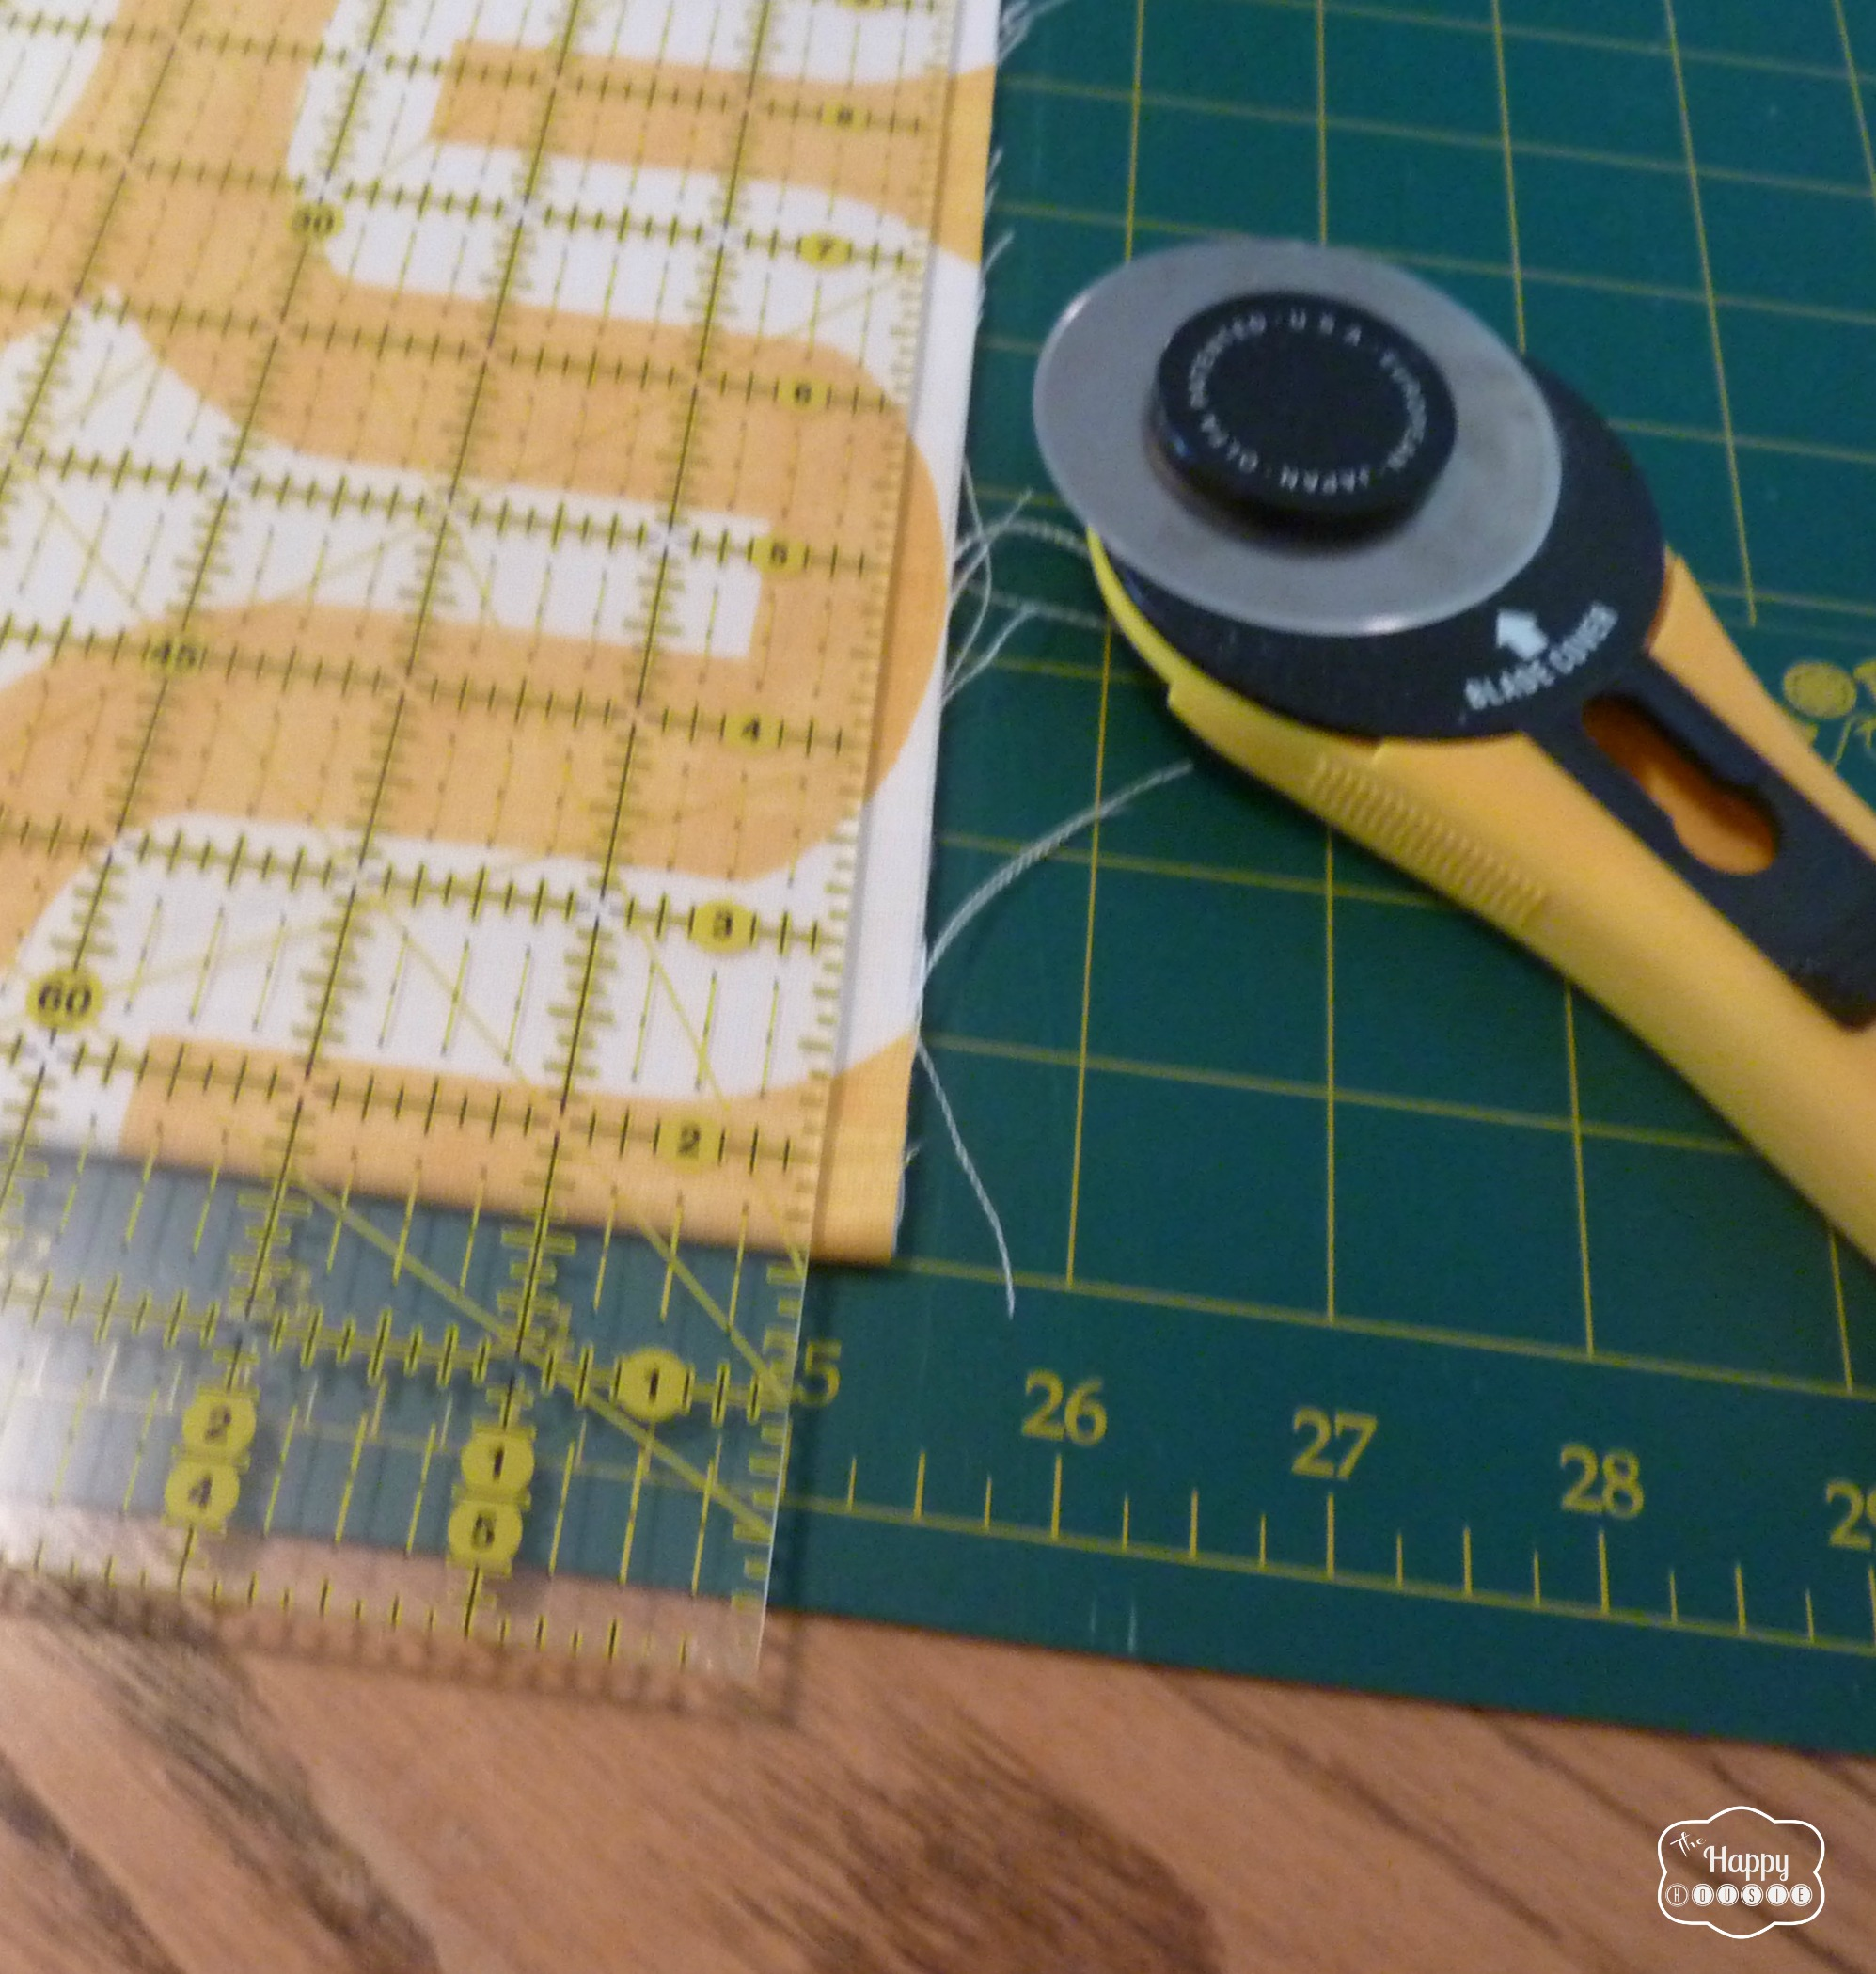
I cut my fabric into two long strips: 24″ wide by 54″ long. The 54″ is the front, back, and then an extra 8″ for the envelope back to overlap properly once the ends have been hemmed. I used a rotary cutter and mat but you could always cut your fabric using regular scissors and a measuring tape to mark it.
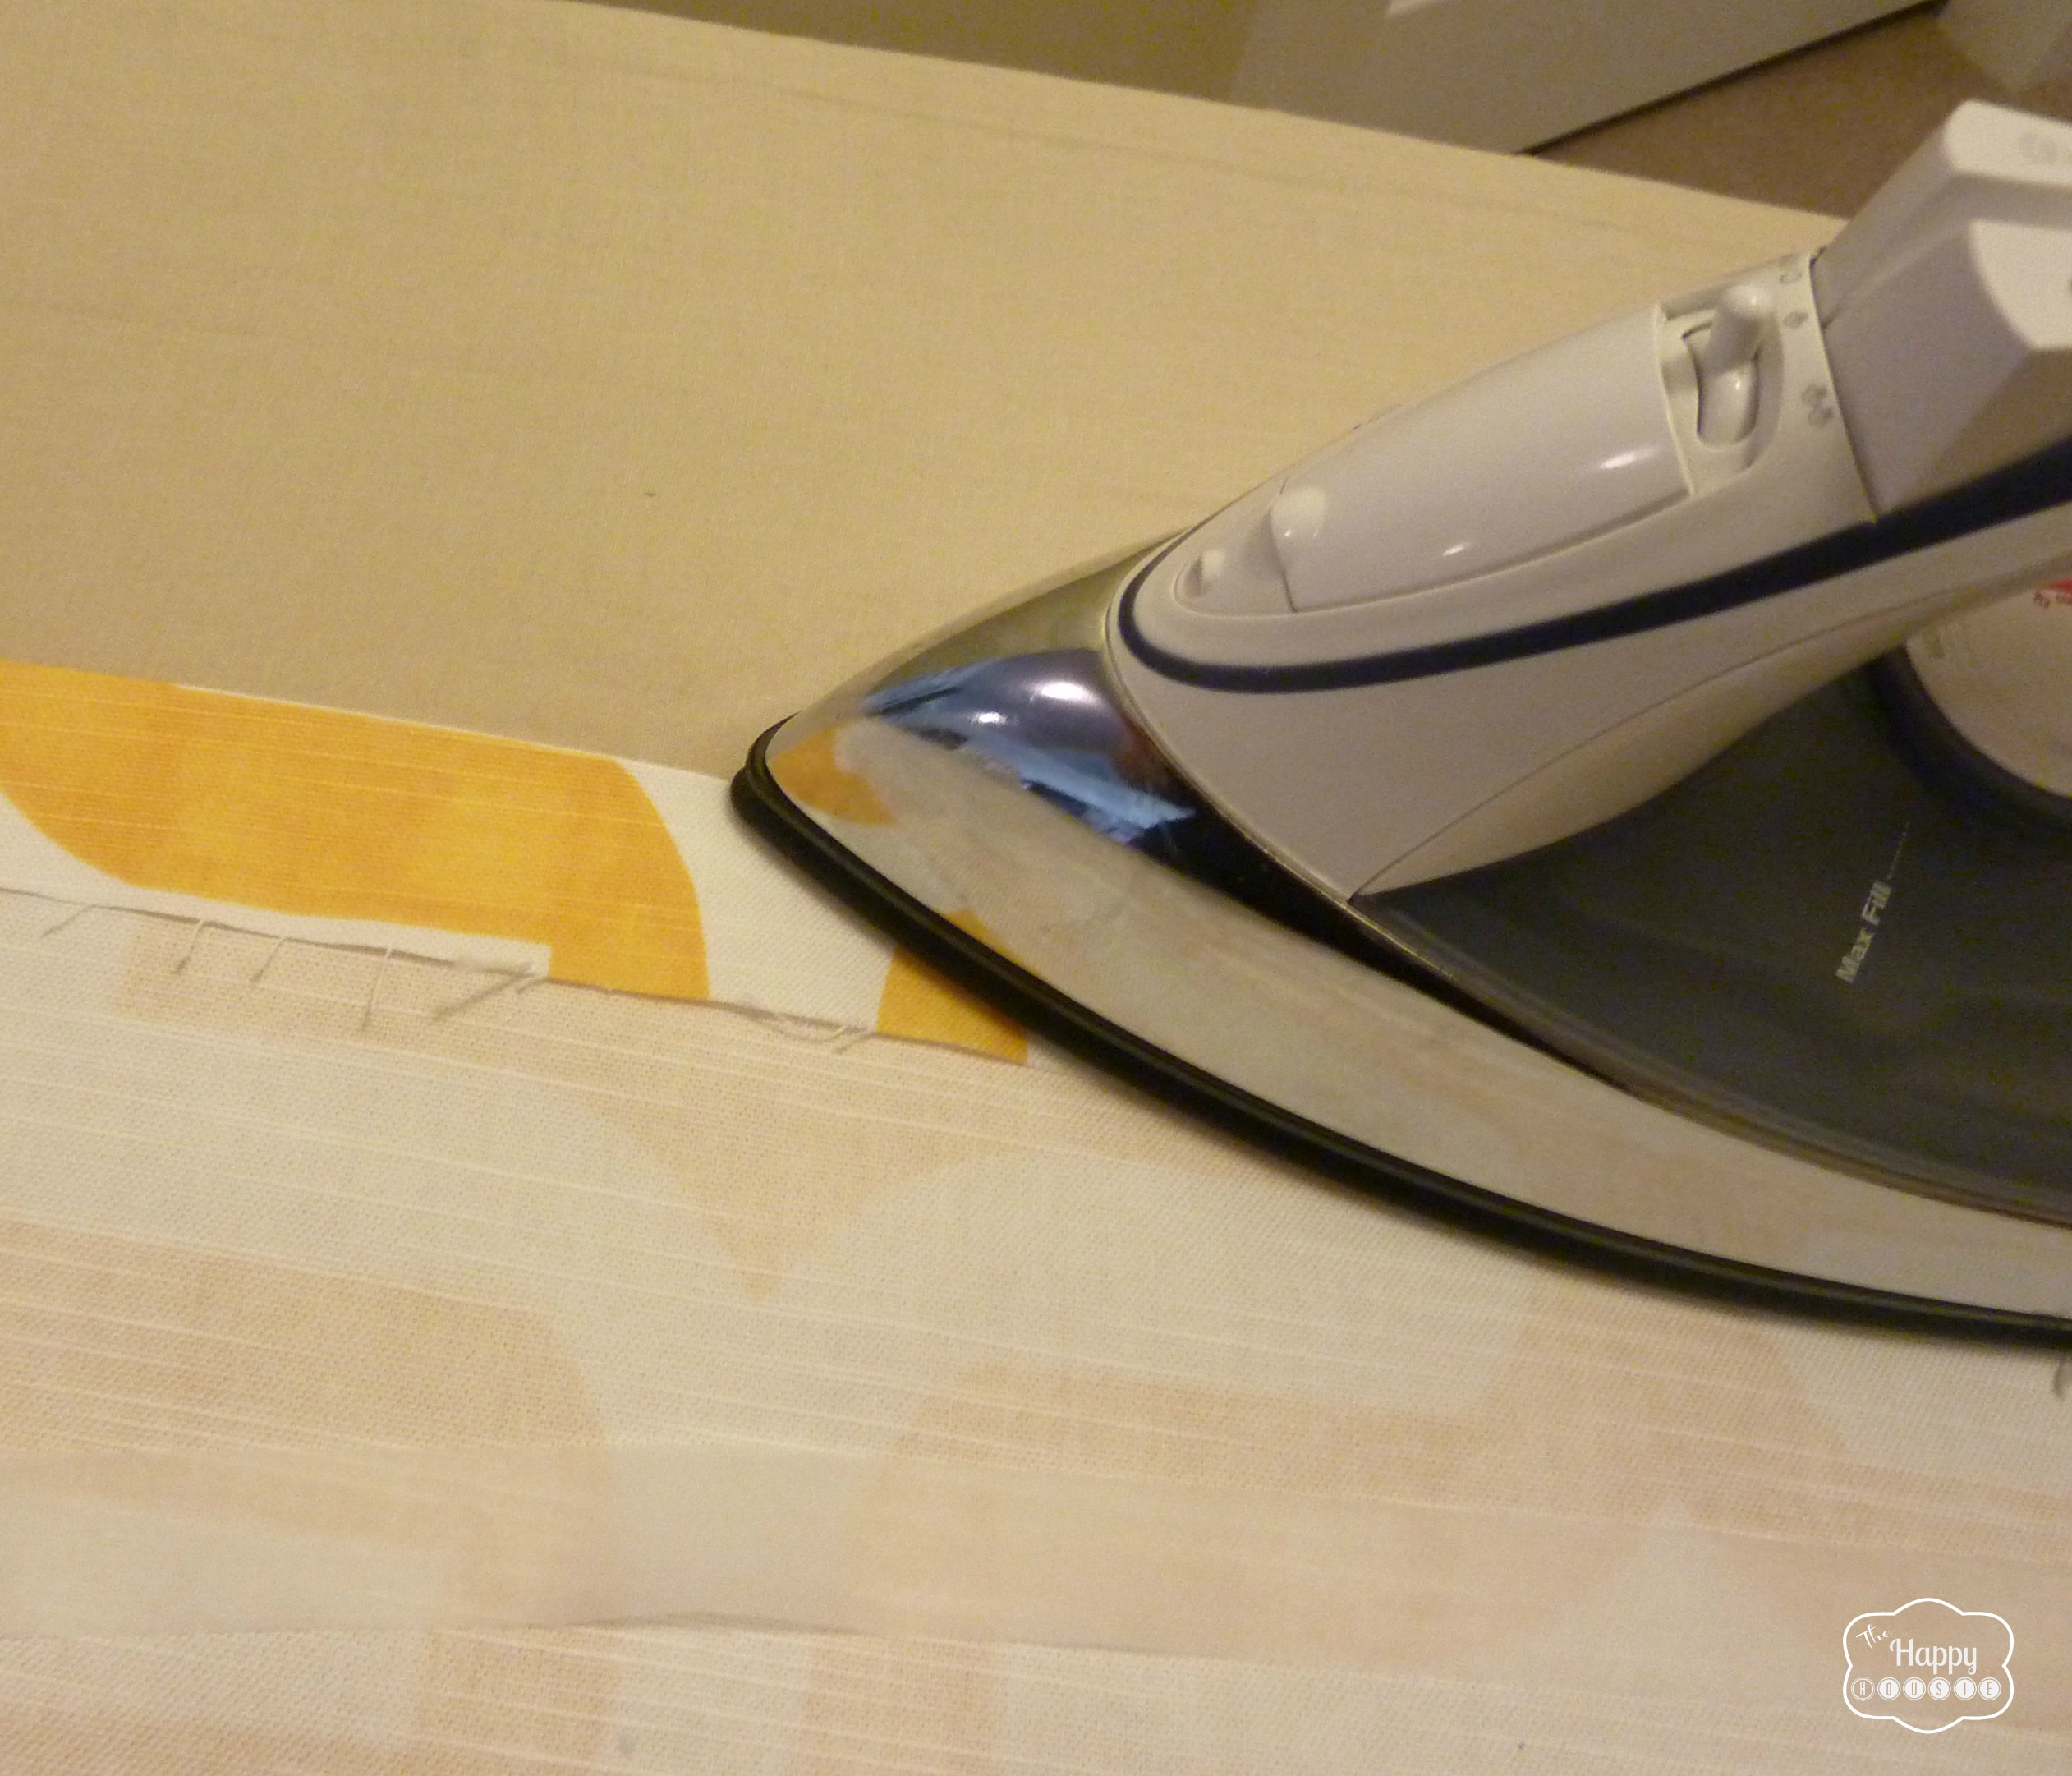
Next iron the fabric strip all over and then iron a hem on each of the long ends (the end of the 54″ length). You can run this hem quickly through your sewing machine, or this is where you could choose to use some iron-on hem tape if you like.
Once your long end pieces are hemmed then fold the length onto itself, using a measuring mat or a measuring tape to make sure you get your appropriately sized square (23″ by 24″ in my case). Press down the folded sides with your iron to get a crisp line, then pin it together. (I did a quick iron-press right on my mat- wild, I know).
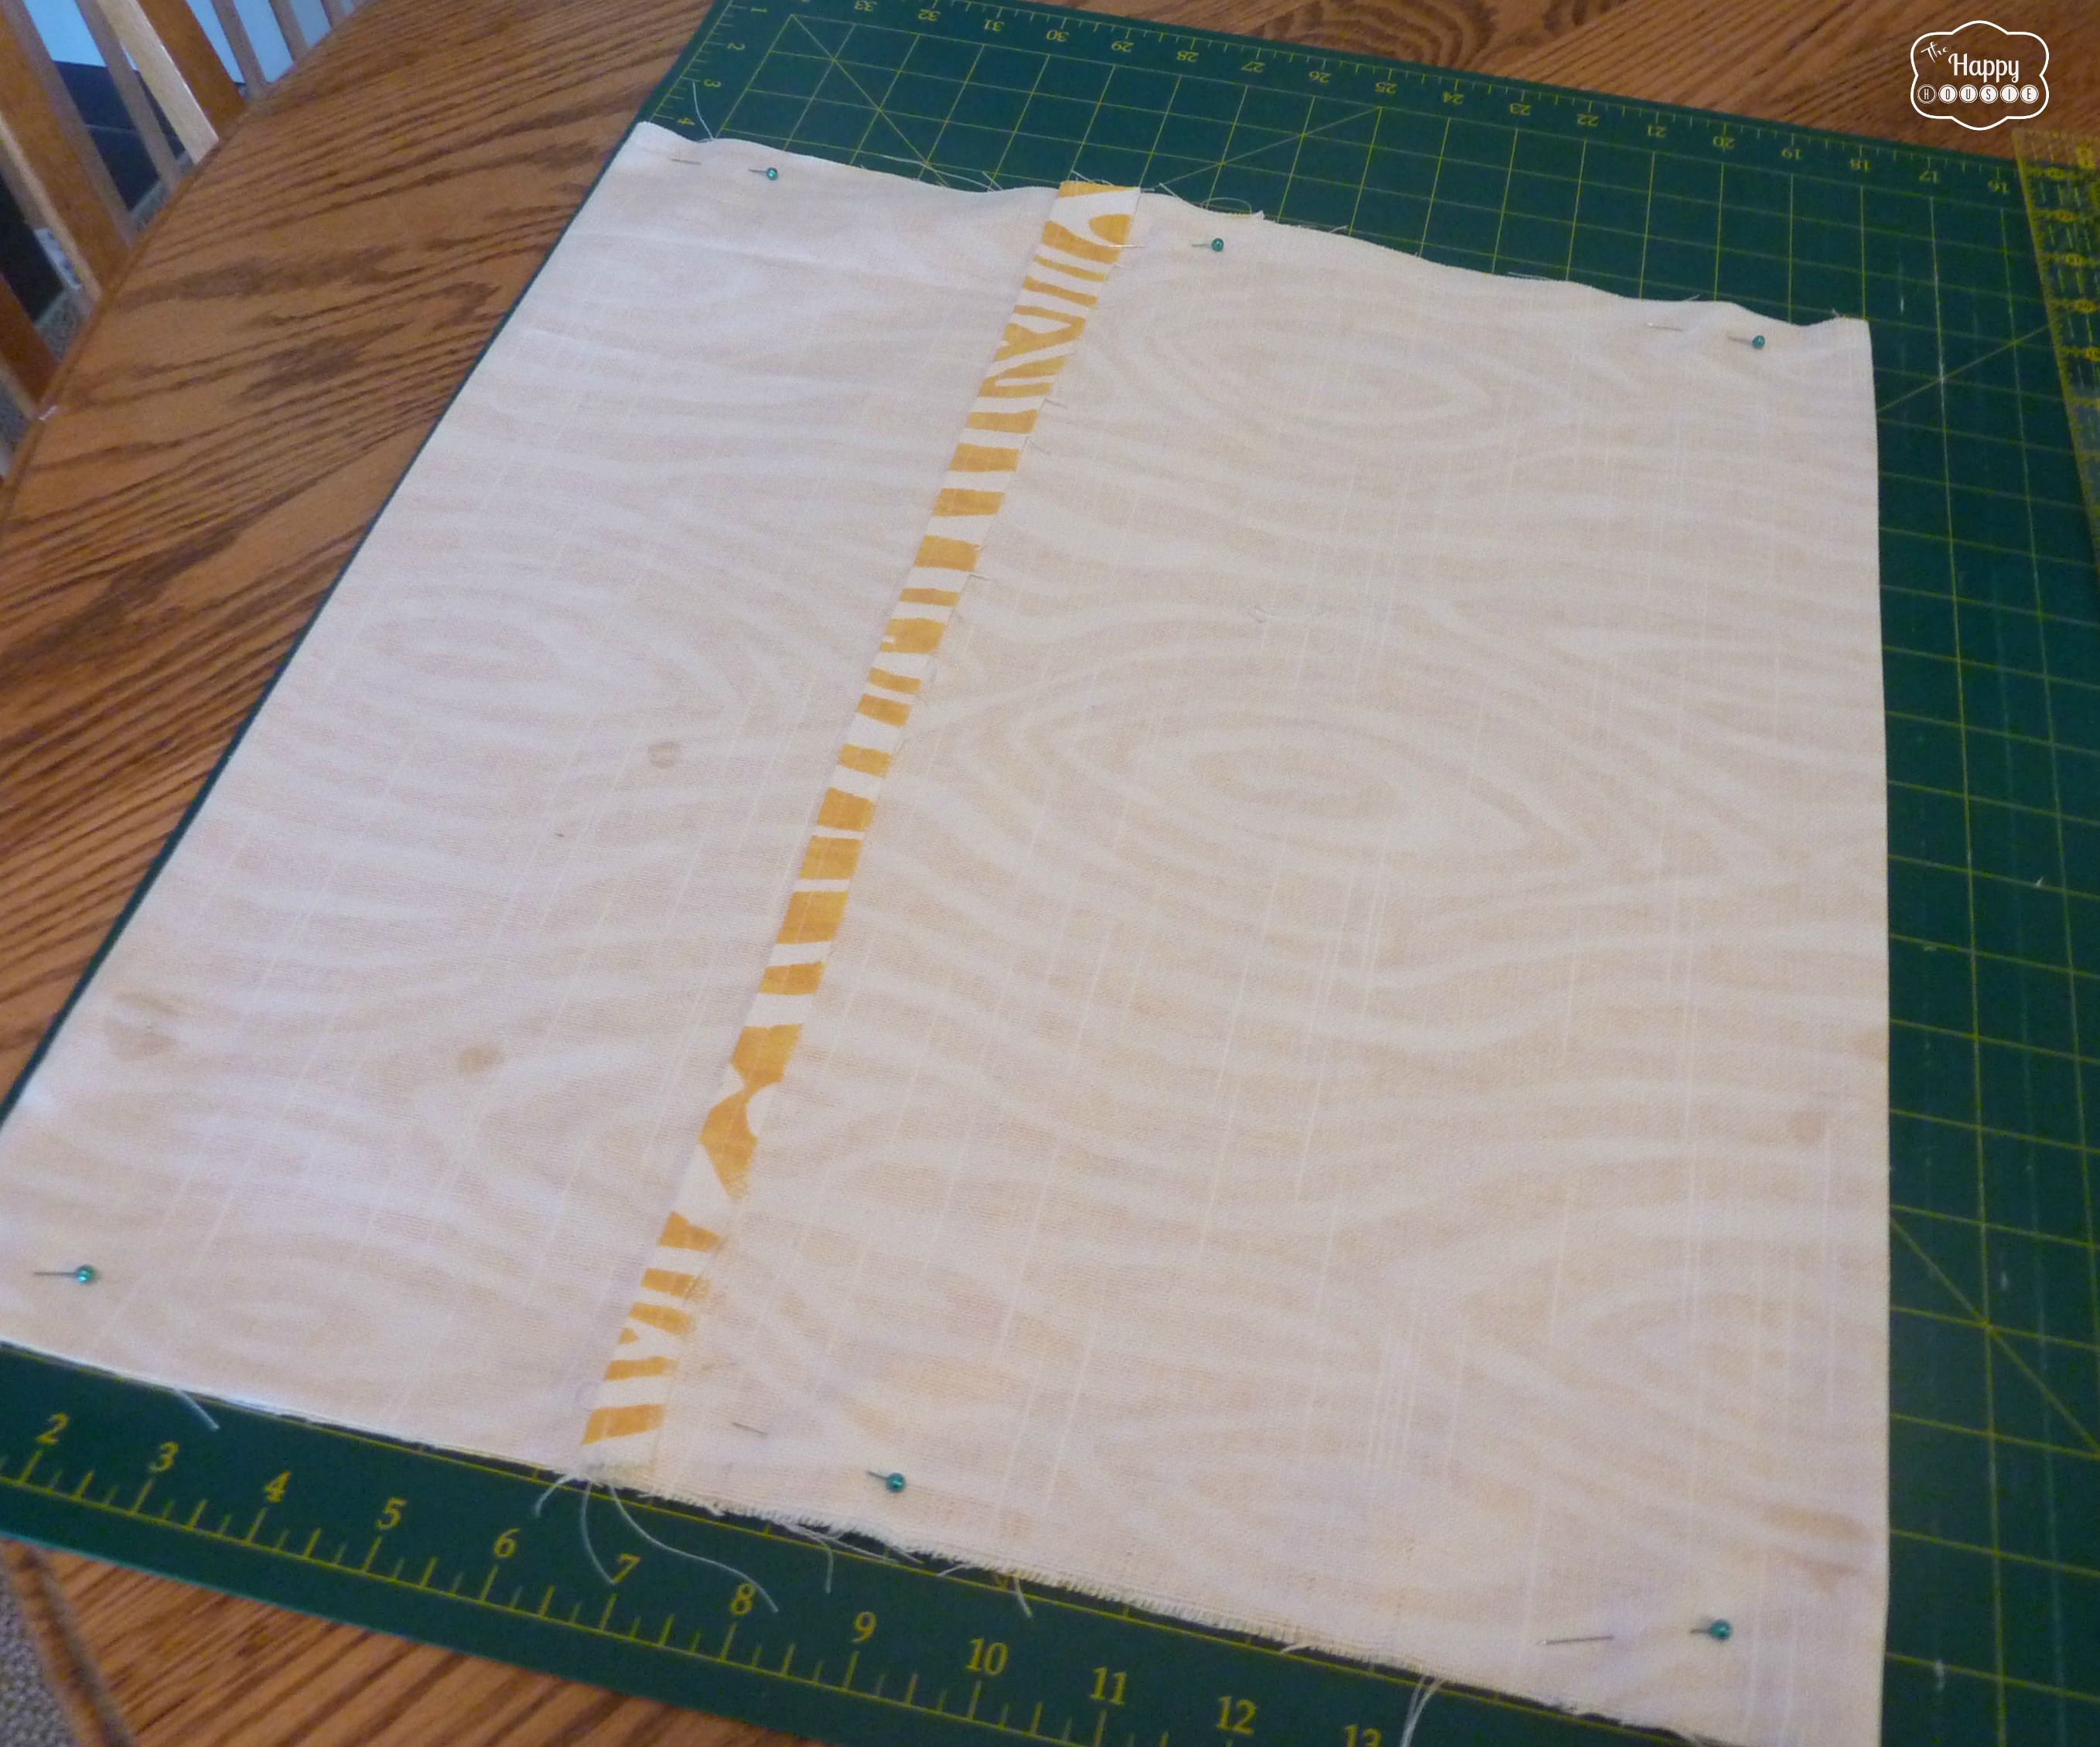
If your keen eyes noticed that the fabric above is slightly different that is because I was in mass pillow production mode and had a little photo taking glitch (i.e. forgot to take the correct picture at this stage). Sorry, but I think you get the idea of what it should look like at this point.
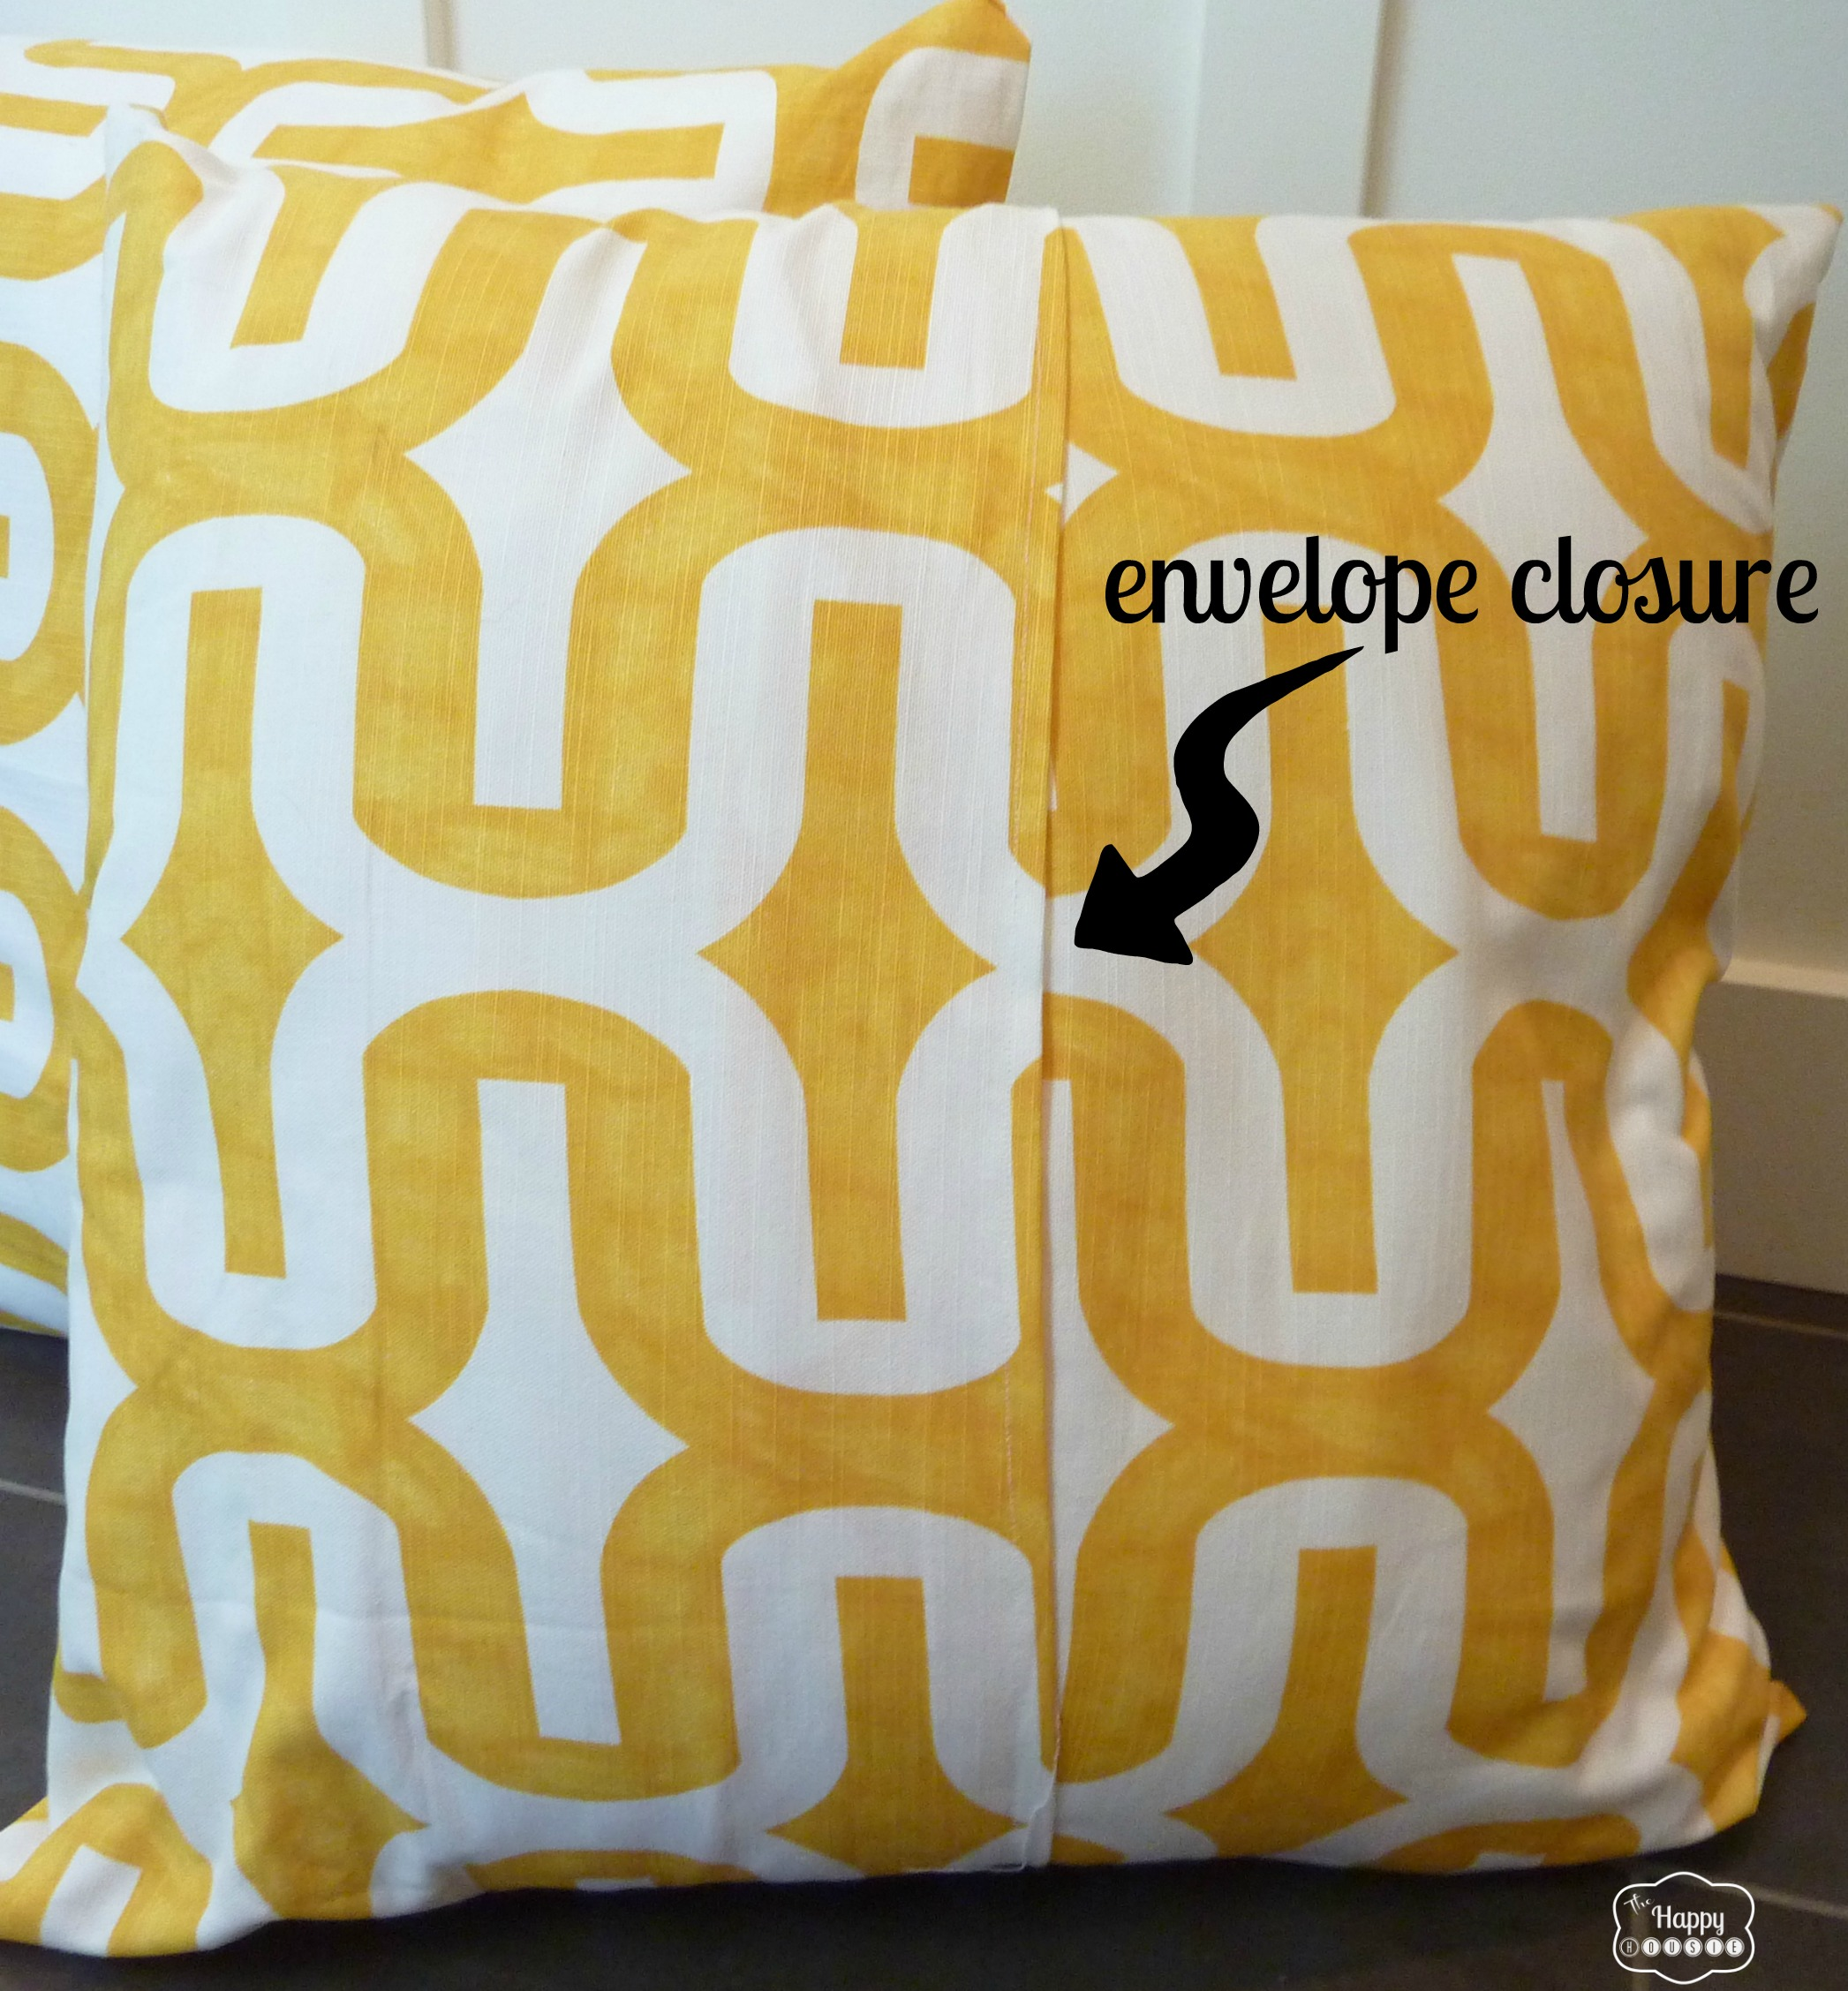
Now… take it to your machine and sew up the two ends that are pinned. Turn it inside out, push out the corners… stuff it full of good ol’ pillow form and call it done! These literally take minutes.

The back:
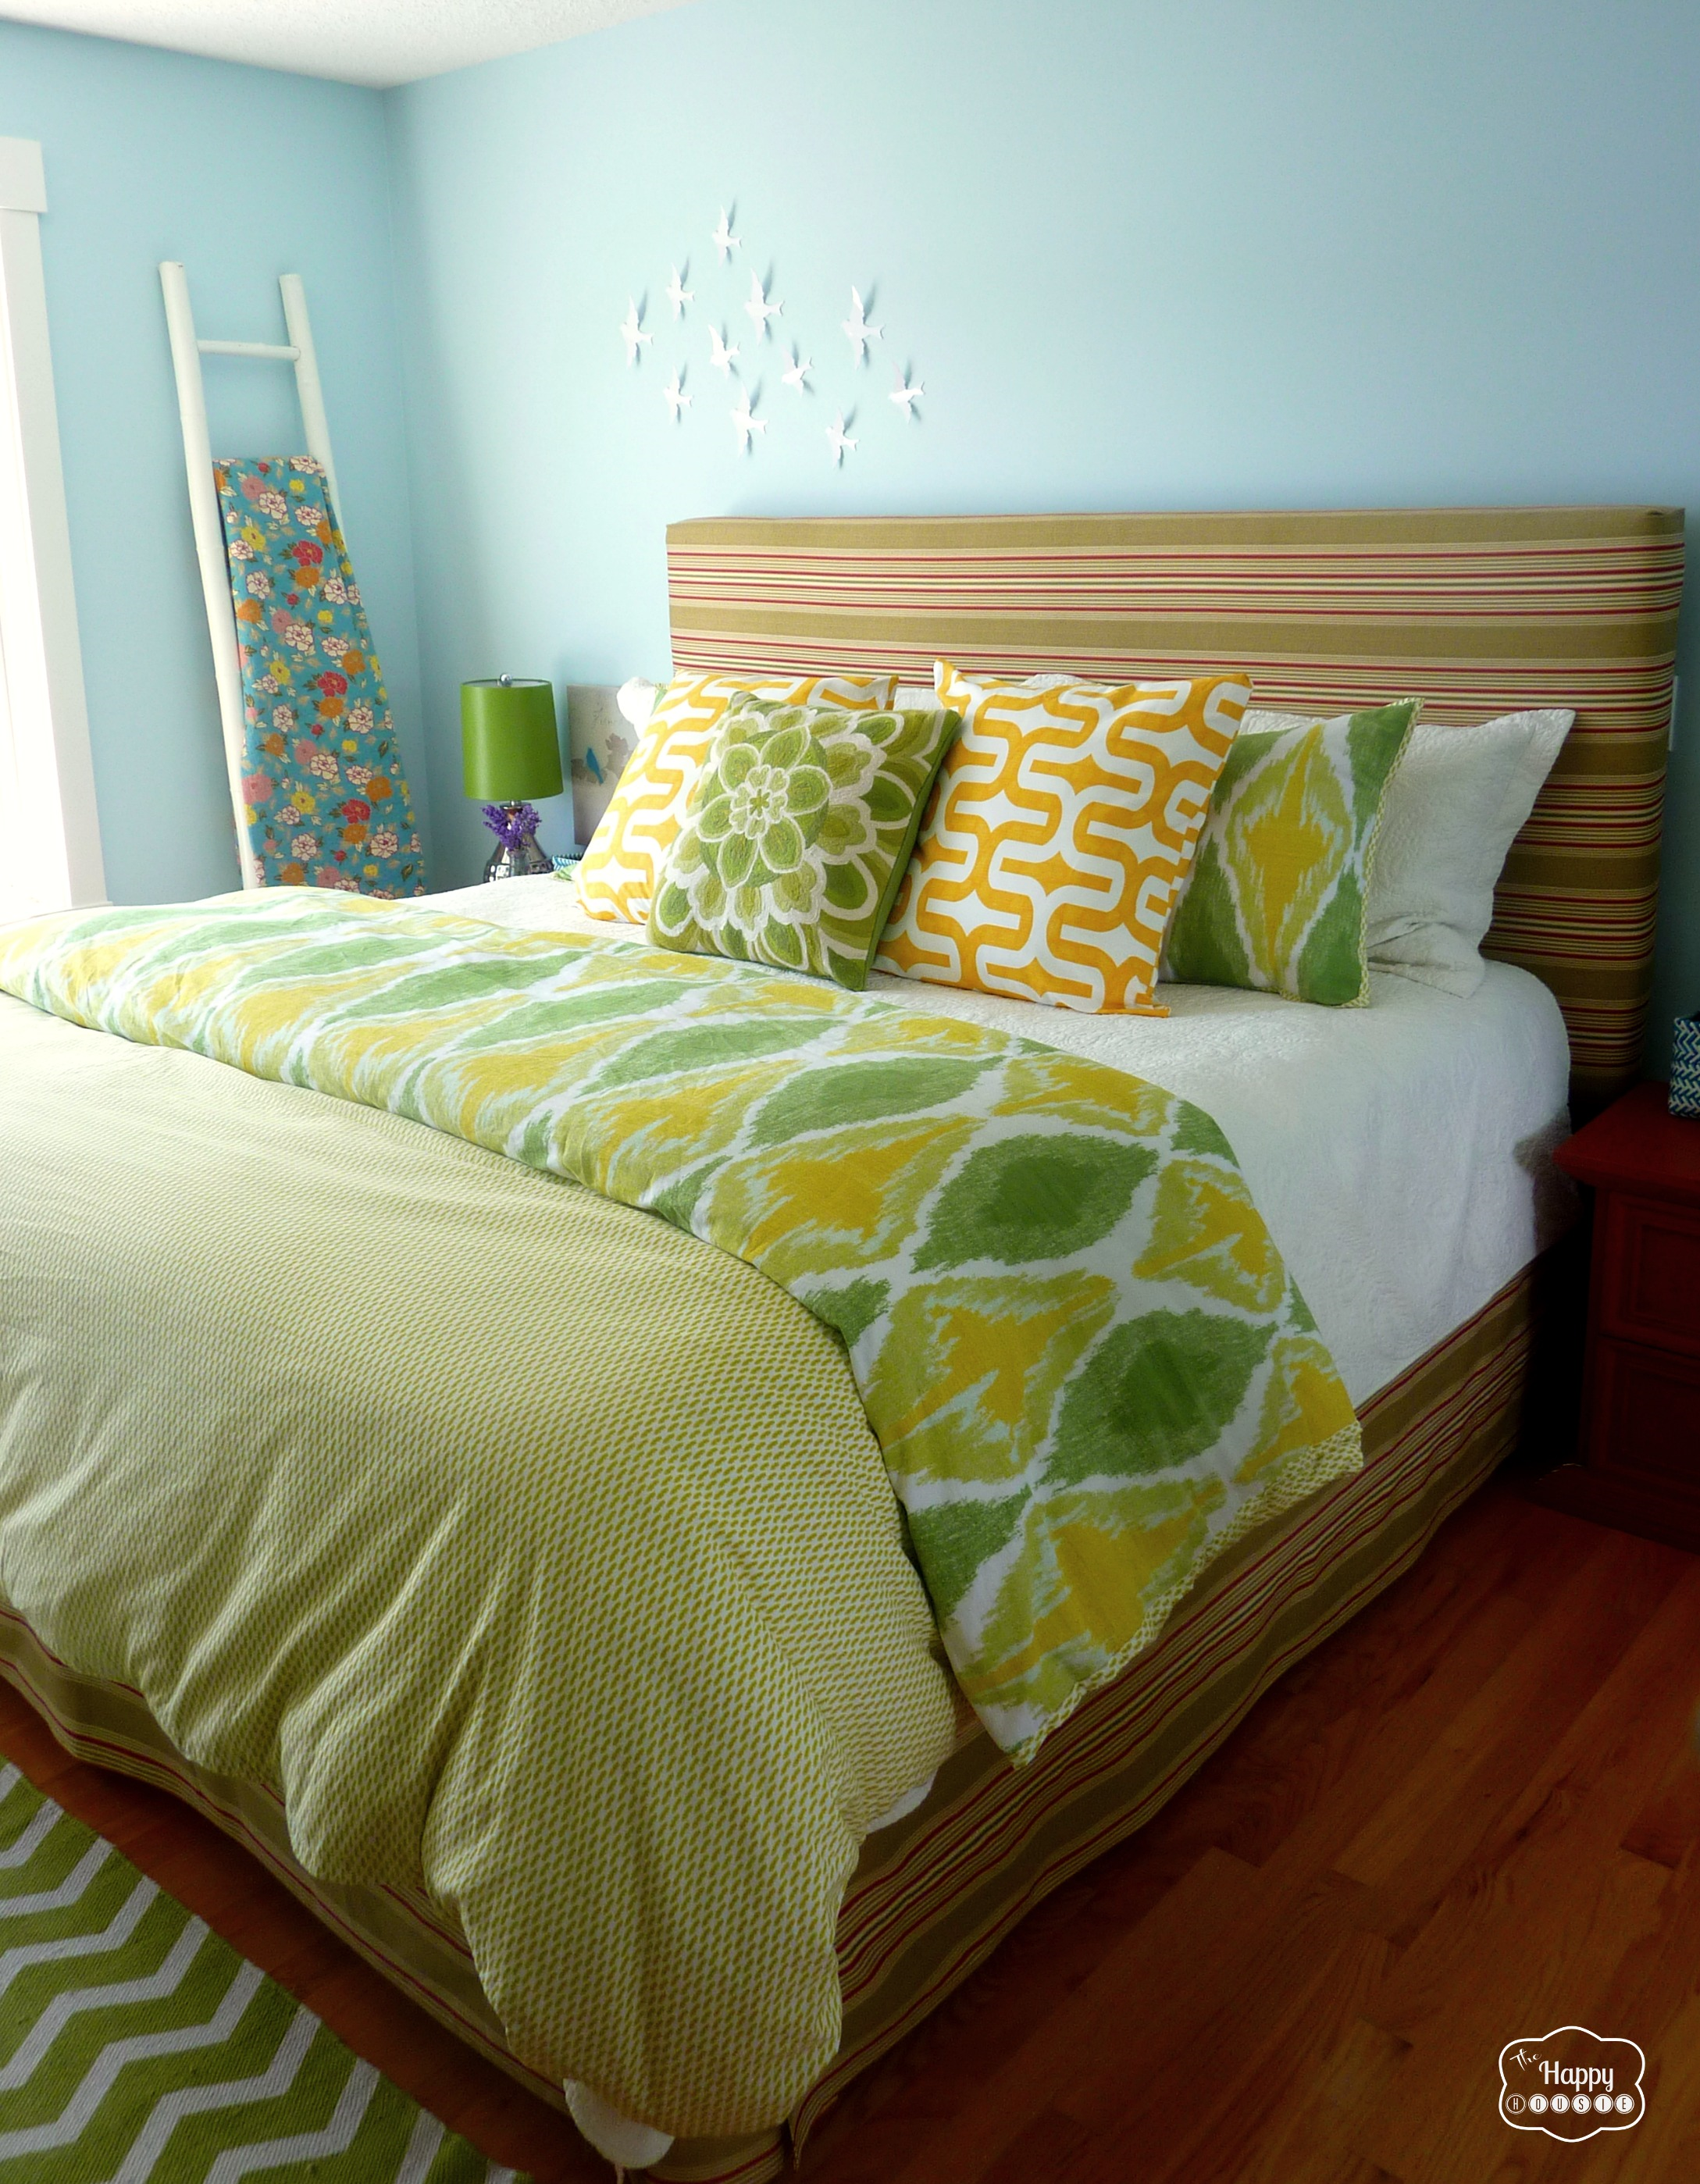
I am loving the way they look on the bed, especially with the new summery duvet cover that I recently picked up.
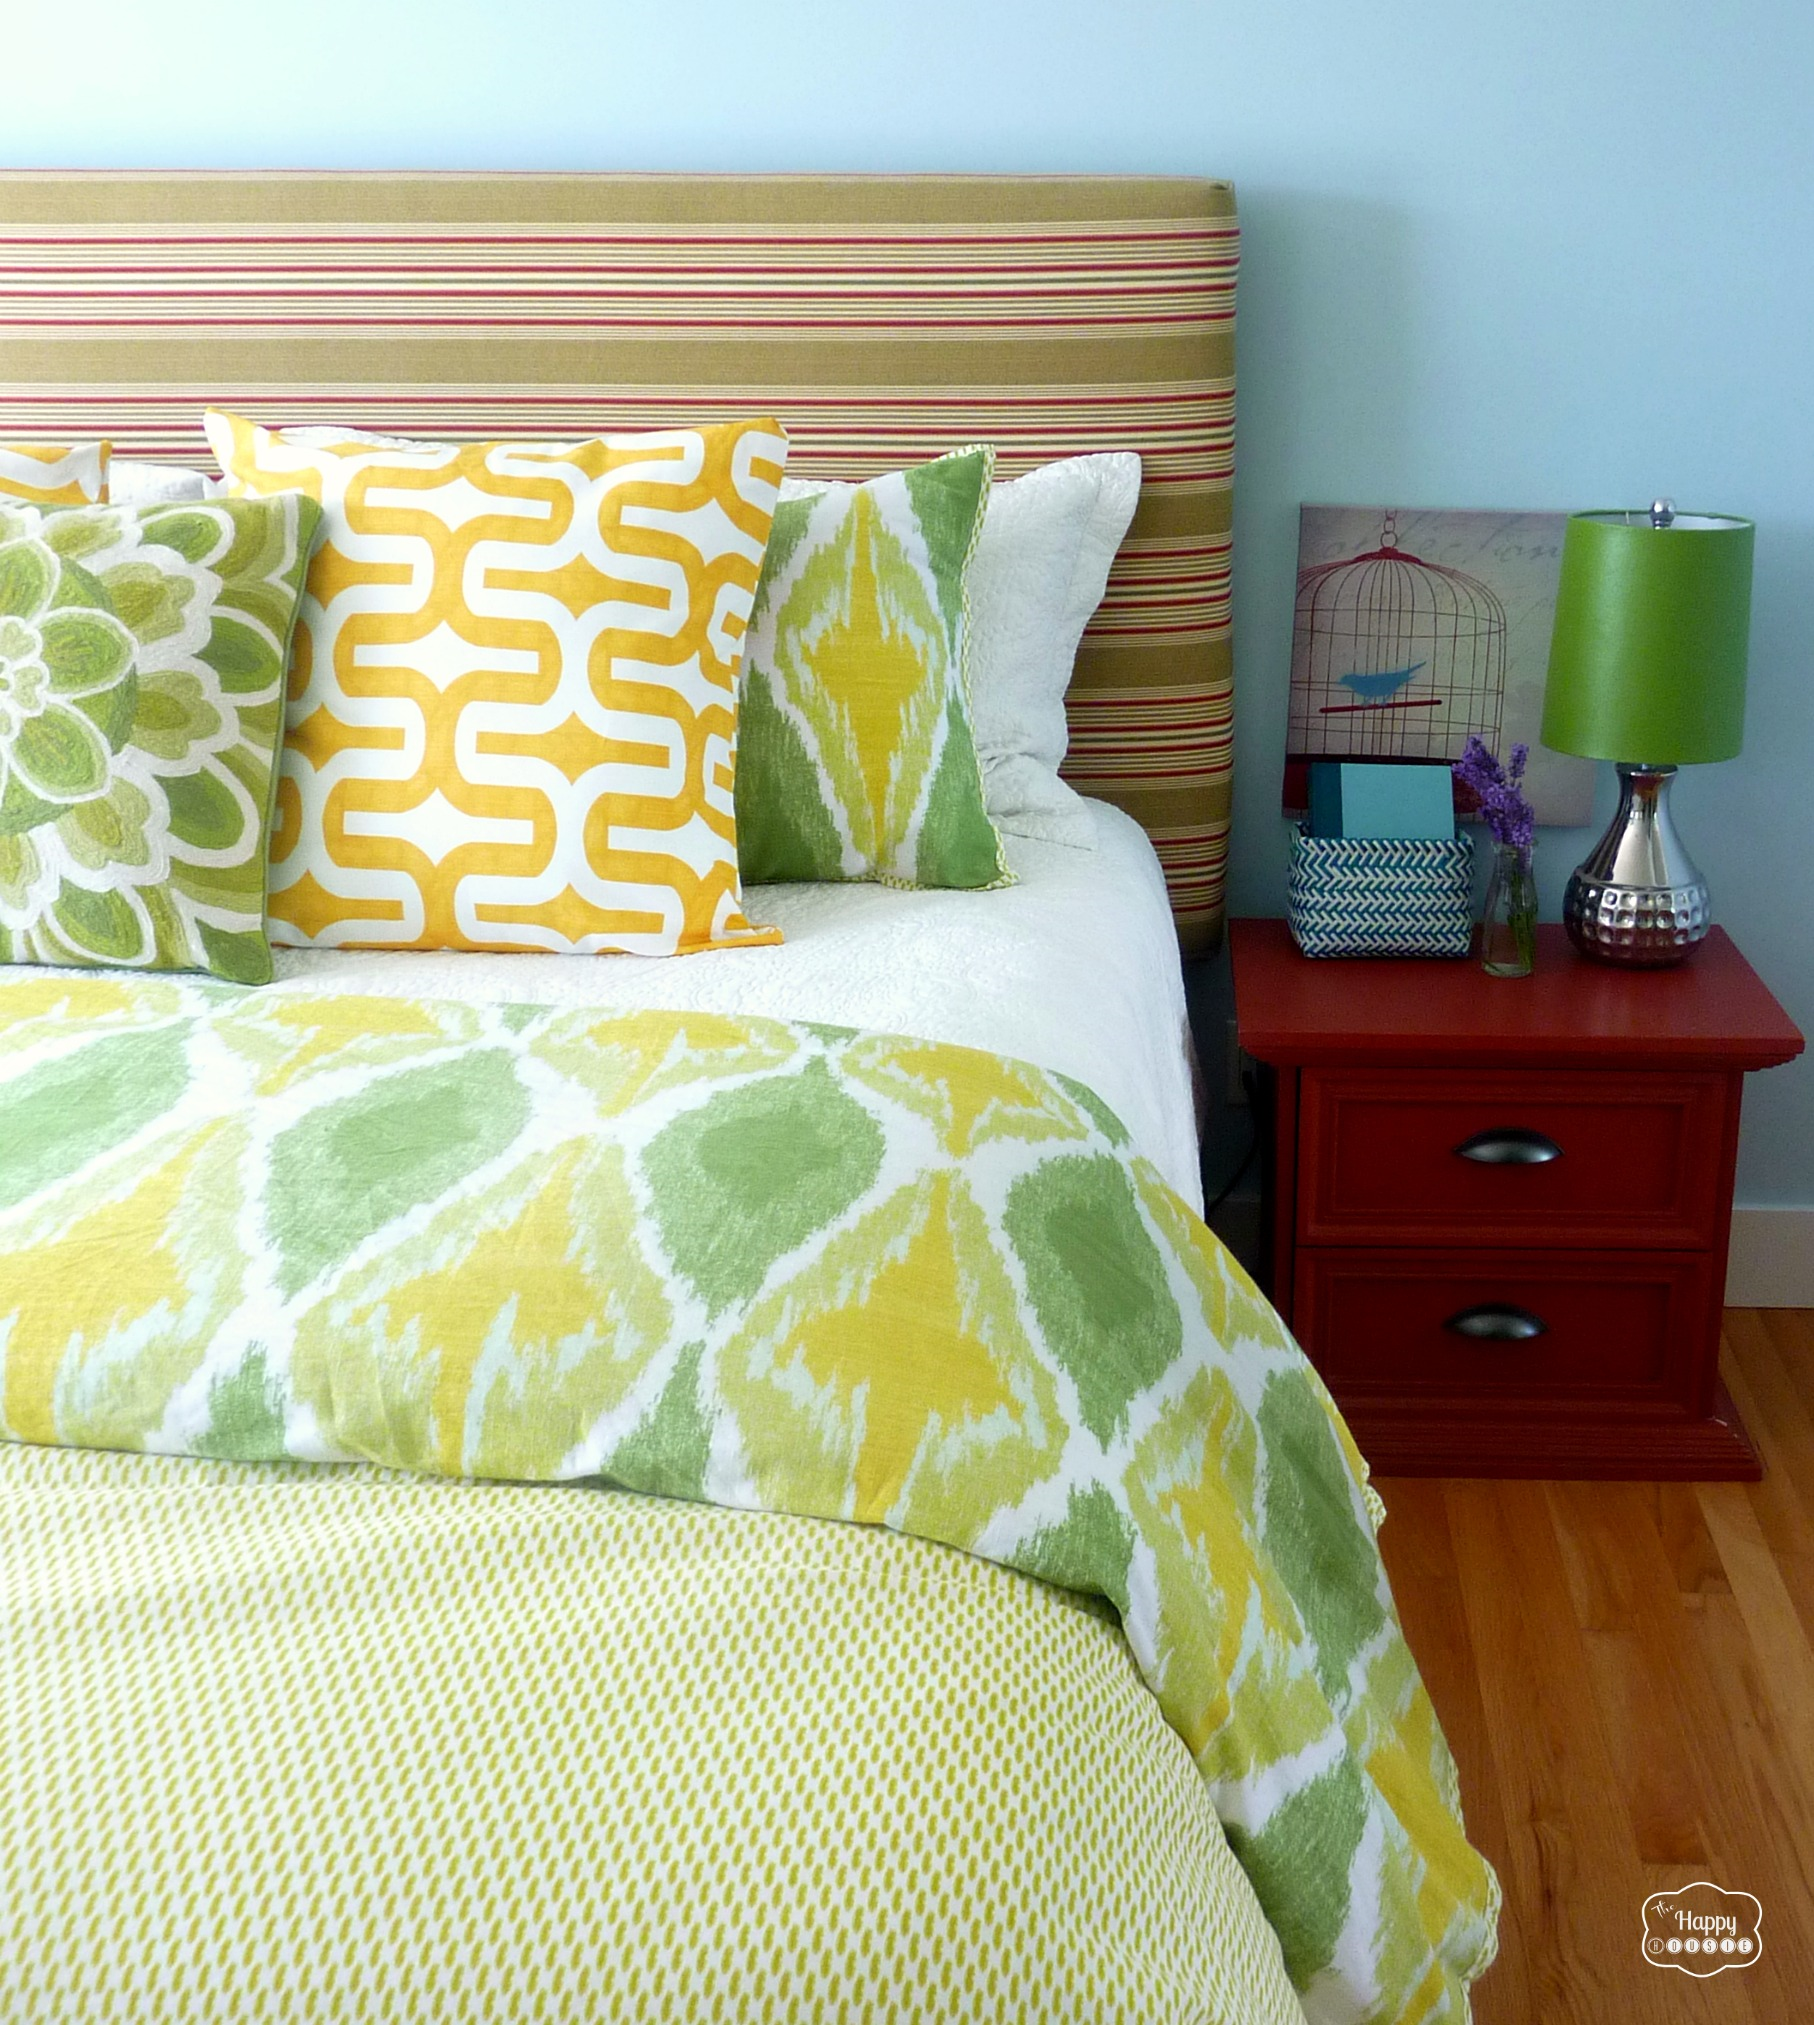
You could even do three of these in a row on a king-sized bed with a longer pillow or two smaller square pillows in front. If you ask my husband he might tell you I am a bit of a pillow nut – but when they are so easy to make I can’t help but make hundreds and change them out weekly. Kidding. Sort of.
If you hope over to my blog today The Happy Housie I am sharing the other half of this room – I recently just redid the gallery wall above our dresser and have some fun DIY ideas to share! I would love to have you come for a visit and stay connected!
Thanks again to Allison for having me here today…so fun to be visiting at HofH! Thanks for reading. And remember my housie friends, HOME isn’t built in a day. Enjoy the journey.


I’m definitely trying this!
This post sure proved that good-looking embellishment doesn’t have to be complicated. you’re very timely too, Krista, as I’m about to change my pillows’ covers some time this week.
Super cute! I made pillows that exact way a few months ago and they have held up great, even with two small and crazy kids! 😉
My bed room is a similar color and I’ve been trying to figure out what shade of green to do. Reading this post made the light bulb go off in my head that says Lime green family. Thanks! And I love your pillows.
I love that fabric and the bedding! That looks great!
Krista, I totally want to make cute covers for my pillows now. You make it look so doable! Love your fabric and color choices too! It’s all so good! Thanks for the inspiration.
Cheers to you and yours,
Therese
Loving the fabric choice!!
I Love everything Krista makes from her wood signs to her burlap flowers! & these pillows they look beautiful and so easy to make 🙂 I love them, I can’t sew, so this is a great project to try! 🙂
Ingrid
I need to get on this ASAP! I was just thinking about how I need new pillow covers and instead of going to a store, I’m totally going to try DIY =)
Xo
Dana Ivy
http://www.iadorewhatilove.com – Check out my blog!!
LOVE this post:) your blog Is always so inspiring in every way.
If you want to see some cute blue colored decor…Check out my blog:)
Have a wonderful day dear
LOVE Maria at inredningsvis.se
(Sweden)
I really like this method. I have a question. How would this work with fabric that let’s say has a big rose on it that repeats. If you want one of the large roses in the “front center” how do you make this work using your method? I’m trying to figure out how much fabric I would need and how to do the markings etc.
One of the best DIY in making pillow covers. Gonna try this at home all at once. Thank you!|
Levi