Our almost-15-years-old twin nieces are staying with us a good portion of the summer! They live in Texas and we…
Read More
Helping you DIY your home one awesome project at a time
Our almost-15-years-old twin nieces are staying with us a good portion of the summer! They live in Texas and we…
Read More
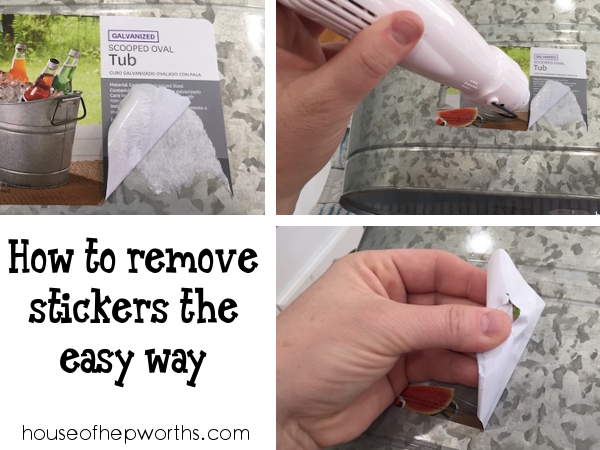
You guys. This is such a simple tip, but not many people know about it. But before I get down…
Read More
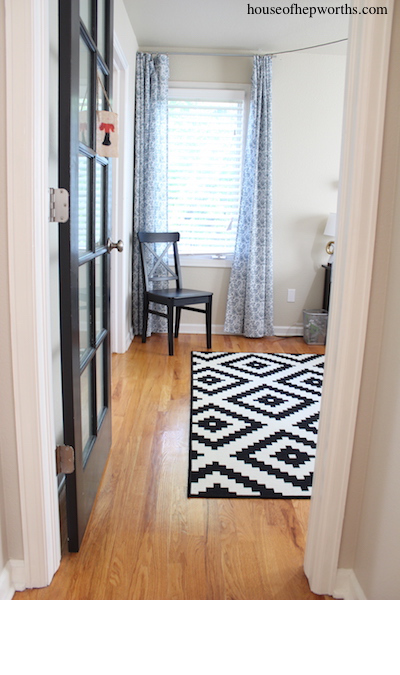
I’ve been trying to spruce up my office lately to make it feel more cozy. I don’t have a ton…
Read More
Our family recently flew from Denver to Dallas to see our nephew graduate from High School. He was born a…
Read More
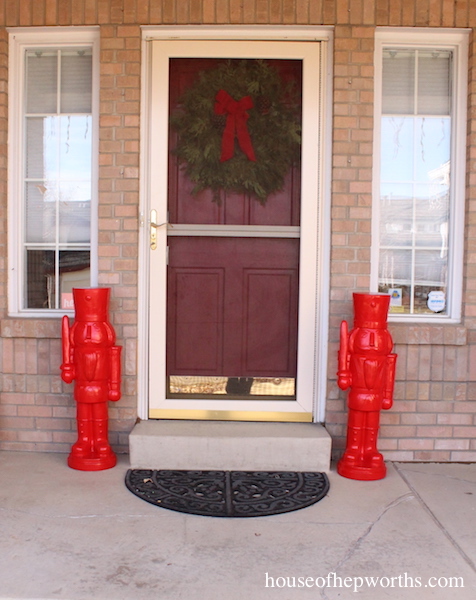
Happy Holidays my friends! As you’ve probably figured out already, I love nutcrackers, especially brightly painted ones! I found some…
Read More
In 2011 I made a piece of art that, to this day, is still my favorite art in the house….
Read More

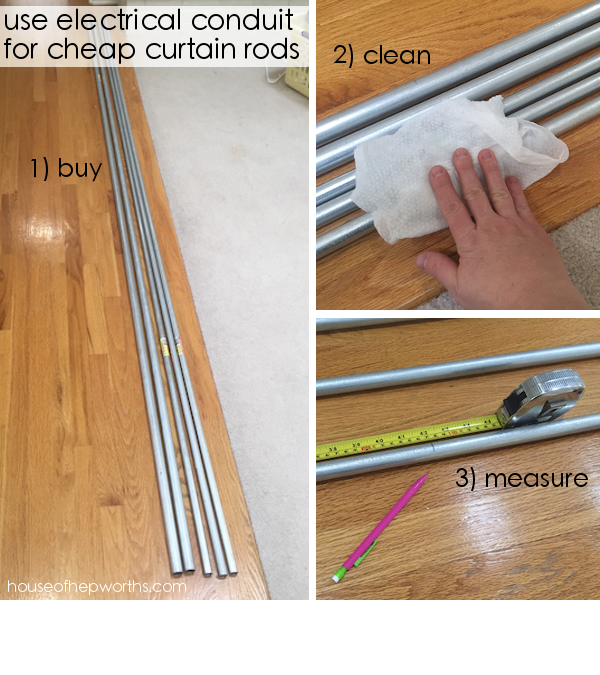
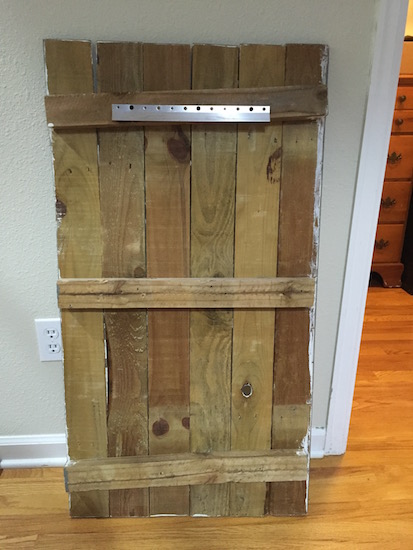
I am so super excited about todays post! I haven’t dug in and done a real project in quite awhile…
Read More
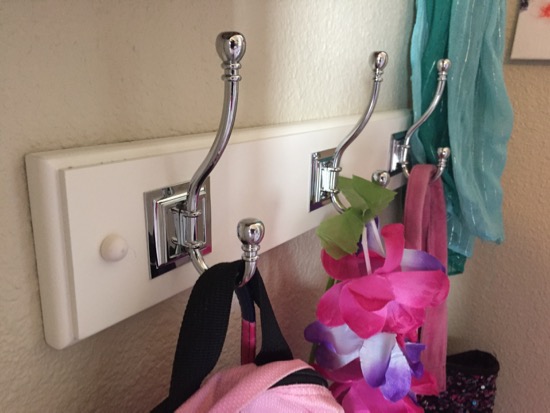
We have been slooooooowly getting organized at our new house. It always takes so long to feel moved in and…
Read More
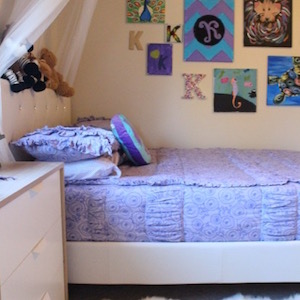
Over the past few weeks I’ve shown you guys my son’s and daughter’s bedrooms. They both are sporting some new…
Read More
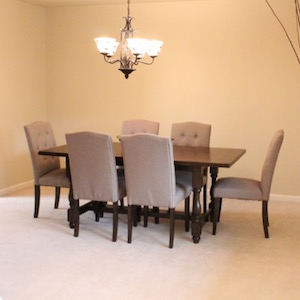
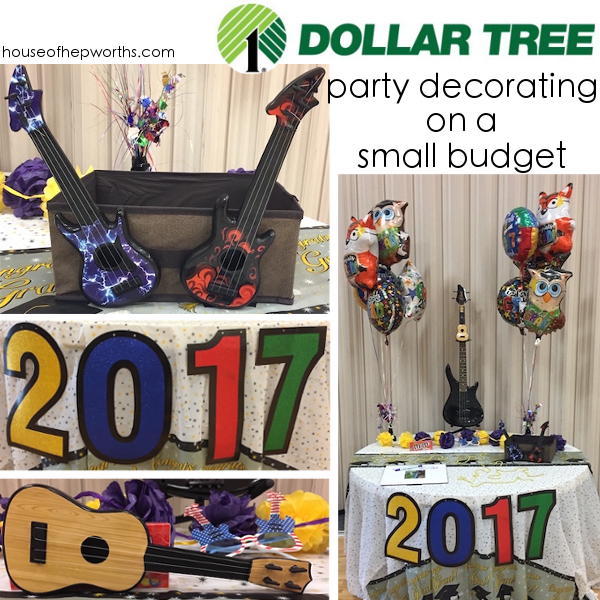
Okay, so let’s talk about this table. I’m not going to beat around the bush here, the table is from…
Read More