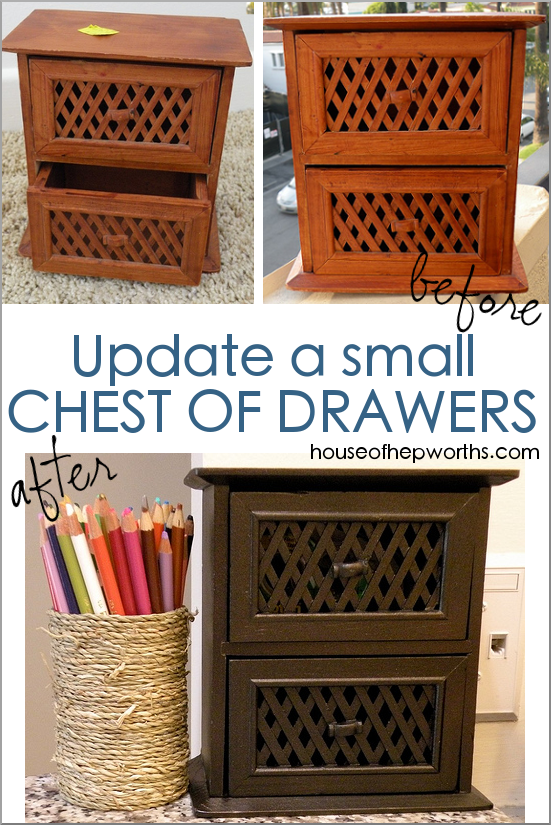
You guys. I found the cutest little, tiny, itty bity, mini chest of drawers at the thrift store. Eek! It…
Read More
Helping you DIY your home one awesome project at a time
You guys. I found the cutest little, tiny, itty bity, mini chest of drawers at the thrift store. Eek! It…
Read More
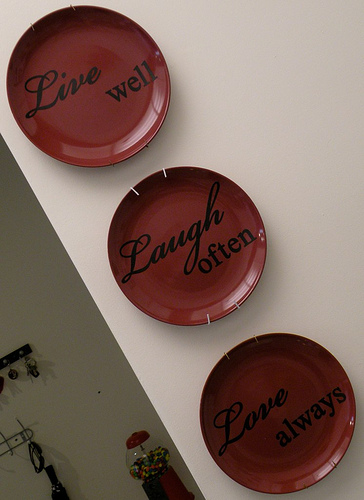
Today I’m going to show you how to make a trio of Inspirational Decorative Plates for only $4. Can’t beat…
Read More
This mirror certainly isn’t the fairest one of all! But it’s mini and we all know that anything mini is…
Read More
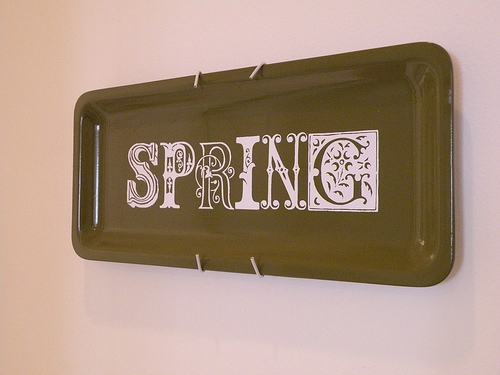
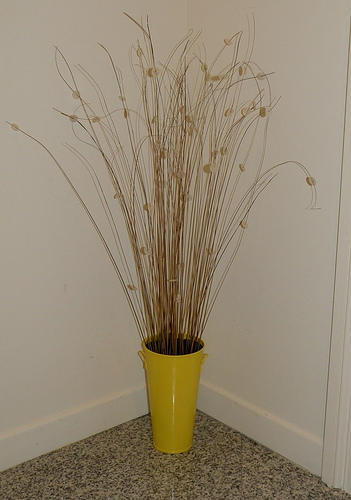
As promised, I’m back to deliver a second Spring decor craft! First, I needed a cheap rectangle platter. Isn’t this…
Read More
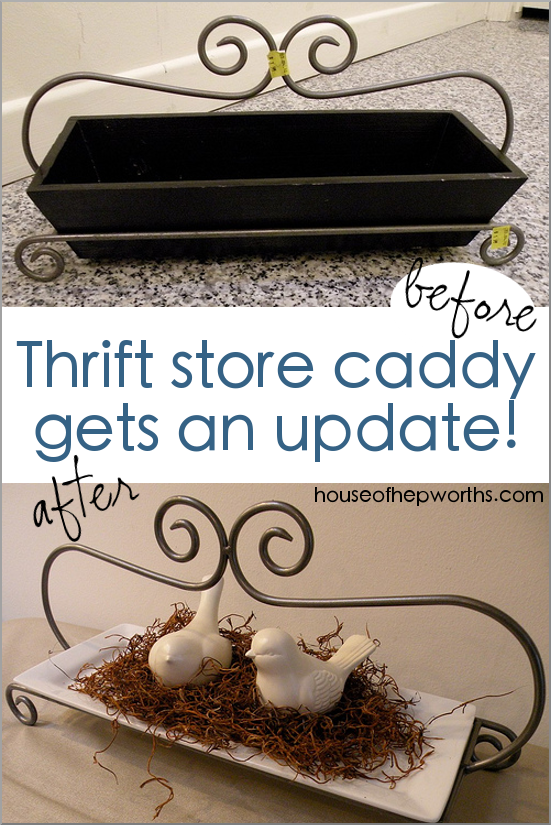
Happy Spring! I’ve been thrifting again (are you surprised?!). I am trying to decorate my house on a budget and…
Read More
About a month ago I showed you this picture on a post called Keepin’ Myself Busy. “This is tin and…
Read More
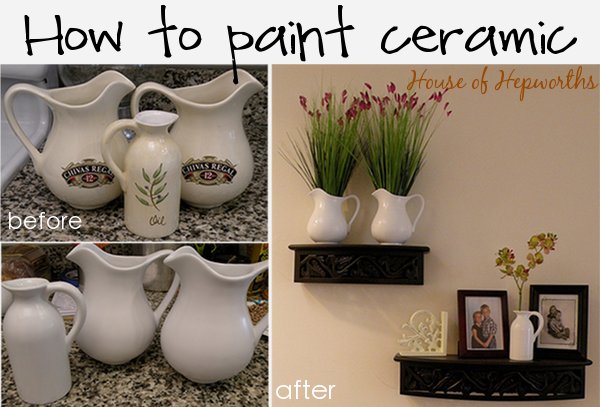
Today I’m going to show you how to paint ceramic pitchers and then how to fill them with a spring…
Read More
Do you remember waaaay back when I showed you this picture? It’s from a post I made about three and…
Read More
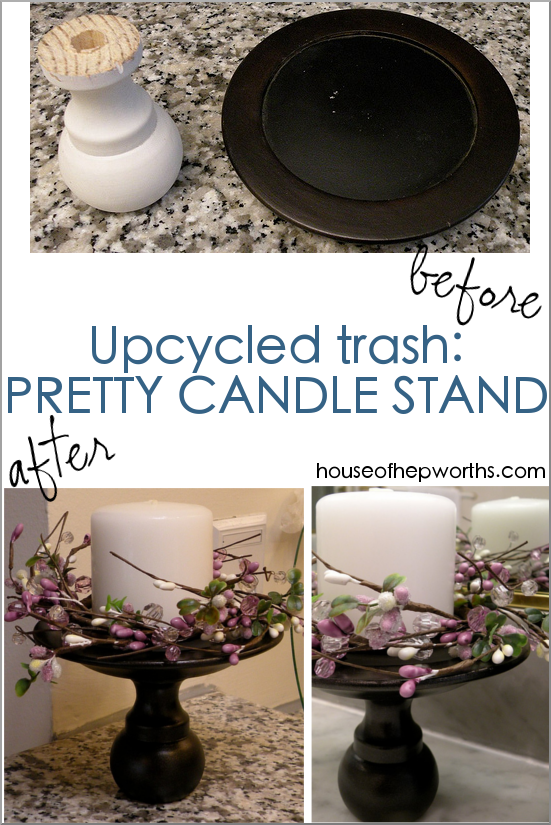
Okay, peeps, I have to warn you up front that it’s late, and I’m in a mood. I’m sure you…
Read More
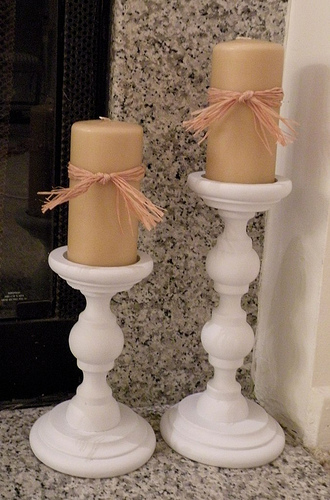
These candlesticks came from Goodwill (gasp! Shocker… I know). I think they were $3 for the set. (Please try really…
Read More