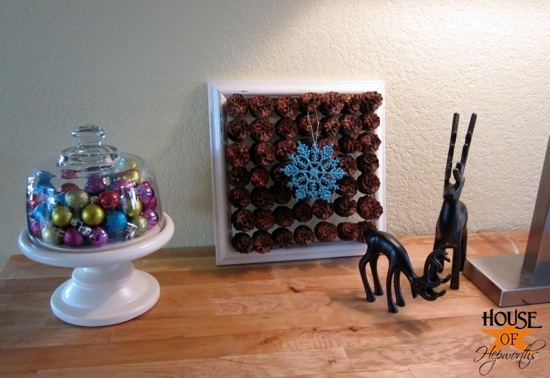
I finally get to use my pinecones I’ve been saving since March! For this project I used the mini pinecones,…
Read More
Helping you DIY your home one awesome project at a time
I finally get to use my pinecones I’ve been saving since March! For this project I used the mini pinecones,…
Read More

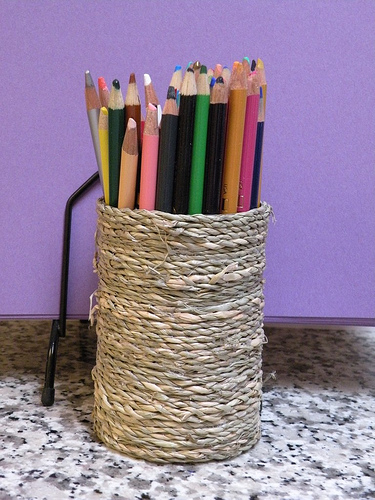
Last week I had the privilege of doing a guest post at Blue Cricket Design. Here is a rendition of…
Read More
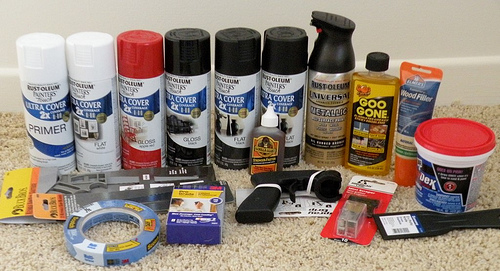
I’ve had quite a few people post comments or email me asking what products I’m using in my posts. I…
Read More
So the other day I made this jute ball out of a basketball and a floor mat. Remember? So I…
Read More
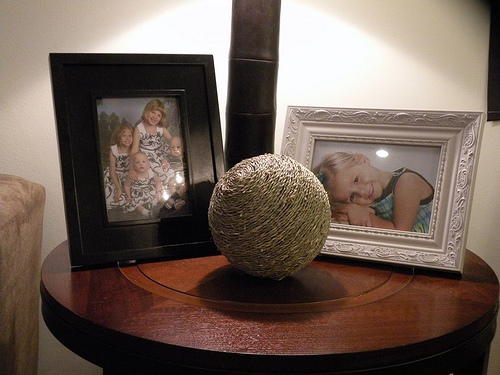
Yes, you read that right. I crafted with a floor mat and a basketball, both purchased at the Dollar Store….
Read More