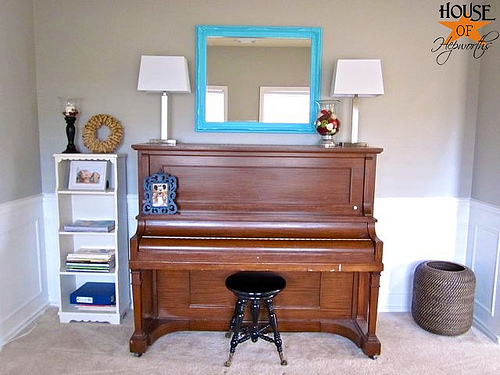
I love big pieces of art. However, big pieces of art are very expensive! Today I’m teaching you how to…
Read More
Helping you DIY your home one awesome project at a time
I love big pieces of art. However, big pieces of art are very expensive! Today I’m teaching you how to…
Read More
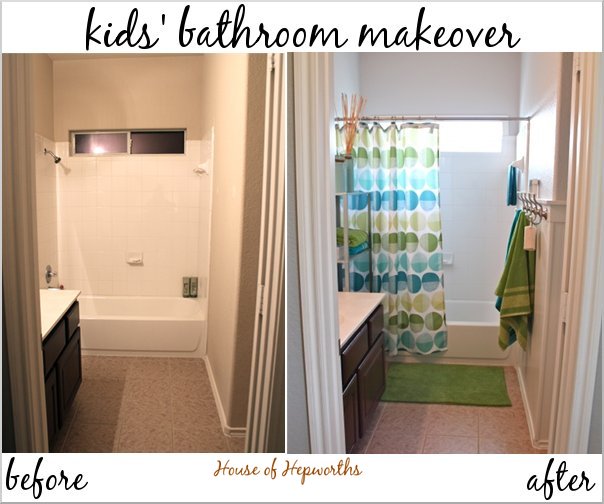
Guess what? I am done. D-O-N-E with the kids’ gender-neutral bathroom makeover! Well, done enough. I still need some art…
Read More
The past few weeks I’ve been working on renovating the kids’ bathroom. Today I’m going to show you how I…
Read More
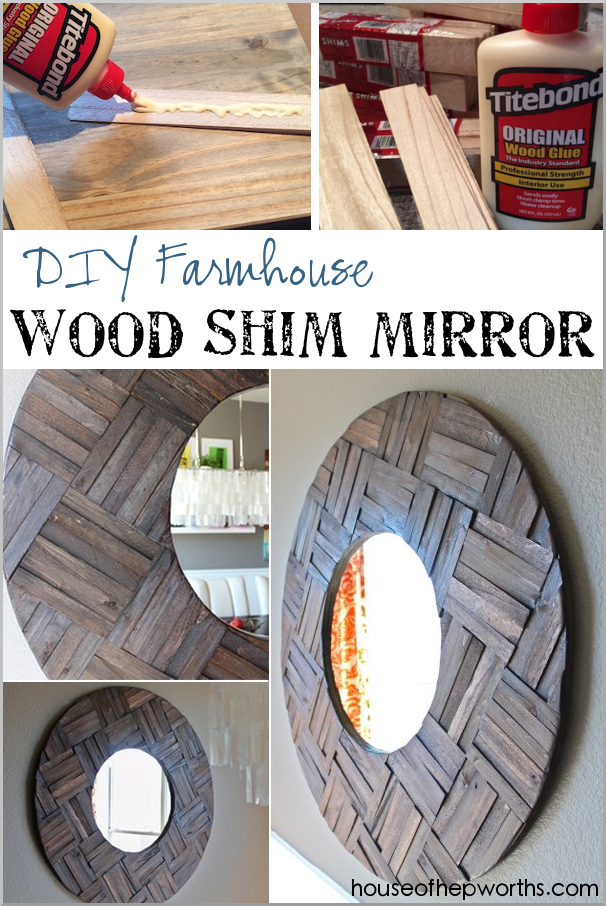
Back in September I was inspired by a photo I found in the Pottery Barn catalog. Basically it was to…
Read More