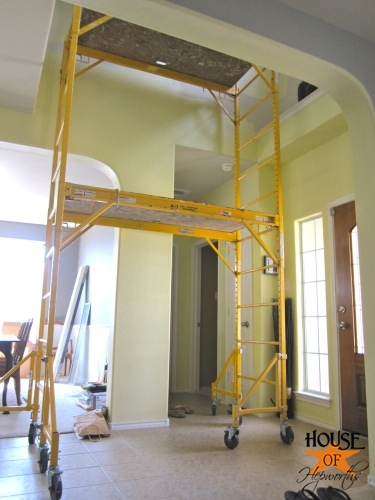
Would you believe me if I said I checked off THREE more projects from my to-do list?! Well, guess what?…
Read More
Helping you DIY your home one awesome project at a time
Would you believe me if I said I checked off THREE more projects from my to-do list?! Well, guess what?…
Read More
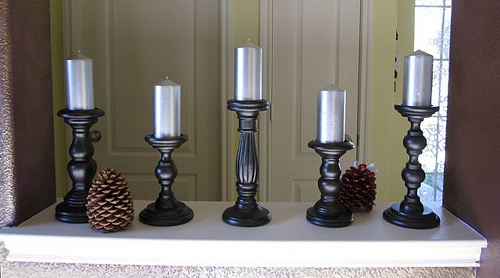
FINALLY!! I’ve used the beloved ORB again! (Oil Rubbed Bronze spray paint by Rustolium) I have this space, kinda like…
Read More
Many of you know I just moved into my house. And with a new move comes lots of additional expenses…
Read More
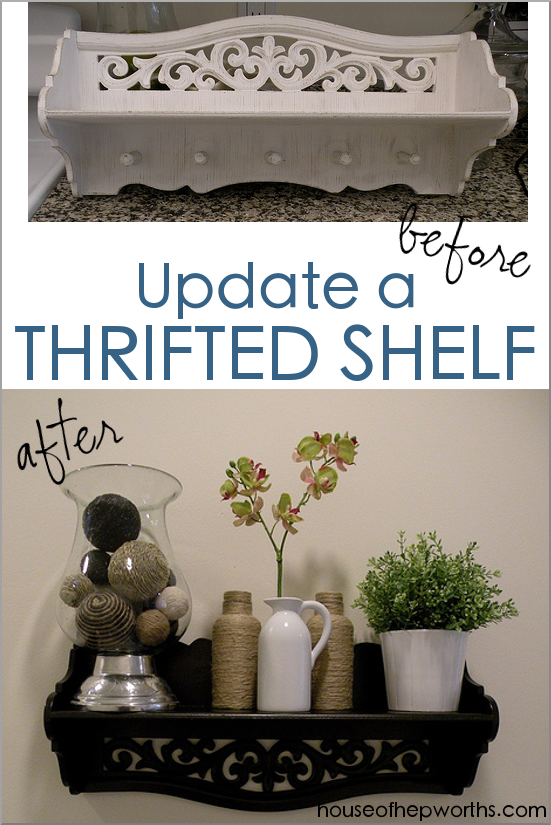
So… I got a new shelf. So cute, right?! I know!! I got it at a certain over-priced thrift store…
Read More
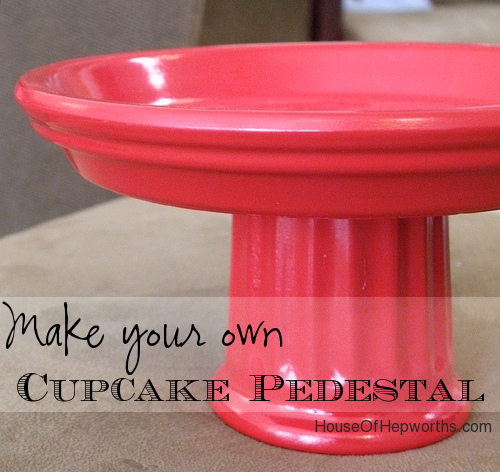
*edited to add: If you make this cute stand, don’t put food directly on it. The spray paint used isn’t…
Read More