Today I’m going to share how to make these adorable {and crafty!} Terra Cotta Pot Christmas Trees!


This tutorial will show how to make the 3-pot tall trees. To make the 4-pot tall tree, just add an additional larger pot to the bottom.
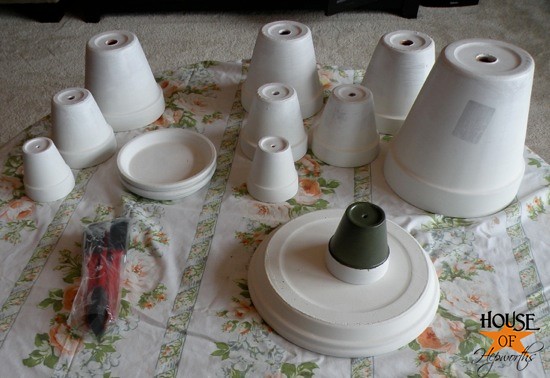
First you’ll need to gather your supplies…
* 3″ pot
* TWO 4″ pots
* 6″ pot
* 6″ saucer
* Mod Podge or Elmer’s glue
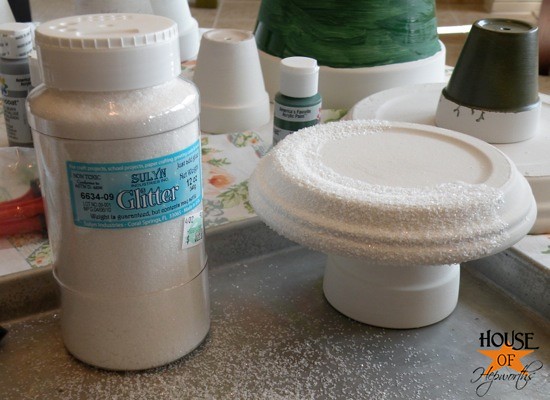
* glitter
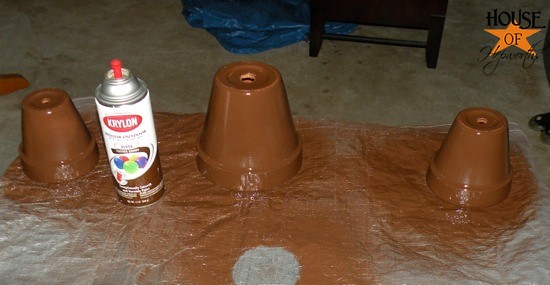
* Spray Paint – Krylon Olive & Krylon Leather Brown
* Primer (spray or paint)
* Acrylic Paint – Americana Santa Red
* red sequins
First things first, you must prime your pots (boring, but necessary). I used a brush and painted the primer on all of them, but spray paint primer will work great as well. The saucer needs it on both sides, but the pots only need primer on the outside and the bottom.
Once the primer is dry, spray paint one of the 4″ pots with the brown spray paint. This will be the stump of the tree. Set this aside until the end.
Next, tape off the lip of each remaining pot. Spray paint the 3 pots with the Olive spray paint (or whatever color you want your tree to be). Make sure to paint the underside of each pot as well.
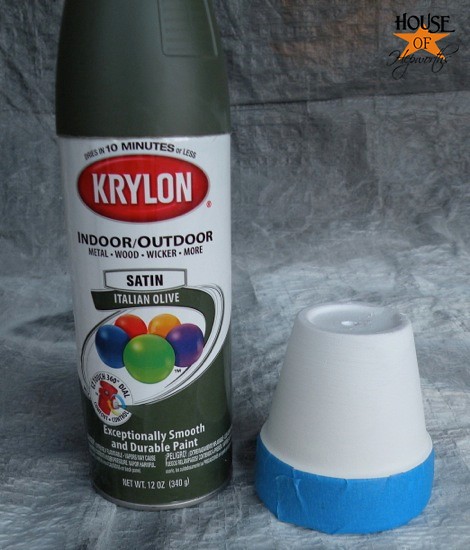
When the green paint is dry, remove your tape.
Using Mod-Podge or Elmer’s glue, paint the edges of the pots and then sprinkle on the glitter.


Work in small sections. Paint the glue, add glitter, paint more glue, add more glitter.
When the glitter is dry it’s time to add your embellishments. I’m going to free-hand some red dots all over the pots.
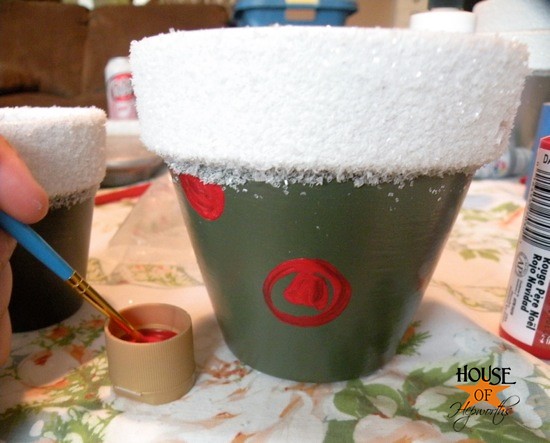
When the dots were dry I coated them a 2nd time so they would be more vibrant. While they were still wet I put a sequin in the middle of each dot. It’s glued on by the wet paint.
Wait again. This time for the red paint to dry.
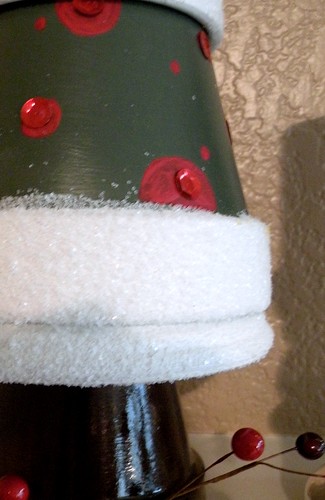
Now it’s time to stack them!
Turn your brown pot upside down and set it where you want your Christmas tree to sit.
Place the saucer UPSIDE DOWN on top of the brown pot. Starting with your largest pot, stack each post upside down one on top of the other to form the tree.
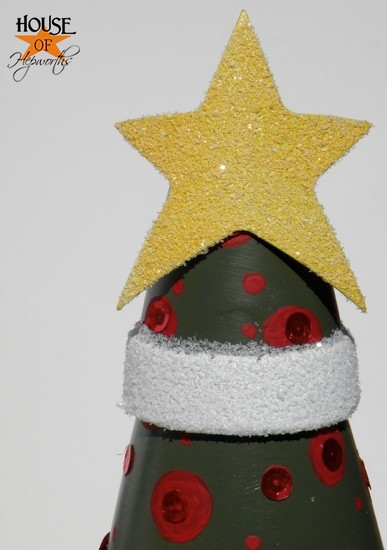
For the topper I spray painted a metal napkin ring yellow and coated it in glitter.
*NOTE* I did not glue the pots together. I would recommend keeping this away from small children and pets that can knock it over. You can glue them together if you’d like, but I like to keep them separate so that I can nest them after Christmas for easier storage.
These were originally posted last year. To can see the original posts here, here, and here.
The trees are fabulous!! What a great idea!
Hugs
SueAnn
Hi Allison-
Clever trees – I think I like the one with the pom poms best. All those pops of color – so festive and pleasing to my eye.
Thanks for hosting the holiday link party XO
I hope you and your family have a wonderful holiday season.
My best- Diane
Allison, Glad we’re blogging around the Christmas Tree together! Your tree is such a great idea! Love it! Glad to link up with you! Hope to see you tomorrow at my linky party with all your great “SCAPES” table, landscape, etc.
XO, Aimee from ItsOverflowing.com
Love your Trees! They are so Whimsical, Like from Who-ville. Thanks for hosting a Wonderful Party! Cheers.
thanks for hosting-my entry is as crafty as i get!
Such cute trees! Thanks for the partay! 🙂
Thank you for hosting Allison! I linked up my no sew burlap tree skirt! Have a great week. ~ KIM
Thanks for hosting. Your trees are great!
So adorable! Thank you so much for sharing and for the tutorial. Hope you’re feeling better soon. Health is so important!
Melody
chattychics.com
PS Have your button on my blog. Love reading your stuff. Let me know if you ever want to team up to do a project together!