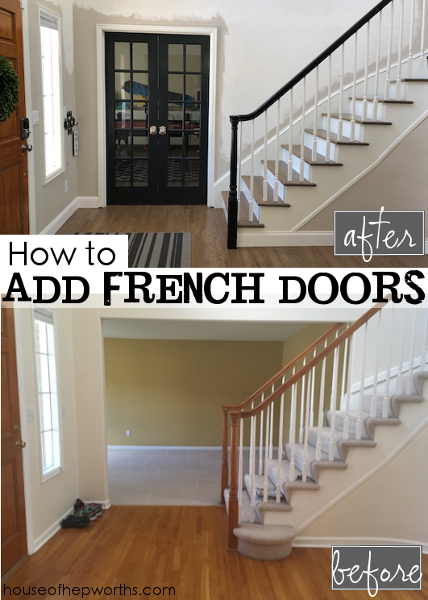
Hi everyone! I hope you’ve been enjoying this whole house renovation series so far! Today I’m back to share how we closed in the staircase wall and added french doors. In part 1 I showed how we built in the wall (and also reconfigured our staircase), so today is all about adding the french doors, drywall, texture, paint, and trim! Check out part one here.
After our wall was framed out and our staircase was finished (check out our before and after staircase post here) it was time to get busy on the french doors.
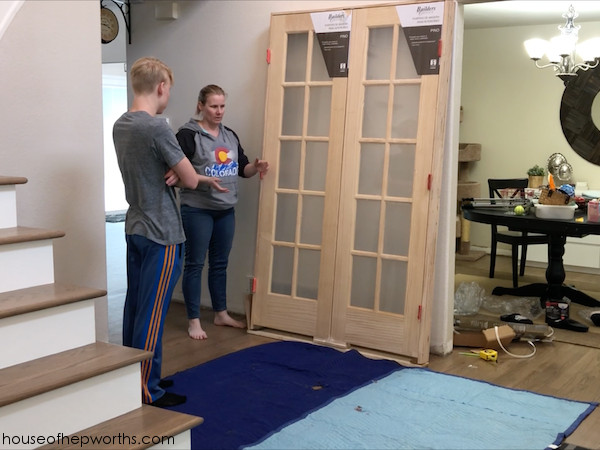
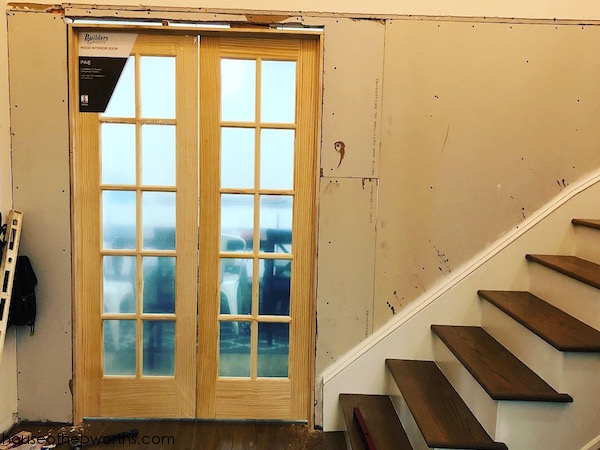
We purchased our french doors from our local hardware store. We bought these particular doors because they match our 10-pane glass door into my office. We purchased pre-hung french doors to make installing them even easier. Here are the doors we bought.
Before we could install them we needed to trim a little off the bottom of the frame. You can install these doors before or after your flooring goes in. The frame comes long enough to accommodate room for flooring if you install the doors pre-flooring.
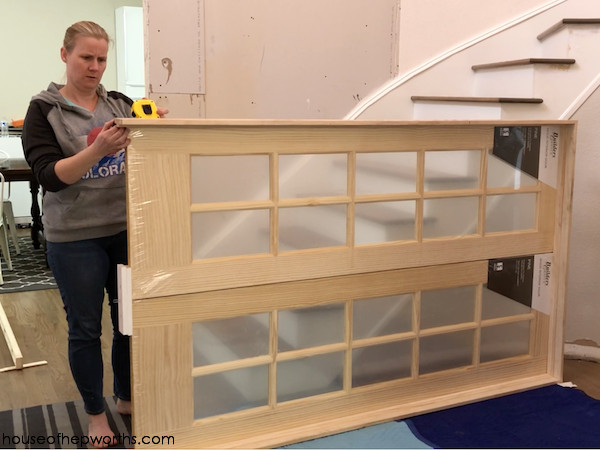
In our case, our floors were already finished and these doors sit on top of the new flooring so we had to trim about 1/2″ off the bottom first. If we didn’t, the doors themselves would sit too high off the ground and cause a large gap between the bottom of the doors and the flooring. We just used a circular saw to trim off the excess. We have this saw and really love it.
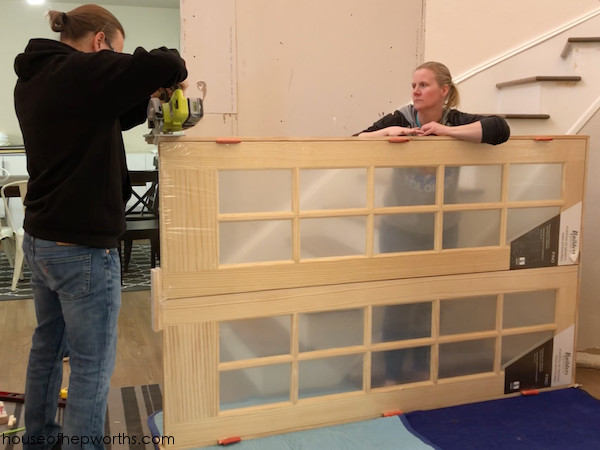
Once the frame was trimmed it was time to move it into place. When we purchased the pre-hung french doors there were screws holding the doors together at the top and the bottom. Make sure you take these out before you attach your doors to their new frame, otherwise you won’t be able to open your doors!
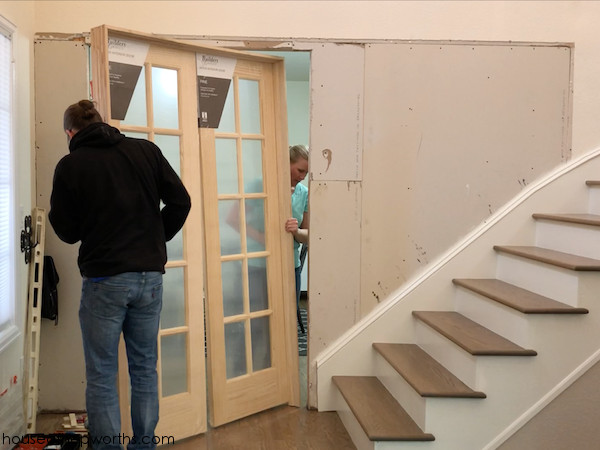
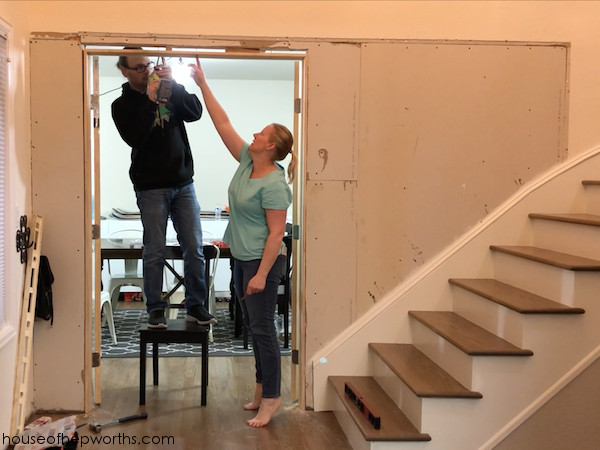
Once the doors were in place we used levels and shims to make sure they were, well, level. If you don’t level out your doors then the doors will swing open or closed by themselves. That gets annoying and will make you think your house is haunted, so make sure to level them!
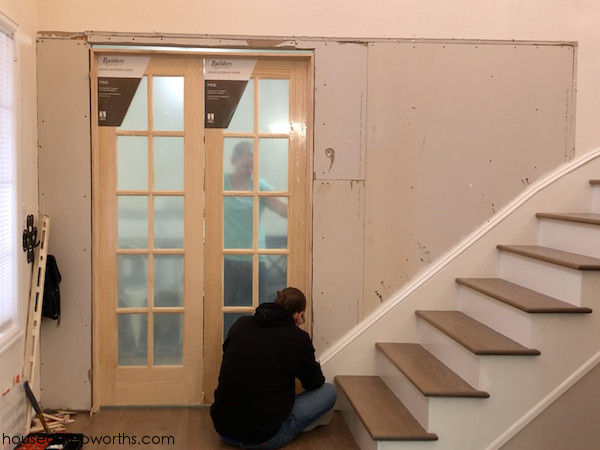
We attached the doors in multiple spots using some large screws.
Looking good!
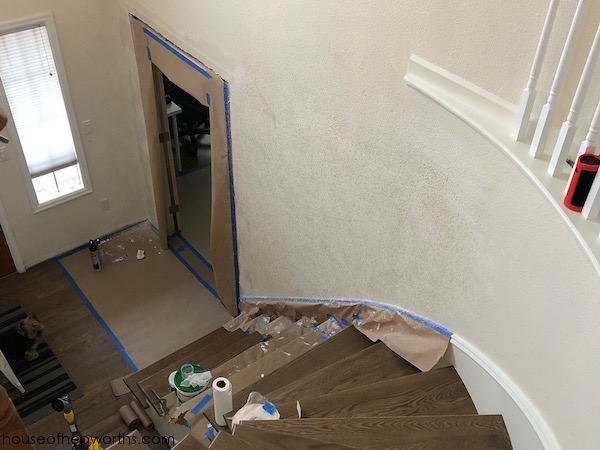
Once the doors were hung it was time for me to finish up the drywall. It needed to be taped, floated, and textured.
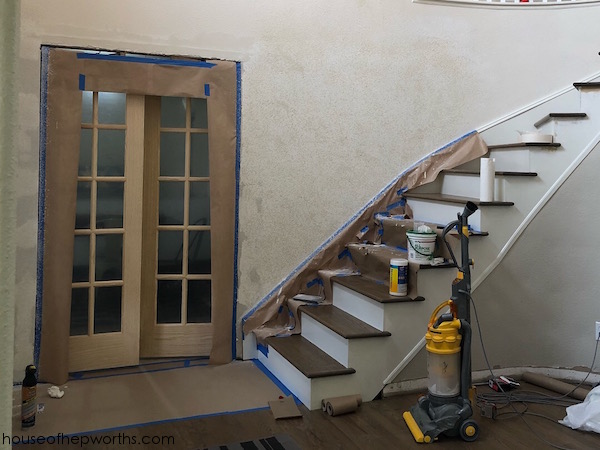
I used several cans of Wall Texture. Next time I will purchase a hopper and drywall gun. The space was small and I wanted to avoid the cost of purchasing the hopper and gun, but I ended up using 4 cans of the $20 wall texture, so I should have just purchased the hopper to begin with.
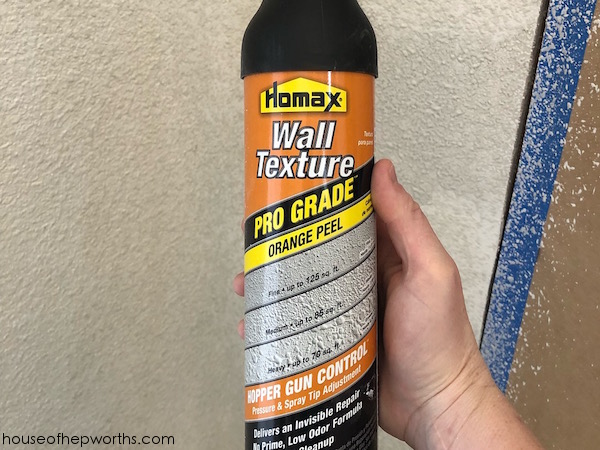
The can of texture looks like full coverage as you spray but once it dries it tends to dry too flat, so I had to go over the area many times to have it match my existing texture. It got the job done eventually though.
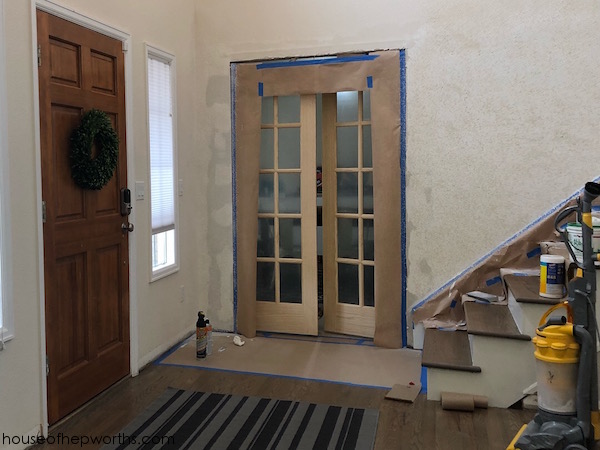
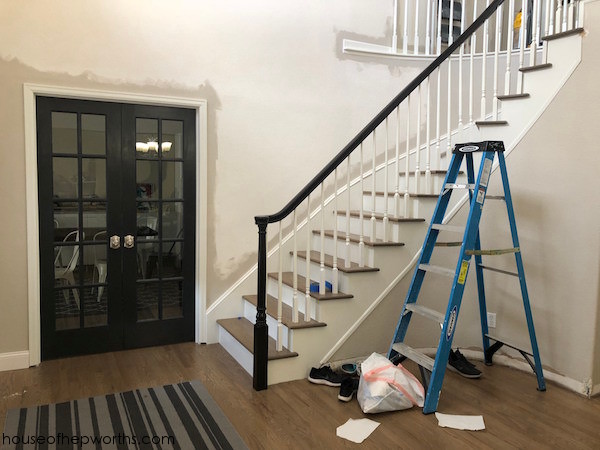
Once the texture dried I started to trim out the edging with the wall paint and also painted the french doors black and added knobs. My black paint is from Sherwin Williams and is called Graphite. The new greige wall color is Sherwin Williams Accessible Beige. The door knobs are these ones. I purchased 4 dummy knobs.
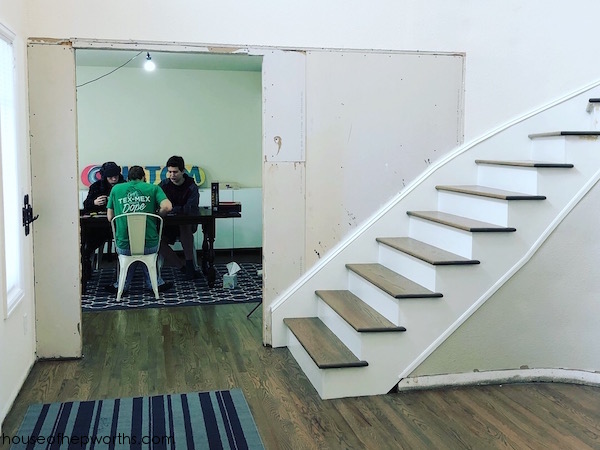
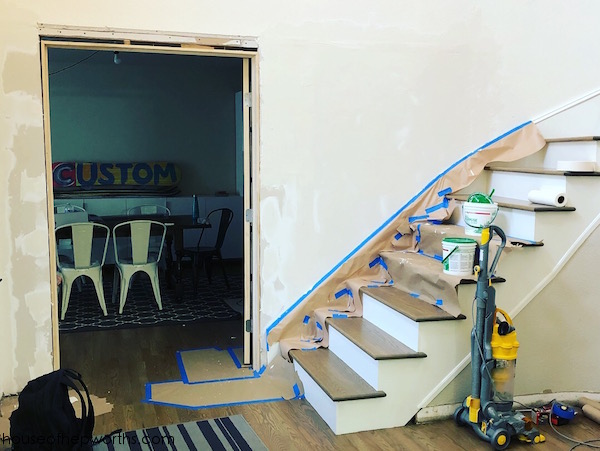
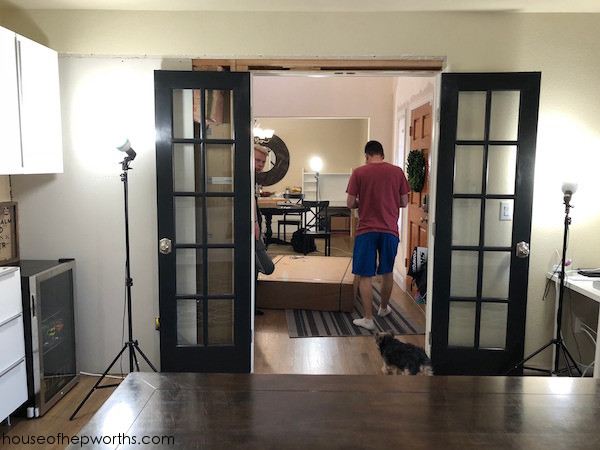
Sneak peek of our new Board Game Room coming together. I haven’t blogged about this room yet; I’ve only hinted at it. For lots of sneak peeks of this room you can watch Ben’s board game youtube channel, SnowBoardGamer.
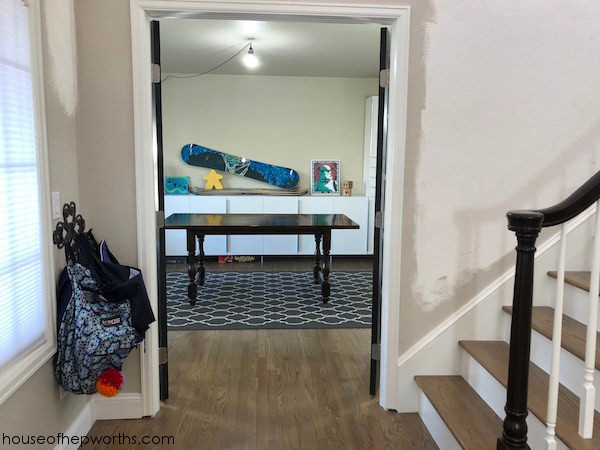
Here’s the view of the doors from inside the Board Game Room. We still have to finish out the drywall and trim. We have been slow-moving lately.
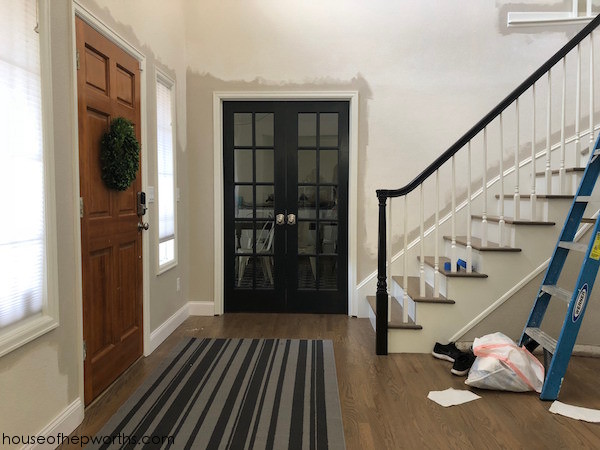
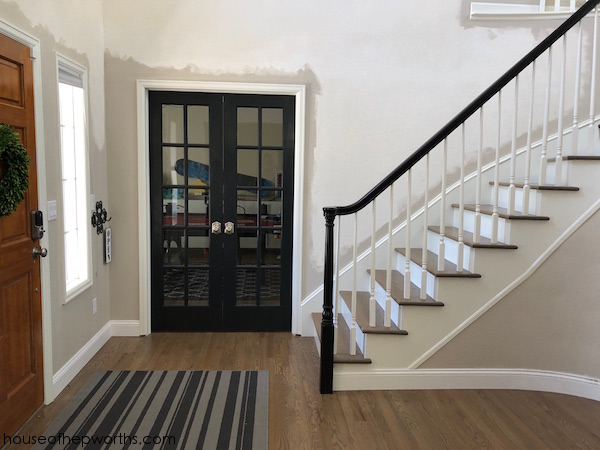
And here’s a shot of our foyer as it is right now.
Here’s my favorite part, a good old before and after:
Start at the VERY beginning of our WHOLE-HOUSE renovation:
New to this series? Start at the beginning here
Part 1: Framing out the wall and staircase
Before and after staircase makeover
Refinishing Hardwood Flooring series

This post contains amazon affiliate links
Thanks for reading! Have a wonderful week!
Loving seeing it all come together! I totally love those french doors!
So the doors don’t actually latch?
They latch at the top
Oh! I must have missed that. Thank you!
I’m a little late to comment, but I love the knobs you attached. Sadly, the link is broken! Any idea where someone could still find them? They would be perfect on my pantry, which currently has builder grade wooden “knobs” that are constantly coming loose.
Here’s the link: https://amzn.to/2ubgF9L
Hey! Not to overstep, but currently considering buying a house & doing this same thing to it… if you don’t mind me asking..how much did this renovation cost you?
I’m in the same boat. Any update, if you dont mind, on how much this cost?
Same we are building right now and I’d love to know even a ballpark figure on just the framing, drywall, and French doors portion of this Reno. I see the doors are $450. But can you, if it’s not prying too much please let us know approx cost? Builder wants to charge us $2000 USD to close in a study as a library (home office)