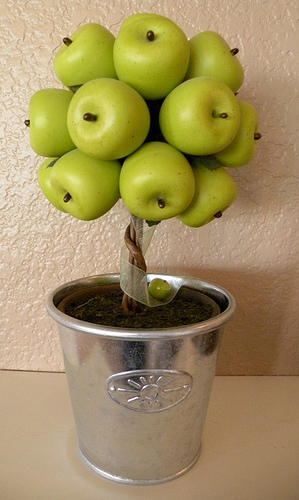
Exhibit A: Apple topiary. Cute from the waist up, but not so cute pot. It’s all glued together though. What…
Read More
Helping you DIY your home one awesome project at a time
Exhibit A: Apple topiary. Cute from the waist up, but not so cute pot. It’s all glued together though. What…
Read More
Do you ever have moments where you are just like, “Dur! Wow, I can’t believe I didn’t think of that….
Read More
Yes, I’m writing a post about installing a paper towel rack under the cabinet. No, I haven’t run out of…
Read More
Goodwill freaking ROCKS. Yes, you read that right. Allison is actually saying something nice about Goodwill. I went to Goodwill…
Read More
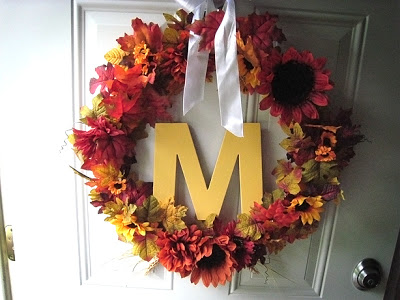
I’m seriously in awe that I was able to inspire so many amazing people to create their own wreaths and…
Read More