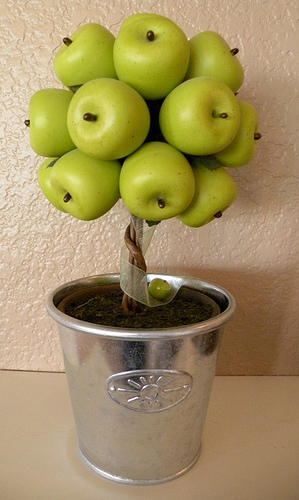
Exhibit A: Apple topiary. Cute from the waist up, but not so cute pot. It’s all glued together though. What…
Read More
Helping you DIY your home one awesome project at a time
Exhibit A: Apple topiary. Cute from the waist up, but not so cute pot. It’s all glued together though. What…
Read More
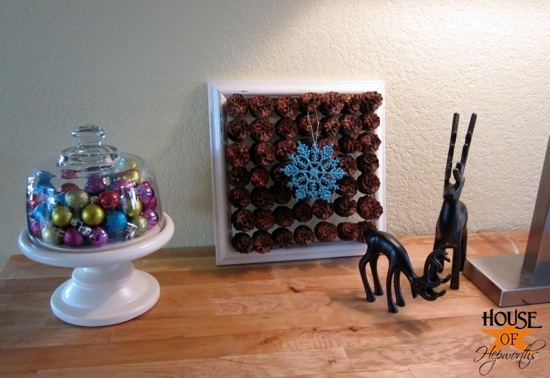
I finally get to use my pinecones I’ve been saving since March! For this project I used the mini pinecones,…
Read More
Do you ever have moments where you are just like, “Dur! Wow, I can’t believe I didn’t think of that….
Read More
Yes, I’m writing a post about installing a paper towel rack under the cabinet. No, I haven’t run out of…
Read More
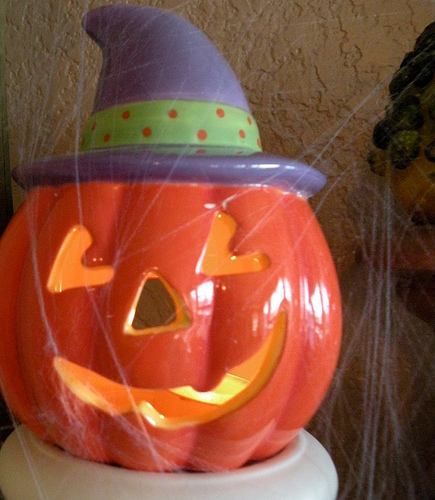
I’ve temporarily taken down the Fall decor and busted out the Halloween stuff! I pulled out my box-o-scariness… … if…
Read More