I’ve been trolling the thrift stores lately in search of the most perfect items to give makeovers to. I need…
Read More

Helping you DIY your home one awesome project at a time
I’ve been trolling the thrift stores lately in search of the most perfect items to give makeovers to. I need…
Read More
So the other day I made this jute ball out of a basketball and a floor mat. Remember? So I…
Read More
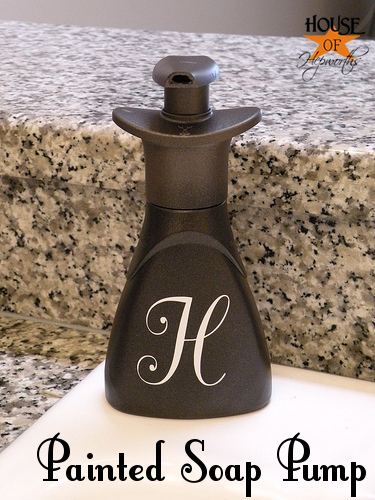
So, is there any way I can make this look better? You betcha! Check this out!! (Look familiar? Yup, I’m…
Read More
Don’t you hate it when you wash bowls or jars, put them out to dry, and then they are still…
Read More
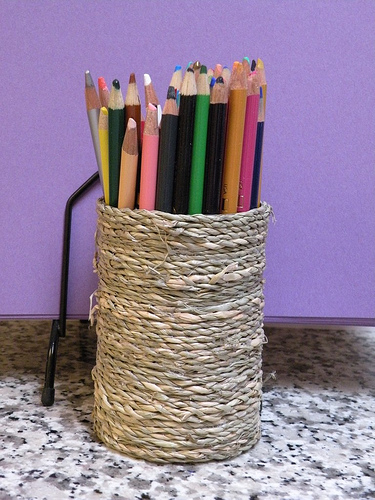
Since living in this apartment, I don’t have a good place to store the kids coloring books. For two months…
Read More
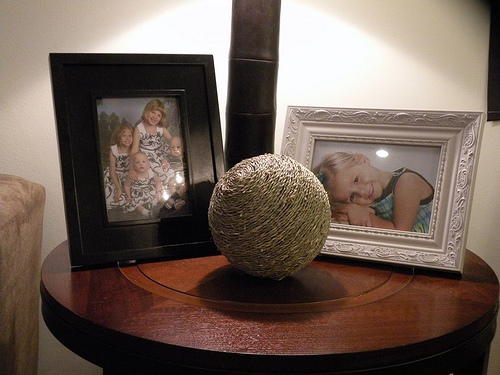
Yes, you read that right. I crafted with a floor mat and a basketball, both purchased at the Dollar Store….
Read More
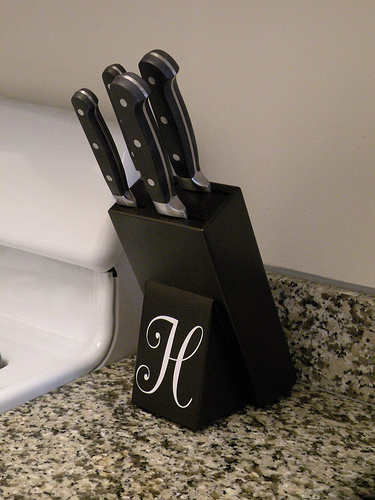
I’m just so so SO dang excited to show you my latest project!! I was going to wait until tomorrow…
Read More
I bought this sign for my Easter Decor: After I popped the flowers off the sign I didn’t want to…
Read More