Today I’m going to share how to make these adorable {and crafty!} Terra Cotta Pot Christmas Trees! This tutorial…
Read More

Helping you DIY your home one awesome project at a time
Today I’m going to share how to make these adorable {and crafty!} Terra Cotta Pot Christmas Trees! This tutorial…
Read More
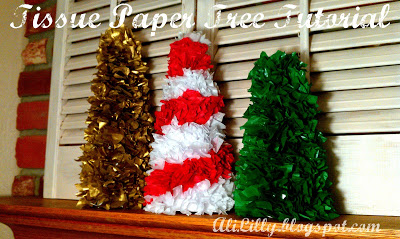
Trees, Trees, Trees galore! My weekly link parties have been flooded with tons of awesome Christmas crafts, most of which…
Read More

Hey friends! Today I’m {finally} going to show you my 3rd and final Christmas Tree I made from terra cotta…
Read More
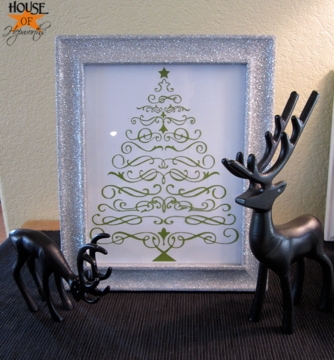
Last week I showed you the adorable Christmas Tree vinyl Shelley sent me and asked for suggestions on how…
Read More
In 1999 I was at the grocery store with my older sister, Natalie, about a week before Christmas. As luck…
Read More