We were recently pranked so good by some of our friends that I am still laughing about it. Seriously, this…
Read More
Helping you DIY your home one awesome project at a time
We were recently pranked so good by some of our friends that I am still laughing about it. Seriously, this…
Read More
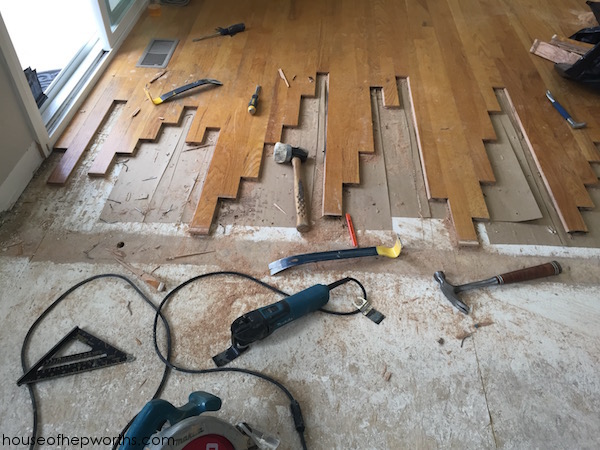
Happy Friday! Today is the post you’ve all been waiting for – the floor post. Well, the first one anyway….
Read More
New to this series? Click here to start at the beginning! As part of our whole house renovation we decided…
Read More
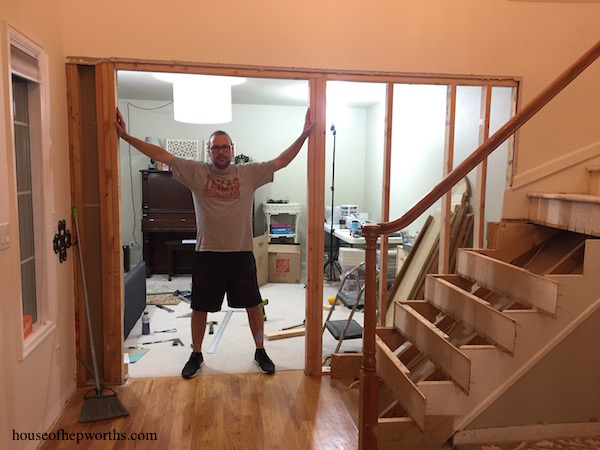
Last September we started a huge renovation on our home. I’ve wanted to blog about it since then but have…
Read More
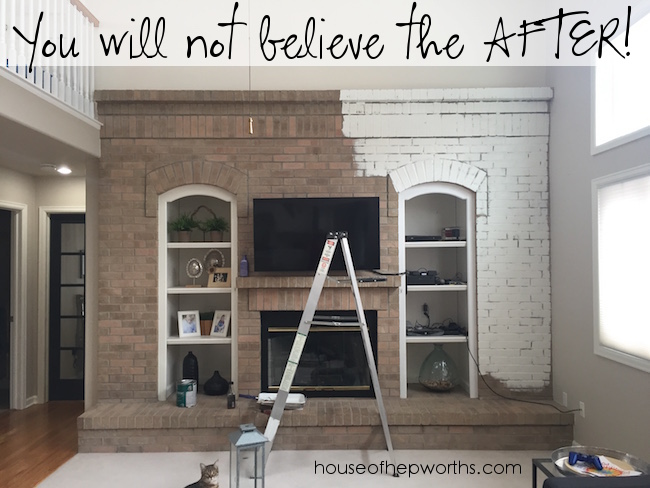
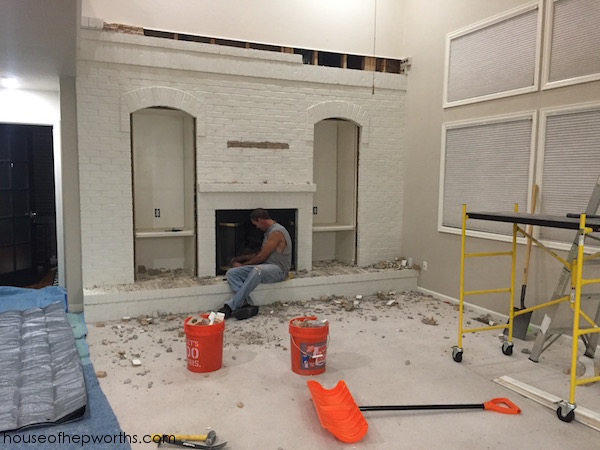
I finally did it. I finally took the plunge and painted the fireplace! I’ve been putting it off for a…
Read More