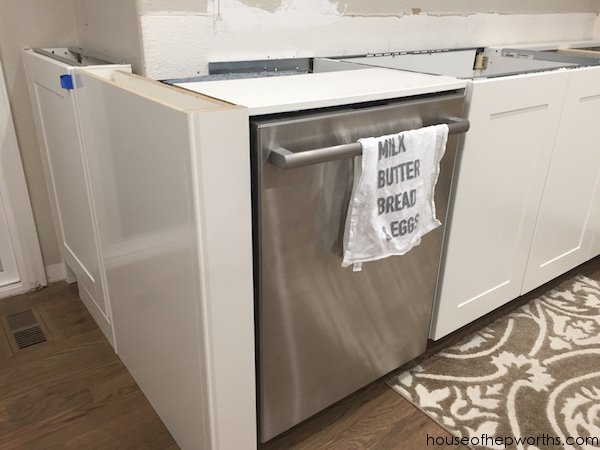
Happy Hump Day! Today I’m switching gears from the Custom IKEA kitchen island over to the sink area. We had…
Read More
Helping you DIY your home one awesome project at a time
Happy Hump Day! Today I’m switching gears from the Custom IKEA kitchen island over to the sink area. We had…
Read More
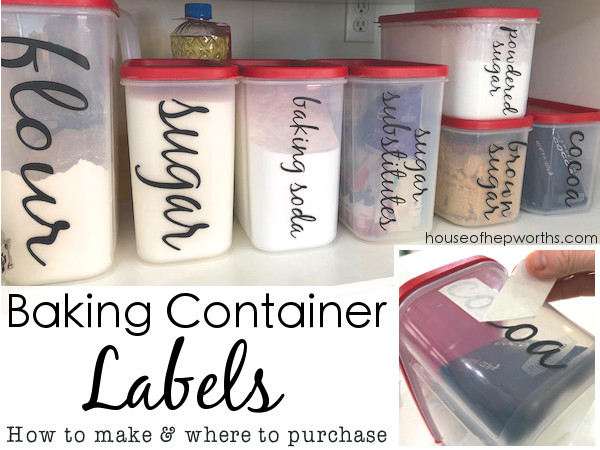
My daughter LOVES to bake. I wouldn’t be surprised if someday she opens up her own bakery. She bakes yummy…
Read More

In my last blog post I shared all about assembling and installing our new IKEA sektion cabinets. We are renovating…
Read More
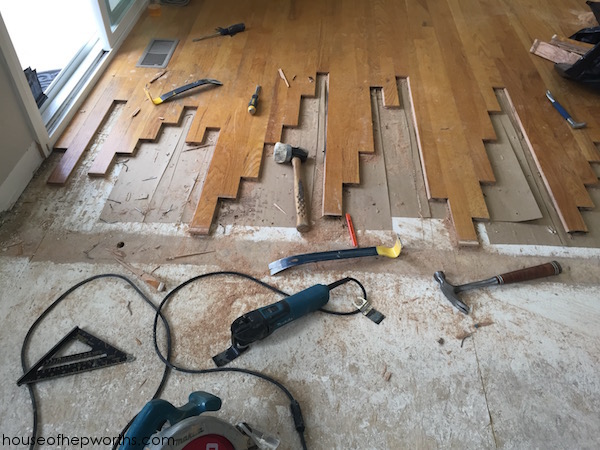
Happy Friday! Today is the post you’ve all been waiting for – the floor post. Well, the first one anyway….
Read More
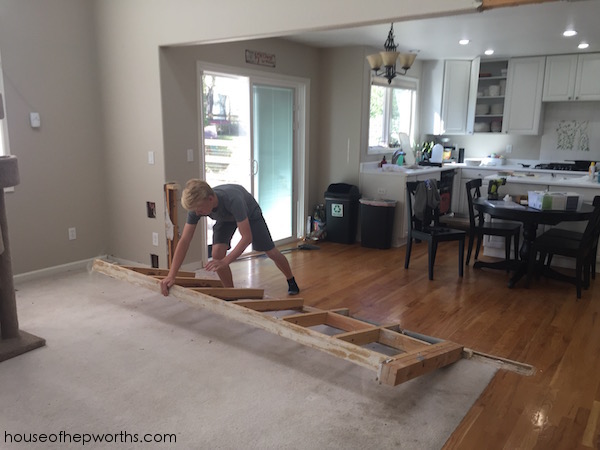
New to this series? Click here to start at the beginning! We want to get rid of all the carpet…
Read More