In my last blog post I shared all about assembling and installing our new IKEA sektion cabinets. We are renovating our kitchen ourselves and are sharing the process through a series of blog posts. To begin the series, start here.
As promised in my last post, today I’m sharing all about IKEA pantries; assembling, installing, adding plug outlets inside of.
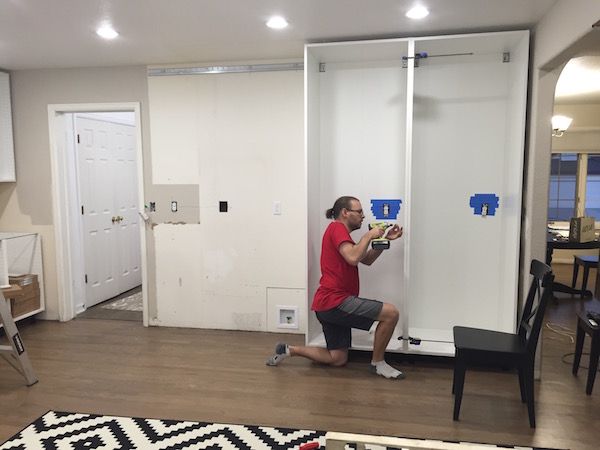
In our new kitchen we will have 3 pantries; two 30″ wide pantries with shelves inside that will mainly be used for food, and one 24″ wide one with wire drawers inside to be used as a “baking” cabinet for our daughter who is obsessed with baking. The first step is obviously assembling the pantries. They are just a huge box and assemble the same as the rest of the kitchen boxes.

They come in two heights; 90″ tall and 80″ tall. We opted for the taller pantries so they would go all the way to the ceiling.
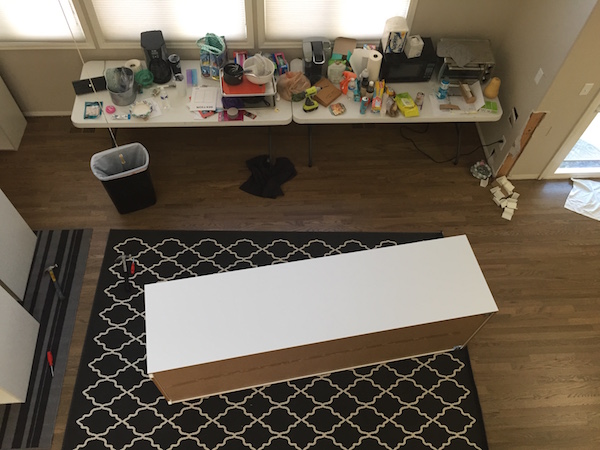
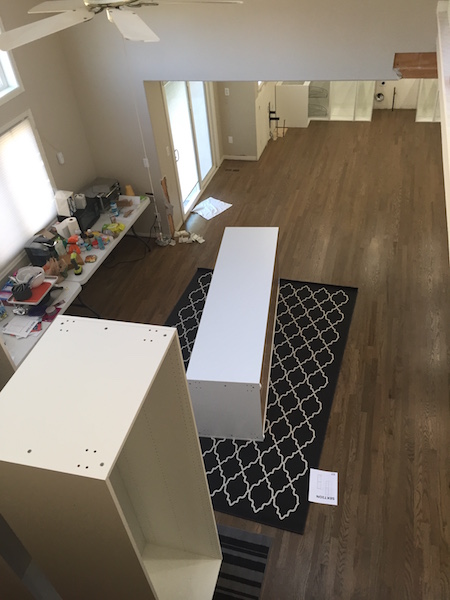
Here you can see the pantries being assembled in our family room with the kitchen in the background.
When you are assembling your kitchen, you will end up with piles and piles of cardboard!

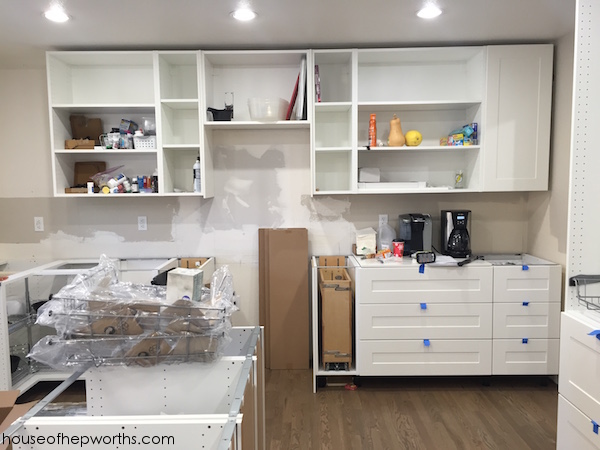
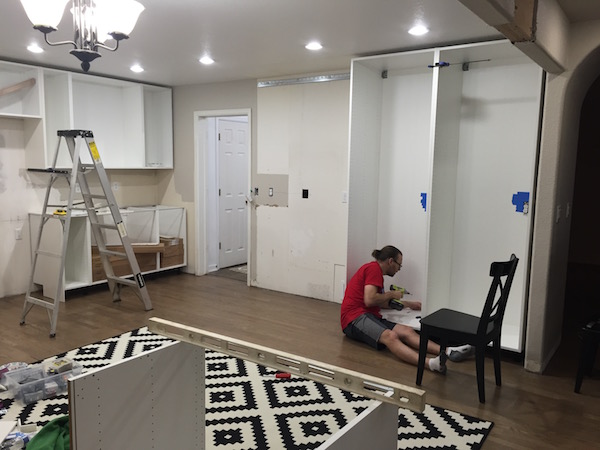
The wall that we are adding the pantries to has three plug outlets along the wall (plus a 4th outlet that an electrician ran for the refrigerator. It’s on its own separate breaker). We didn’t want to cap them and abandon them so we incorporated them into our pantries. This way we will have power inside our pantries if we ever want to put a microwave or something in one. Here you can see the long wall that our pantries will go on:
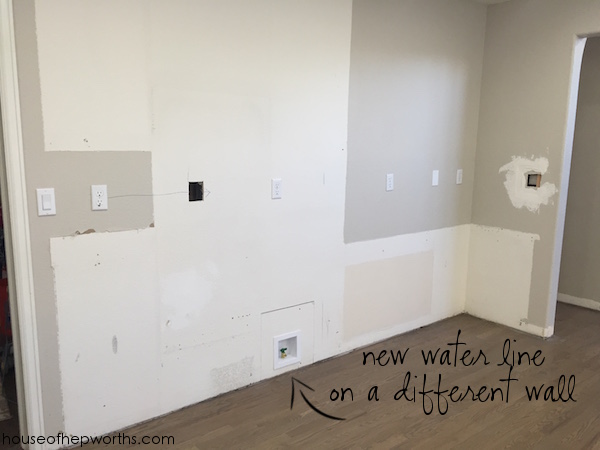
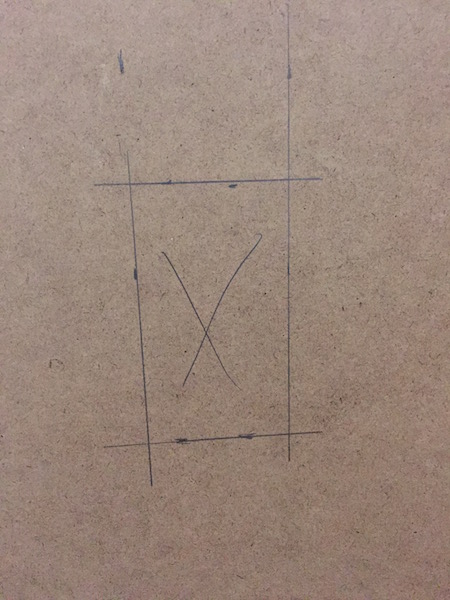
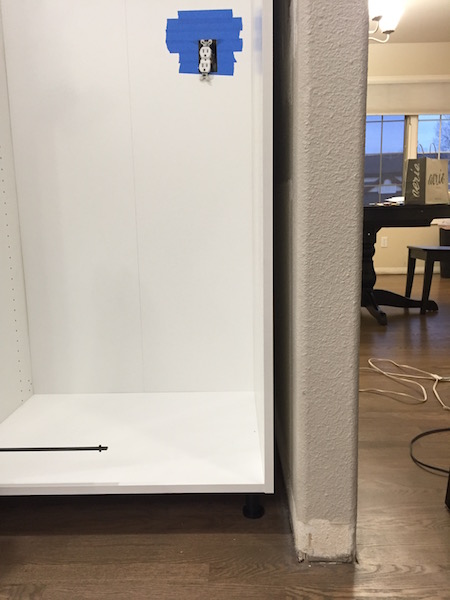
In order to add the plug outlets inside each pantry, some math was involved. We started by measuring the wall to find the exact location of the outlet. Then we measured the back of each pantry and marked exactly where the outlet needed to come through.
From there we measured inside each pantry and added painters tape. The tape protects the backer-board from chipping while we use a jig-saw to cut the back.
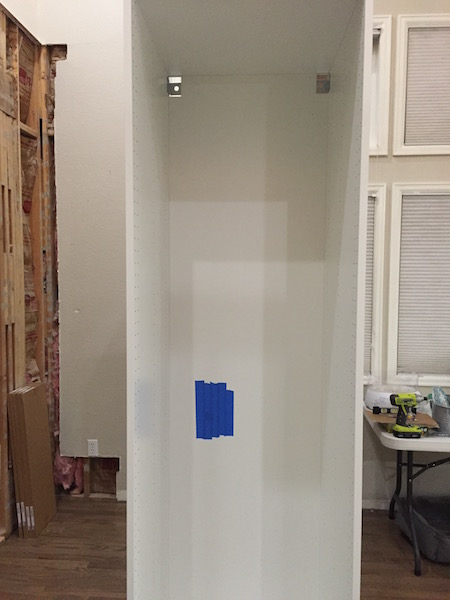
We used our Dewalt jig-saw to cut each of the outlet holes. Once each pantry was cut we placed the pantry in it’s new spot. Funny/awful side story: A few days after we used our jig-saw for the pantries, I was using it on the floor in the garage. I forgot it was on the floor and ran over it with my car. It smashed into multiple pieces and completely destroyed it. Don’t leave nice tools on the floor!
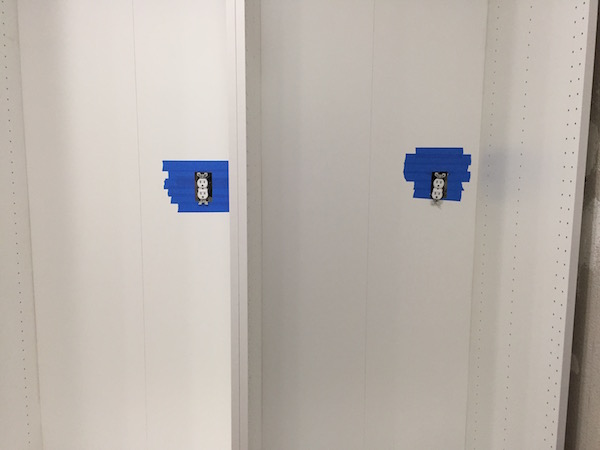
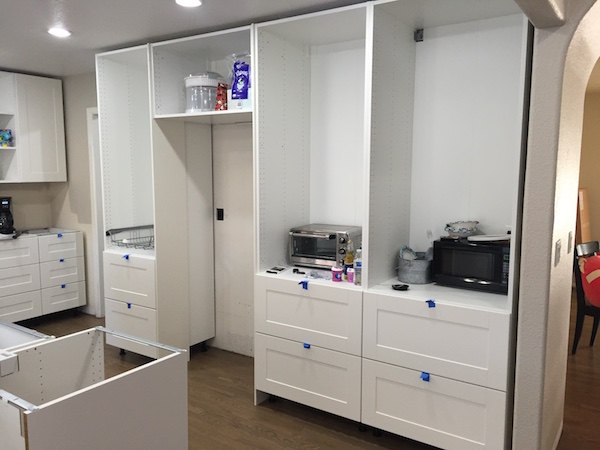
After we pulled the plug outlets through the pantries, we attached the pantries to each other and to the wall.
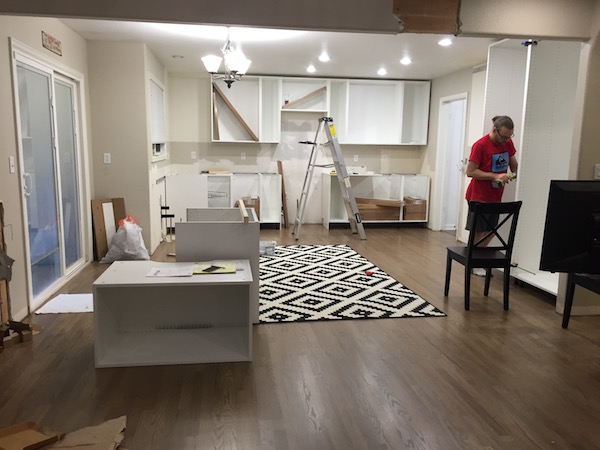
Here’s a wider shot of our kitchen slowly coming together.
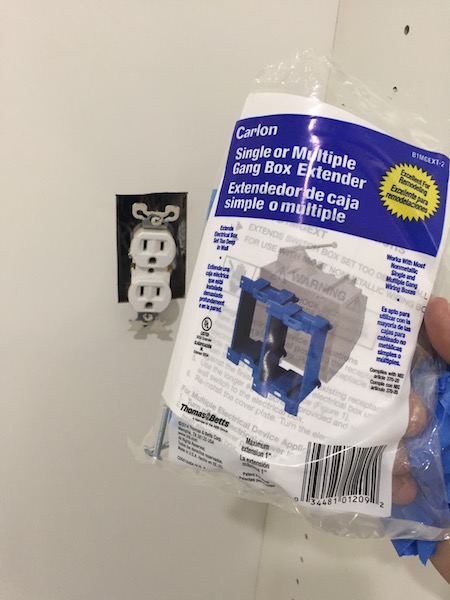
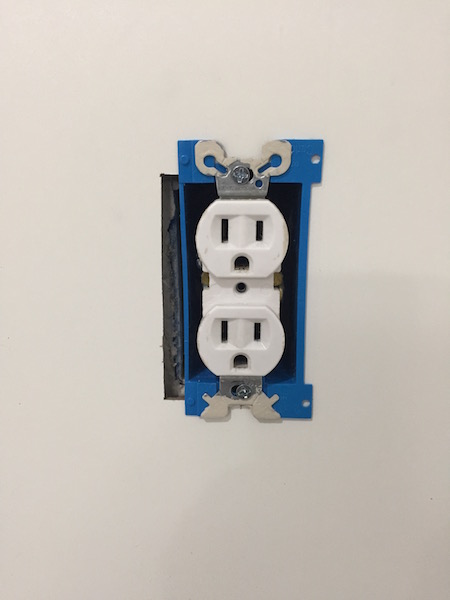
I purchased these Gang Box Extenders to extend the plug outlets through the pantry. This keeps the wires safe inside a box and prevents any scary stuff like sparks or fires.
Now all this needs is a plate cover.
As we continue to build our new kitchen, we are using some temporary appliances – a microwave and a toaster oven. The plug outlets have already come in very handy as a place for us to use these temporary appliances.
Safety notice: Make sure if you are plugging anything in inside a pantry that you only use the appliance while the pantry doors are open. Also make sure you keep the area ventilated. A lot of people keep microwaves inside their pantry, you just have to be smart about it to avoid accidents or fires.
When our kitchen is completely finished we will have a microwave mounted above the stove. We don’t plan on actively using any of these outlets in the future. They are there “just in case we need an outlet”. We know they are available but will most likely use them very rarely, if ever.
Here are all the posts in our IKEA kitchen series:
Building your own custom IKEA kitchen || the planning & ordering process
Assembling and installing IKEA Sektion kitchen cabinets
Adding plug outlets inside IKEA pantries || IKEA sektion renovation
Pull-outs & Lazy Susans || Custom Organization in our IKEA Kitchen
Everything you want to know about building a custom IKEA kitchen island
Create Custom Canned Goods Storage from IKEA Cabinets
Creating a wrap-around cabinet & moving the dishwasher
Run Cables in-wall with a PVC Cable Drop
Installing IKEA quarts countertops – Frosty Carrina
How to install hardware like a Pro – IKEA kitchen renovation
Installing new pendant lighting in our custom IKEA kitchen
Start at the VERY beginning of our WHOLE-HOUSE renovation:
New to this series? Click here to start at the beginning!

This post contains amazon affiliate links
Thanks for reading! Have a wonderful week!
I’m enjoying this series. I think it’s so clever that you and your husband are able to install the entire kitchen yourself. It’s looking great and I look forward to the final reveal.
Mmmm, I LOVE extra outlets! And outlets in cupboards/pantries! You never know where you’ll need power. I need to get some box extenders for our basement walls that came to us with old barn wood “paneling”, but no extension through the new thickness… or switch plate covers (too deep)! So dumb! Eeek for your poor jigsaw! I guess I and my crew aren’t the only ones to drop tools on the job and forget them, haha! I’ve never run over one yet… YET, though! : )
This series of posts has been so helpful! (never thought about the kitchen sale returns – gonna shop that for sure!)
What feet/base did you use for your tall cabinets? I will be installing a few in my laundry room next month and we can’t decide if we want to use adjustable feet or build a 2×4 base and shim to level.
I’m pretty sure that this is 100% not up to code, you’re not allowed to have receptables inside cabinets, that’s a fire hazard.
Installing a Sektion / Grimslov kitchen. The cabinet boxes were not that hard. I had a lot of trouble hanging the rail. Too many things to check – studs, level and exact heights. Now on to the drawers. Do you have a blog on drawers and the sink drawer with the one drawer but two or three cover panels? Thanks for all the other info.