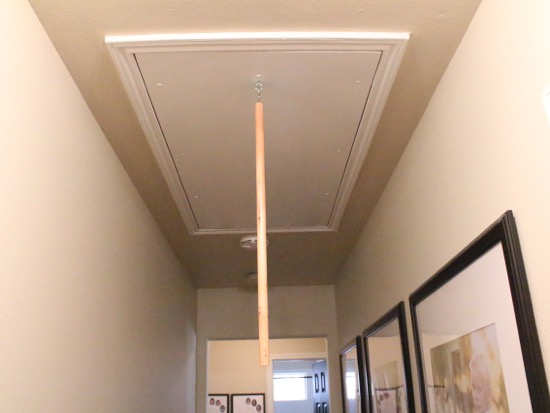
(I was one of the bloggers selected by True Value to work on the DIY Squad. I have been compensated…
Read More
Helping you DIY your home one awesome project at a time
(I was one of the bloggers selected by True Value to work on the DIY Squad. I have been compensated…
Read More
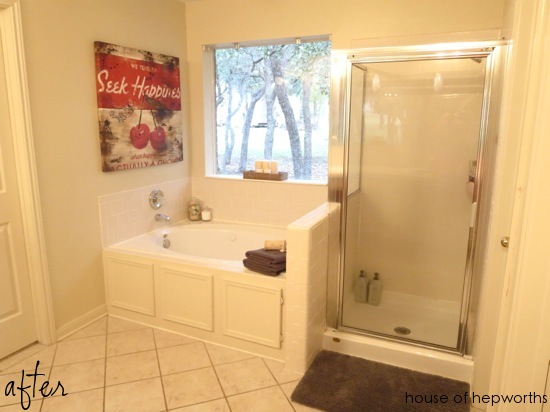
I painted our master bathroom a year ago, and realized today that I never posted about it here. I wrote…
Read More

(I was one of the bloggers selected by True Value to work on the DIY Squad. I have been compensated…
Read More
(I was one of the bloggers selected by True Value to work on the DIY Squad. I have been compensated…
Read More
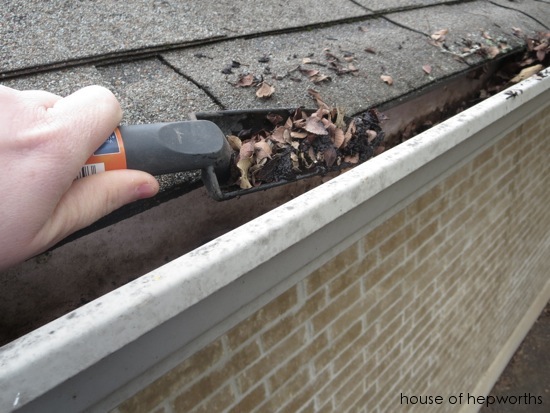
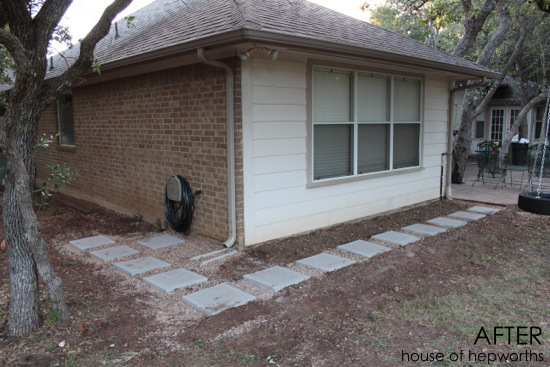
Summer was a blast but now Fall is swiftly approaching. Don’t forget to prepare the outside of your home and…
Read More