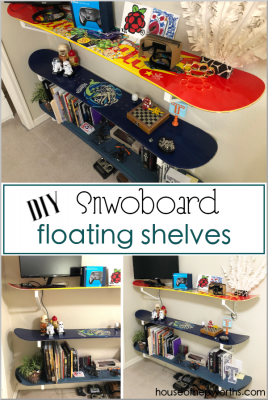
Making your own DIY floating shelves from snowboards is really easy and makes a fun statement piece! Follow this simple…
Read More
Helping you DIY your home one awesome project at a time
Making your own DIY floating shelves from snowboards is really easy and makes a fun statement piece! Follow this simple…
Read More
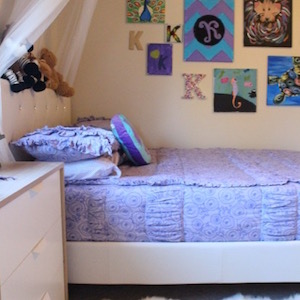
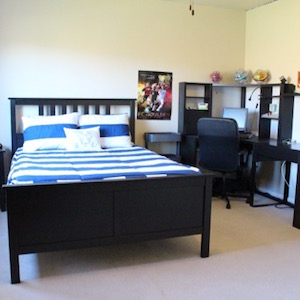
Over the past few weeks I’ve shown you guys my son’s and daughter’s bedrooms. They both are sporting some new…
Read More
Now that we are getting settled into our new house, I have the very beginnings of some before and now…
Read More
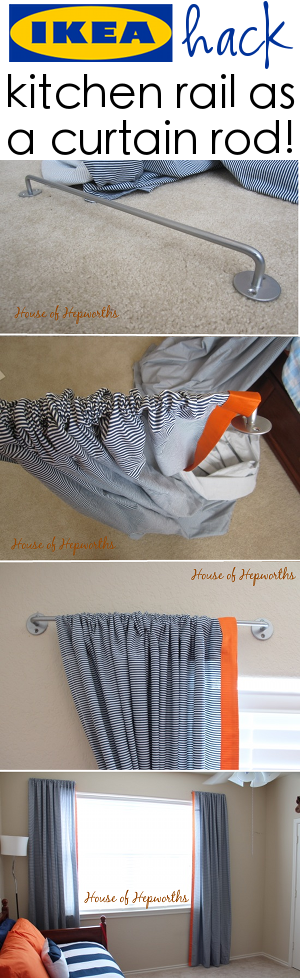
I can finally check another item off my should-have-done-this-a-year-ago to-do list. My son’s curtains have been sitting in his closet…
Read More
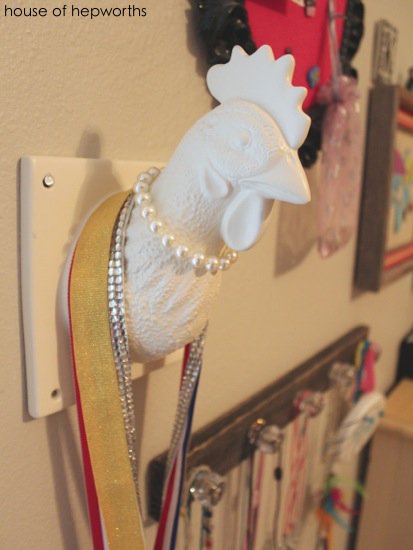
While living in our previous house I fell in love with these quirky ceramic animal heads, spray painted them white,…
Read More