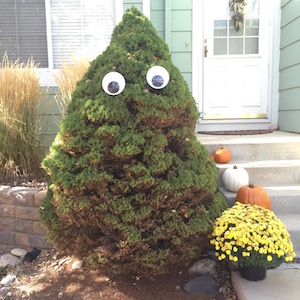
Follow House of Hepworths on Instagram, Facebook, and Pinterest! Halloween is right around the corner! Seriously. It’s in like 10…
Read More
Helping you DIY your home one awesome project at a time
Follow House of Hepworths on Instagram, Facebook, and Pinterest! Halloween is right around the corner! Seriously. It’s in like 10…
Read More
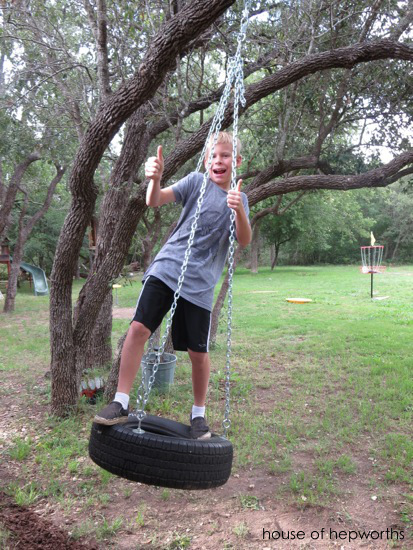
I’m here today to show you how to make a fun and easy project that your kids (and you!) will…
Read More
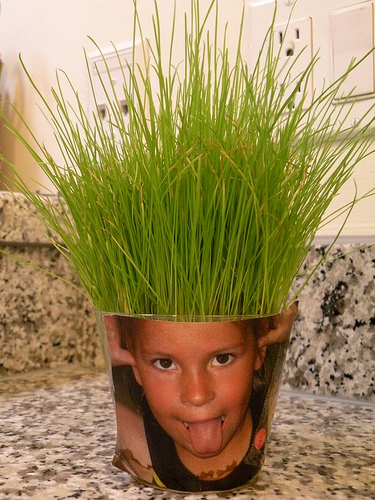
What do you get when you combine a goofy picture of your kid with a bunch of Wheatgrass seeds? Best.Homemade.Gift.Eveh….
Read More
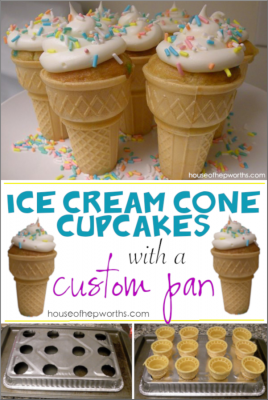
Today I’m sharing how to make Ice Cream Cone Cupcakes with a custom baking pan. Ice Cream Cone Cupcakes are…
Read More
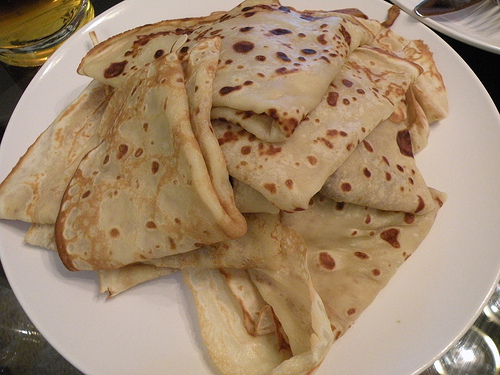
I haven’t posted a recipe in awhile so here you go! “Grandma Pancakes” These are the best pancakes ever created…
Read More