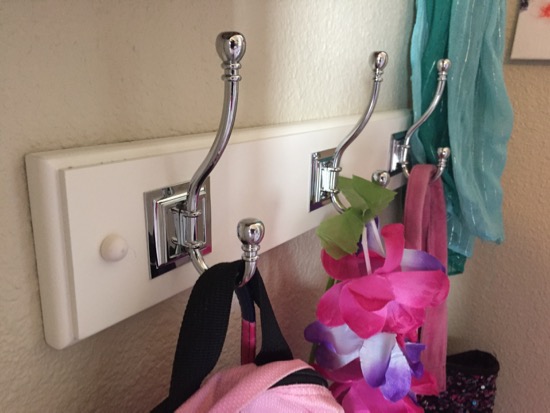
We have been slooooooowly getting organized at our new house. It always takes so long to feel moved in and…
Read More
Helping you DIY your home one awesome project at a time
We have been slooooooowly getting organized at our new house. It always takes so long to feel moved in and…
Read More
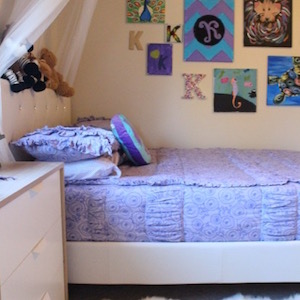
Over the past few weeks I’ve shown you guys my son’s and daughter’s bedrooms. They both are sporting some new…
Read More
The first thing I did when we moved in was paint. I had grand ideas of painting the entire house…
Read More

(I was one of the bloggers selected by True Value to work on the DIY Squad. I have been compensated…
Read More
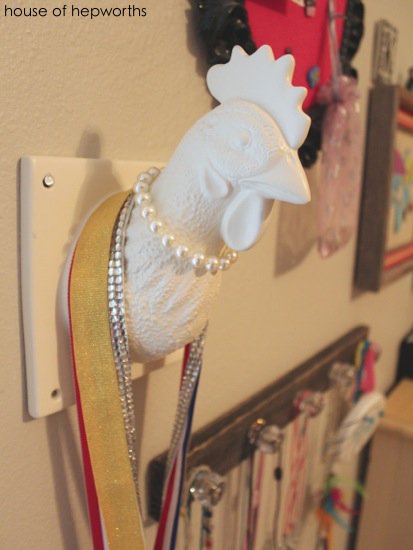
While living in our previous house I fell in love with these quirky ceramic animal heads, spray painted them white,…
Read More