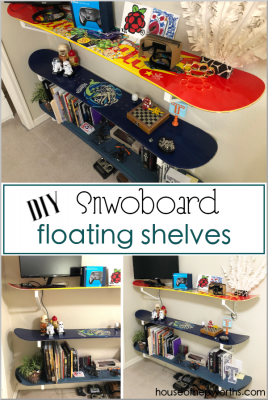
Making your own DIY floating shelves from snowboards is really easy and makes a fun statement piece! Follow this simple…
Read More
Helping you DIY your home one awesome project at a time
Making your own DIY floating shelves from snowboards is really easy and makes a fun statement piece! Follow this simple…
Read More
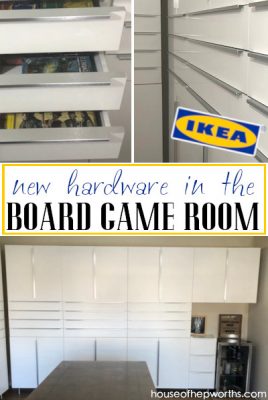
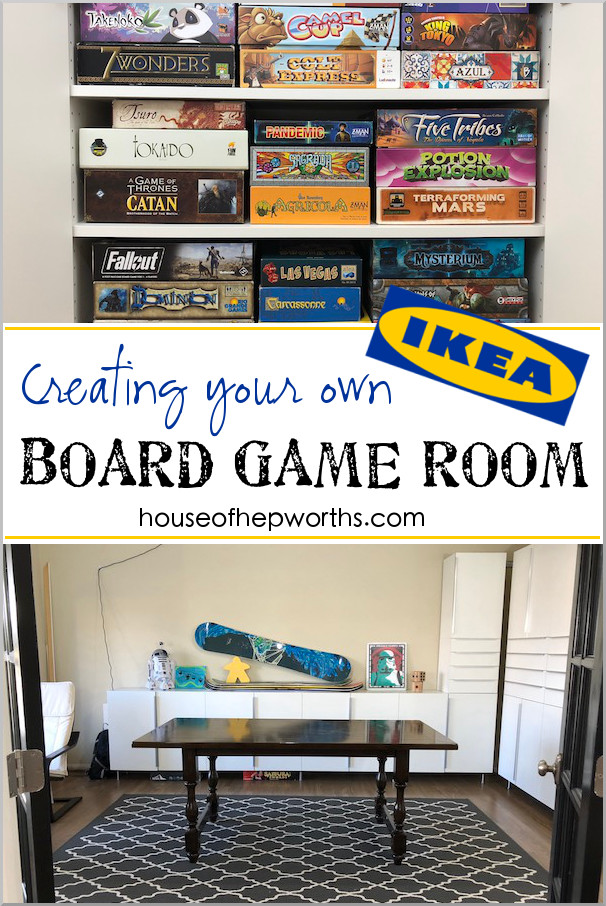
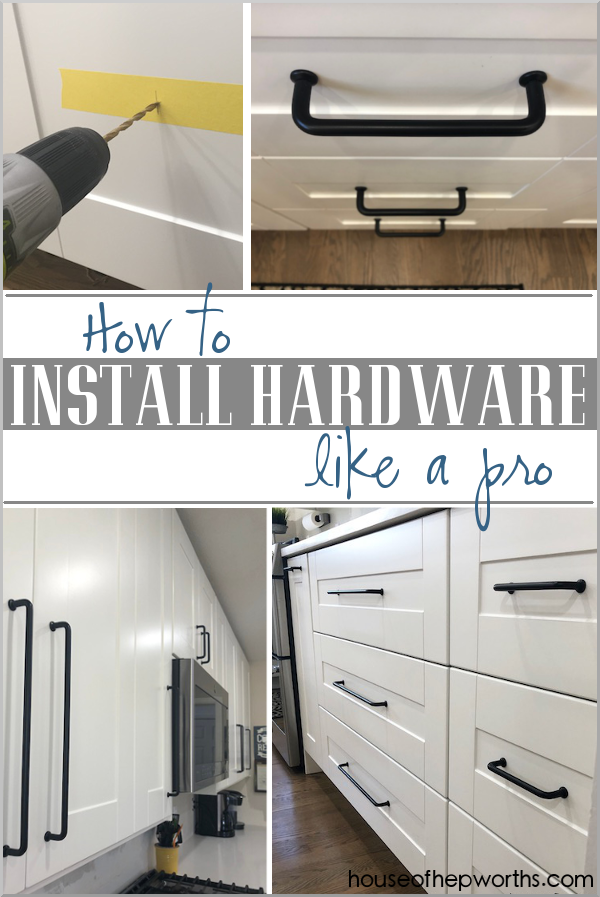
Our formal living turned board game room is coming along nicely with the addition of new Ikea hardware. Last I…
Read More
The most anticipated post of the year! Ha ha just kidding. But it’s an exciting day none the less. Today…
Read More
Are you ready for more IKEA kitchen posts? I’m determined to finish this kitchen once and for all! Today I’m…
Read More
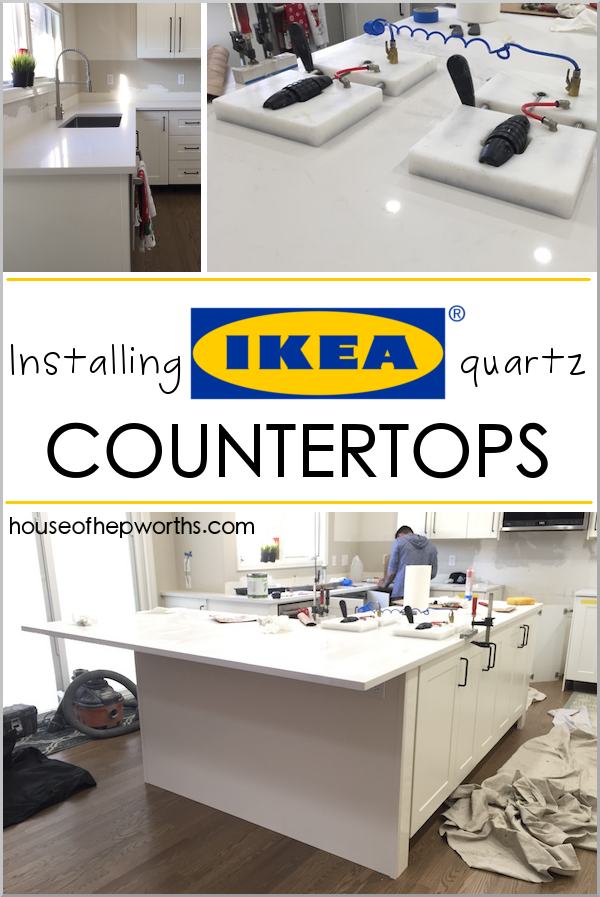
Today is countertop day! Can I get a holla?! Yes, we are still talking about our IKEA kitchen. DIYing an…
Read More