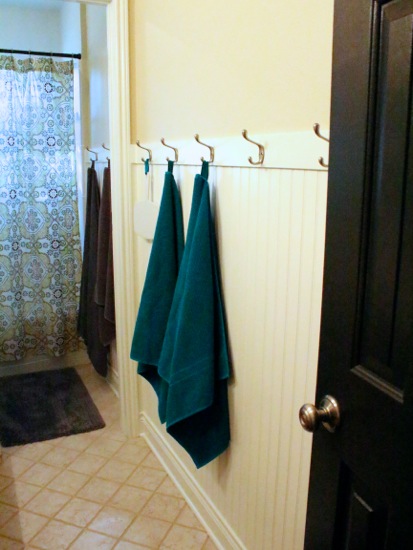
Today I’m going to share a really exciting DIY project with you. One of our bathrooms doubles as a bathroom…
Read More
Helping you DIY your home one awesome project at a time
Today I’m going to share a really exciting DIY project with you. One of our bathrooms doubles as a bathroom…
Read More
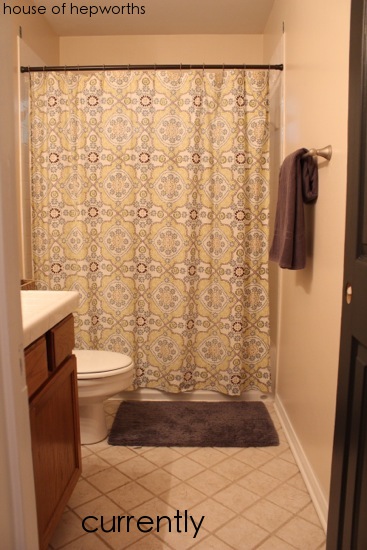
Hold onto your hats because this post is going to get a little crazy. And when I say “crazy” what…
Read More
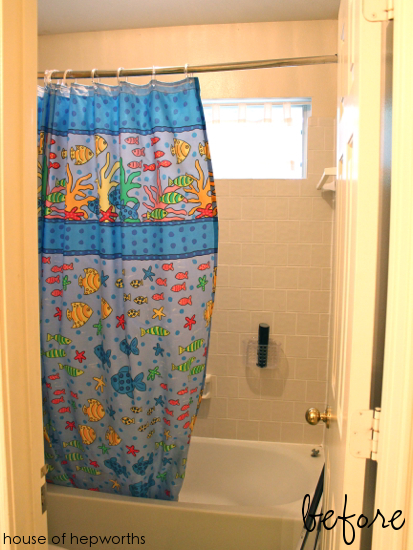
Moving day came and went, and we were all moved in. Now it was time to get settled! Well, first…
Read More
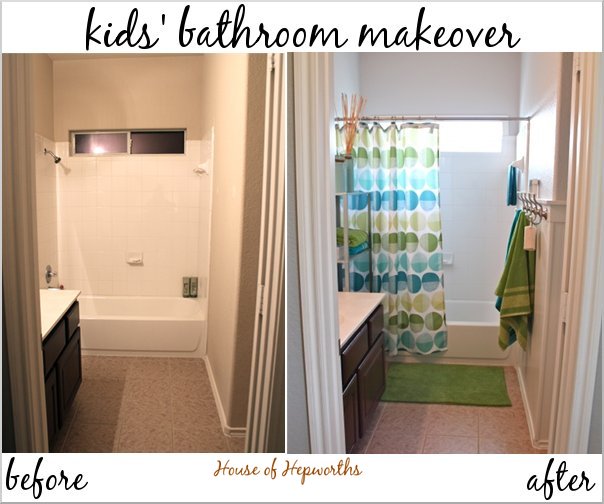
Guess what? I am done. D-O-N-E with the kids’ gender-neutral bathroom makeover! Well, done enough. I still need some art…
Read More
Holla! I’m a day late posting, but hopefully this update won’t be a dolla’ short. If you’ve been reading for…
Read More