Today I’m going to share a really exciting DIY project with you. One of our bathrooms doubles as a bathroom for our daughter and the guest bathroom. We wanted to make the room more functional so we decided to add a row of hooks along the wall to hang up bath and beach towels, robes, and the like. This will be especially beneficial for about 9 months out of the year here in Texas where it’s usually nice enough outside to take a dip in the pool.
Follow along as I show you how we went from boring and uninspired… to fresh and functional:
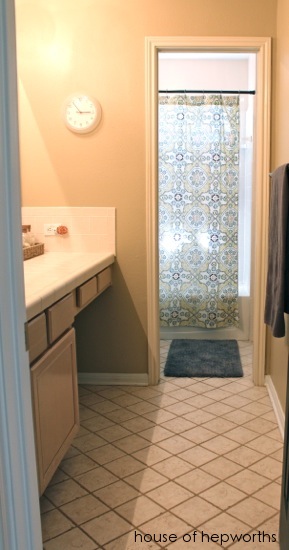

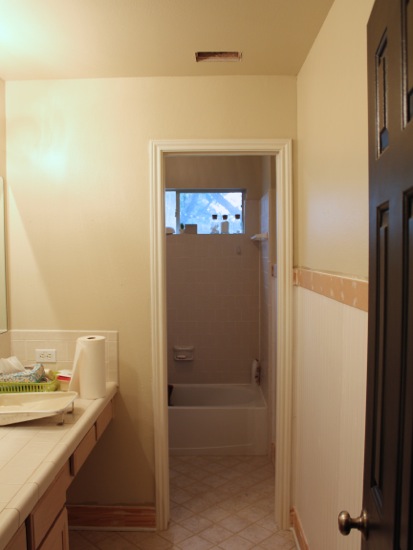
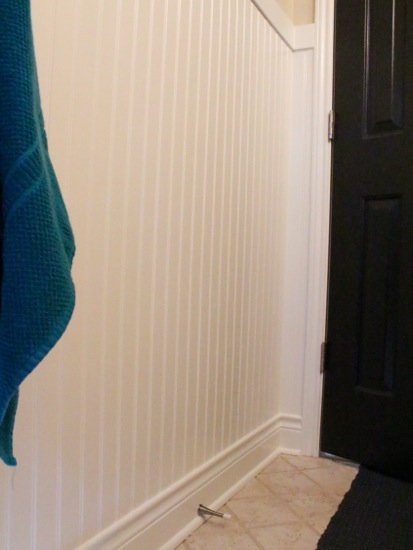
So, we started out with a basic bathroom. Not much storage, and no where to hang wet towels! We decided a row of hooks would provide ample hanging space for all those wet beach towels we are constantly overrun with, as well as a few additional hooks for our children’s bath towels. In addition to hooks though, we wanted it to look more substantial so we also added 4′ tall beadboard.
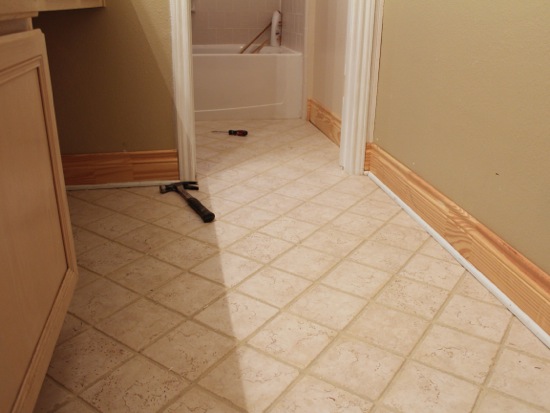
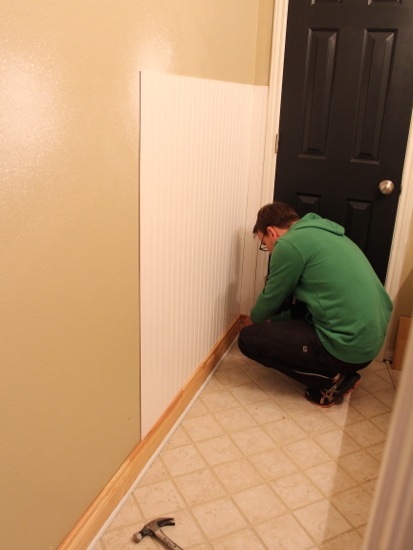
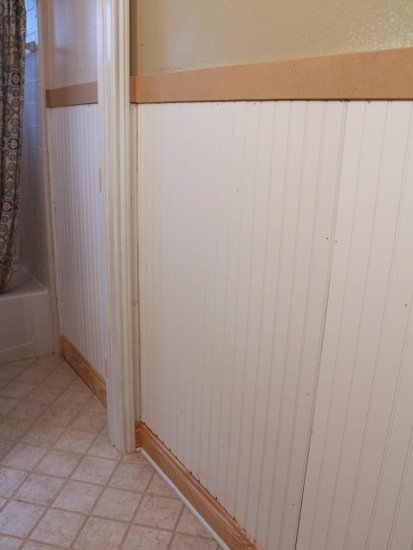
Here’s a quick step-by-step so you too can recreate this look in your own home. We started by replacing all the baseboards. You can probably omit this step, but because we are renovating a fixer upper, every time we tackle a room we replace the baseboards with a thicker 6″ one.
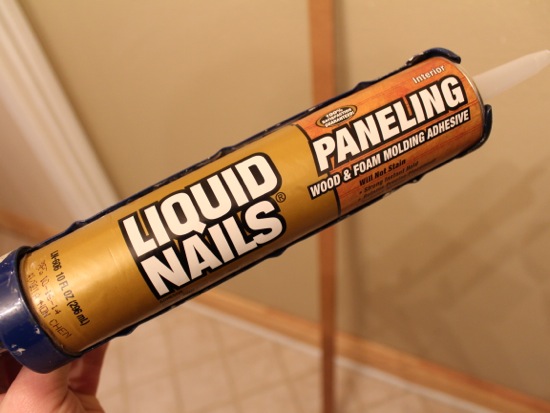
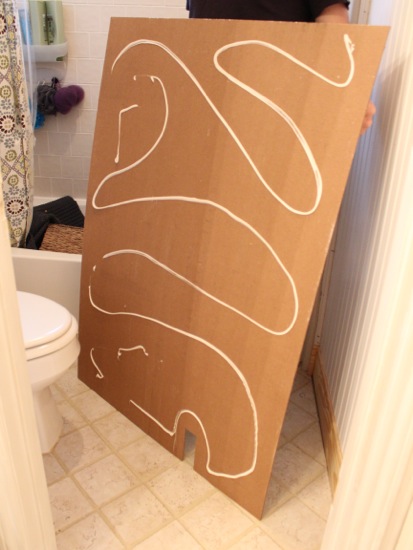
Next up, hanging the beadboard. Beadboard comes in 4′ x 8′ sheets. We simply cut these in half so each piece is 4′ x 4′. To attach the beadboard we used a combination of Liquid Nails for Paneling and a nail gun.
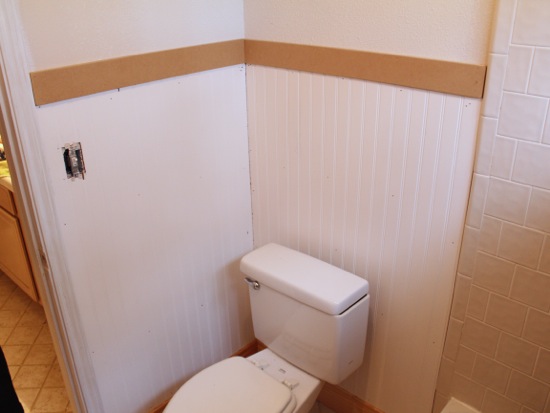
To cut around the light switch and the toilet plumbing, we measured twice, then cut once.
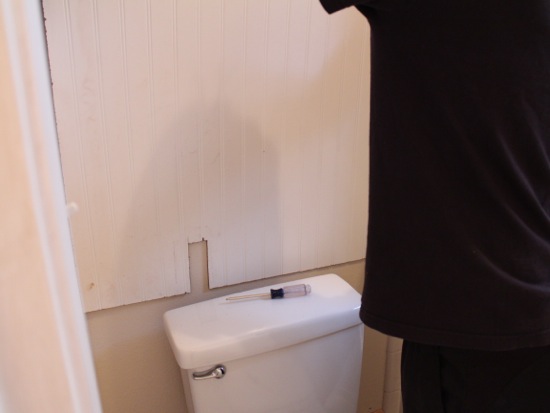
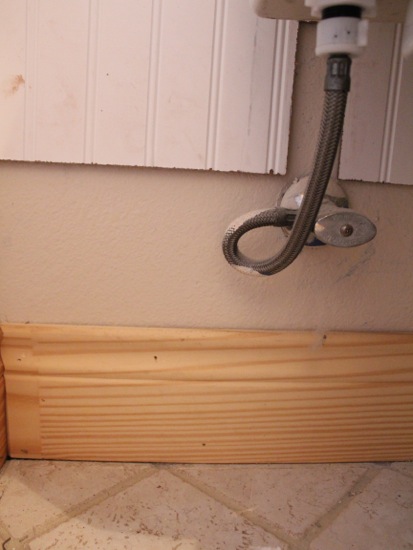
Here’s a good shot of how we cut around the toilet plumbing. The beadboard just slid right in over the pipe.
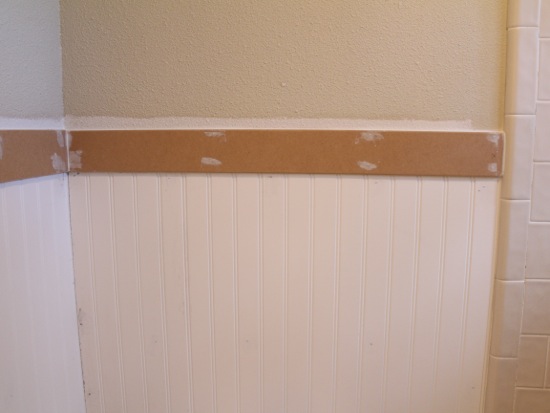
Once the beadboard was attached, we capped it off with some 1/2″ x 4″ pieces of MDF. We purchased a full sheet of MDF and then ripped it down to 4″ wide. For a more polished look I ran the sander over all the edges of the MDF before installing it.
We attached the MDF the exact same way; with Liquid Nails and a nail gun.
The next step is to putty up all your nail holes. I prefer using a spackling like this one. Once all the nail holes were spackled, I finished off every seam with caulk.
While the spacking and caulk dried, I took that as a good opportunity to give the rest of the walls and ceiling a fresh coat of paint. Now the room is starting to look new!
When everything was dry, the MDF received an even coat of primer, and then all the new trim was finished with some glossy white paint.
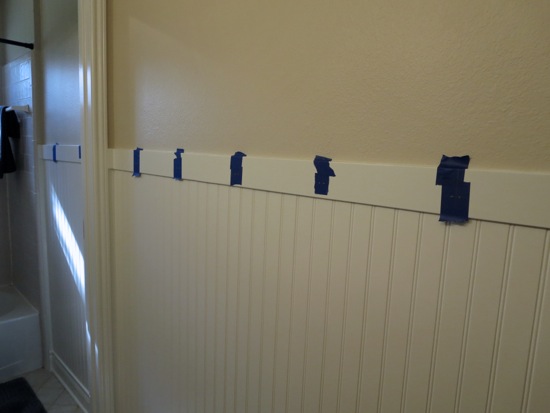
To hang all the hooks, I used painters tape to mark where I wanted each hook to go.
TIP: To keep your trim looking fresh, pencil your markings onto the tape, then drill your pilot holes through the tape. That way when you remove the tape you don’t have any touch ups to do.
I selected these chrome hooks from my local True Value store:
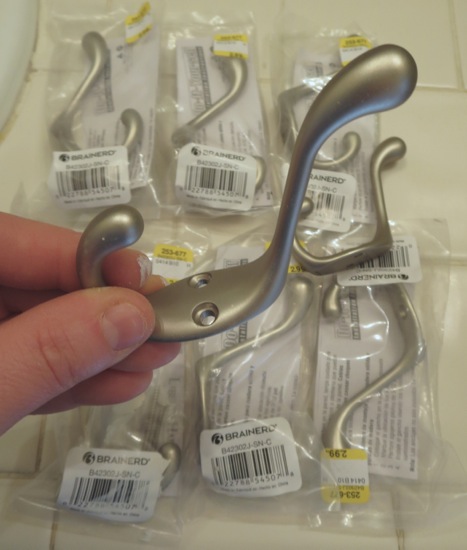
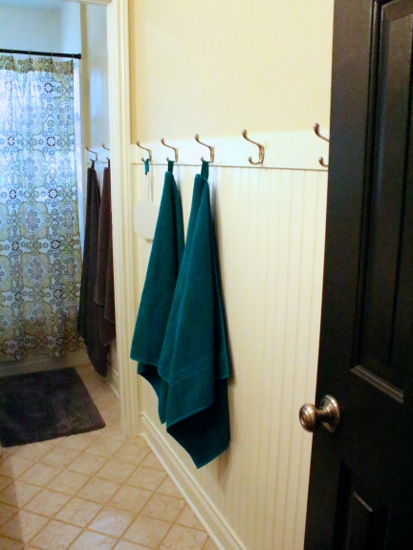
The finishing touch was screwing each hook into place.

The final result is a chic looking bathroom that will have you smiling every time you walk by.
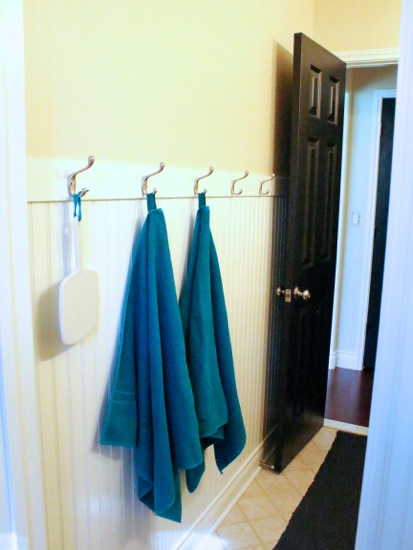
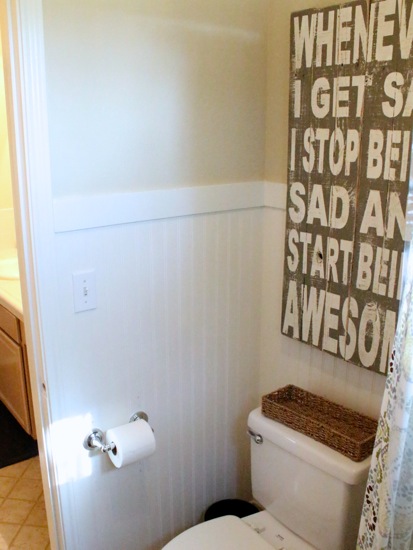
*I created the artwork above the toilet. Here’s a tutorial to make your own sign.
I hope you enjoyed the tutorial, and I especially hope you are now inspired to go tackle a project in your home. Happy DIYing!
Hopefully you’ll see this even though the post is 3 years old… 🙂 I noticed your towels have hooks on them. Where did you get such towels? That’s amazing! And after having the hooks, did you like them or do you wish you had kept the towel bar? I’m redoing my kids bathroom (we have 6 kids) and one towel bar was not getting the job done so towels are often kept in the master bath so I’m contemplating putting hooks instead of a billion bars in that bathroom to keep kids out of mine! Using regular towel (no hooks on them) do you find them staying on alright or constantly falling off?
Thanks!
They are from ikea