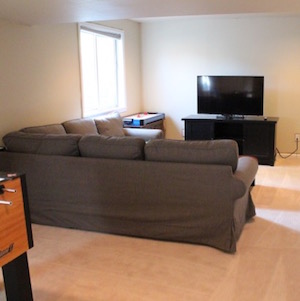
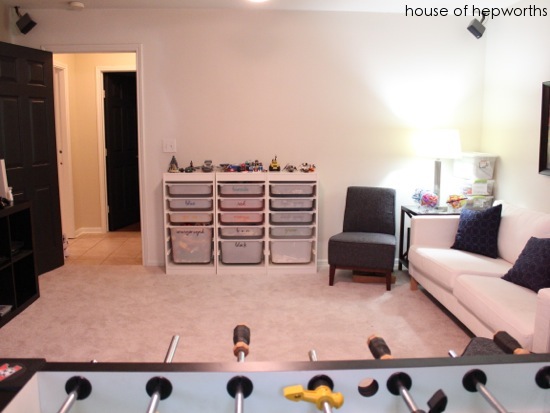
The basement has furniture! Finally. I thought this day would never come. In the last two posts I talked about…
Read More
Helping you DIY your home one awesome project at a time
The basement has furniture! Finally. I thought this day would never come. In the last two posts I talked about…
Read More
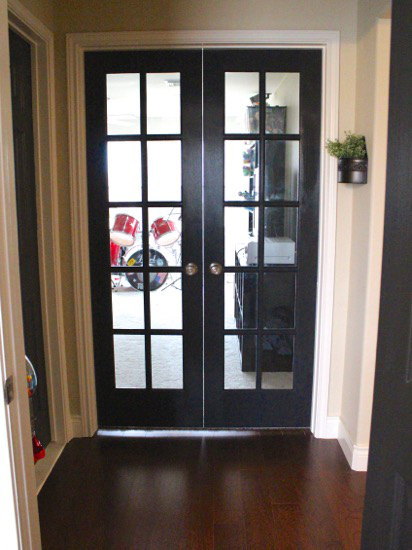
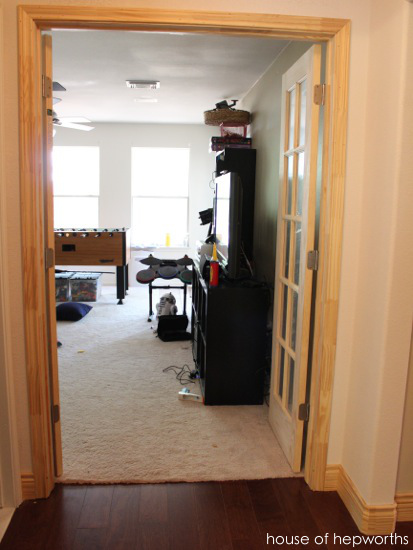
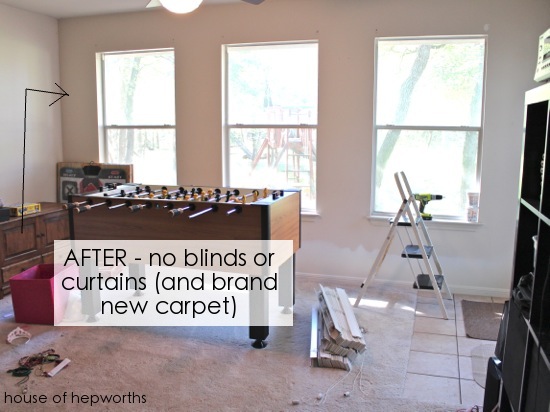
I know you have just been on pins and needles waiting to see what color I painted the game room…
Read More
Well Hello there! It has been a long time since I’ve updated. About that. Summer came and went, and I’ve…
Read More
We moved from a suburban neighborhood where I could see into 5 other people’s homes from my back deck, out…
Read More
Hi! Before I get to today’s post I have two quick things: 1) Today is Ben and my 15 year…
Read More