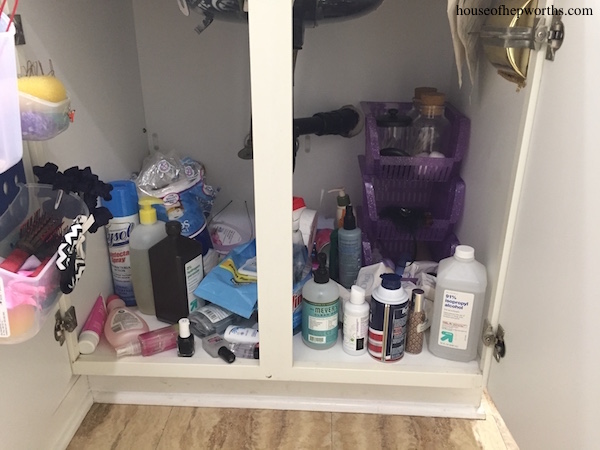
Today I have a quick and easy tip for organizing the cavernous hole under the bathroom sink. Our guest bathroom…
Read More
Helping you DIY your home one awesome project at a time
Today I have a quick and easy tip for organizing the cavernous hole under the bathroom sink. Our guest bathroom…
Read More
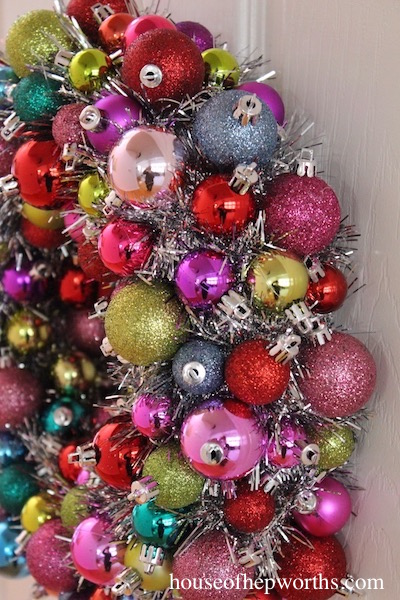
As promised, I’m back with a 2nd wreath. This is pretty much the same as the last wreath, but in…
Read More
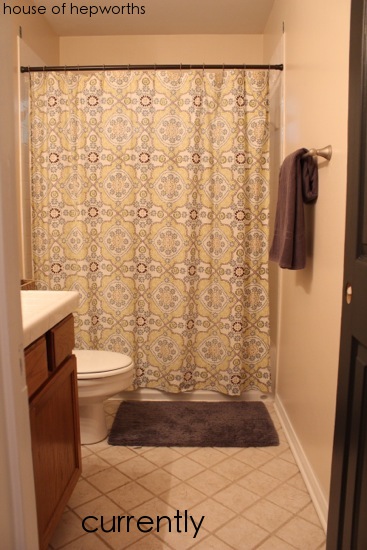
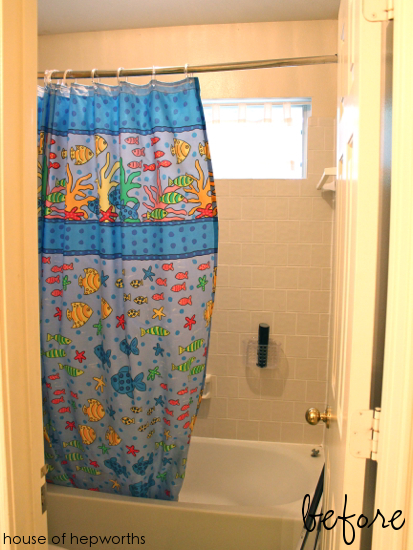
Hold onto your hats because this post is going to get a little crazy. And when I say “crazy” what…
Read More
Several years ago I scored this awesome huge basket at Target in the clearance section after Christmas. I have hoarded…
Read More
Moving day came and went, and we were all moved in. Now it was time to get settled! Well, first…
Read More