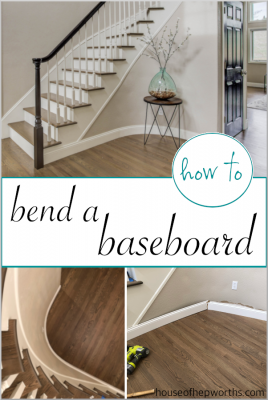
Today I’m sharing how to bend a baseboard around a tight curve. We have a curved staircase which is beautiful…
Read More
Helping you DIY your home one awesome project at a time
Today I’m sharing how to bend a baseboard around a tight curve. We have a curved staircase which is beautiful…
Read More
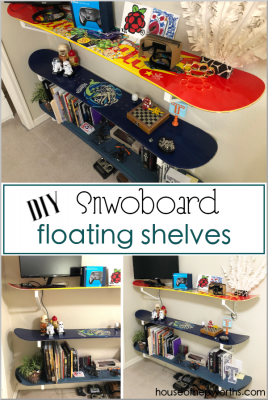
Making your own DIY floating shelves from snowboards is really easy and makes a fun statement piece! Follow this simple…
Read More
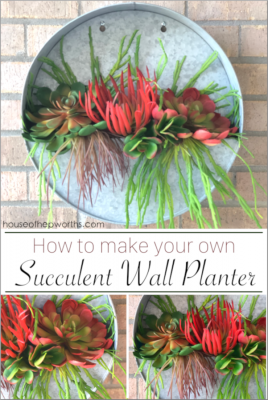
After scoring the cutest hanging wall planter and some faux succulents on major clearance, I made the cutest Succulent Wall…
Read More

The day has finally come for us to shop for counter-height barstools! We recently renovated our entire kitchen (start here…
Read More

Chicken Salad is a staple at our house. Today I’m sharing the most amazing Chicken Salad recipe you will ever…
Read More