
MERRY CHRISTMAS!
Ya, ya, I know, it’s NOT EVEN TURKEY DAY YET!
BUT, and that’s a big fat BUT…
Don’t you want some Christmas crafts NOW so that you can make them for the entire Holiday Season?
Ya, that’s what I thought! You are welcome!

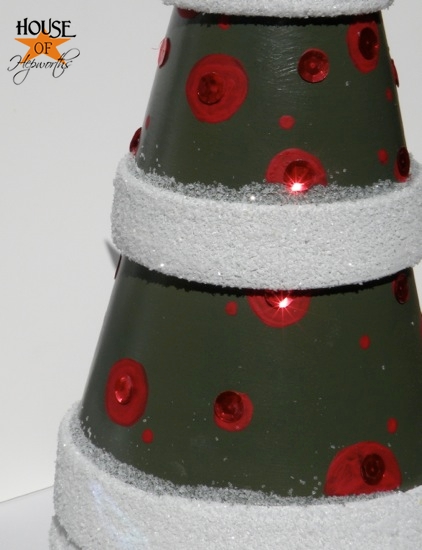
Make an adorable Christmas Tree out of terra-cotta flower pots!
(Isn’t this just adorable?)

Do you want to know how to make this? And I’m going to be extra super nice and include a cost break-down for you as well. Yippie!
If I’ve peaked your interest and you want to make one, read on! This isn’t a hard craft. You’ll love it.

To make this exact tree:

…you’ll need:
* 3″ pot ($.98)
* TWO 4″ pots ($.87 each)
* 6″ pot ($1.27)
* 6″ saucer ($1.27)
* white school glue
* glitter (large container $6.99 @ Hobby Lobby – I used about 1/20th of it)
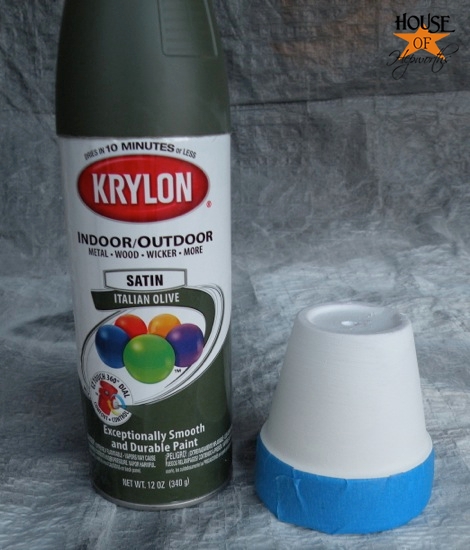
* Spray Paint – Krylon Olive ($2.99)
* Spray Paint – Krylon flat White ($2.99)
* Spray Paint – Krylon Leather Brown ($2.99)
* Primer (spray or paint)
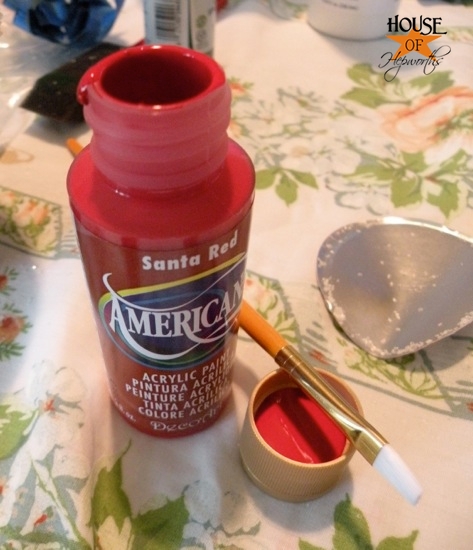
* Acrylic Paint – Americana Santa Red ($.79)
* red sequins ($1.99)
Total: $17.01
(I didn’t add in the glitter since you can buy a much smaller thing of it for way cheaper, and I didn’t add in primer or the school glue)
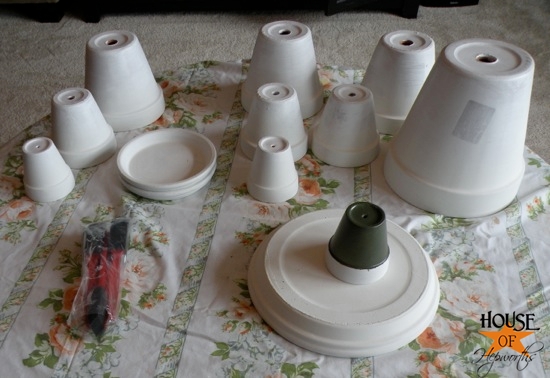
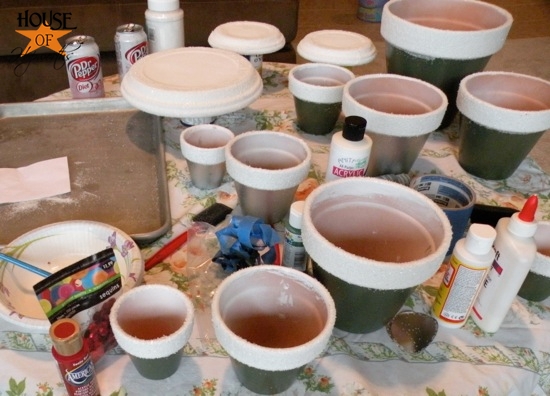
First you’ll need some terra-cotta flower pots.

I bought enough for 3 different sizes of trees, so don’t have a panic attack. I’ll show you the other two trees as I finish them over the next week or so. You really only need 4 pots and a saucer for this tree.
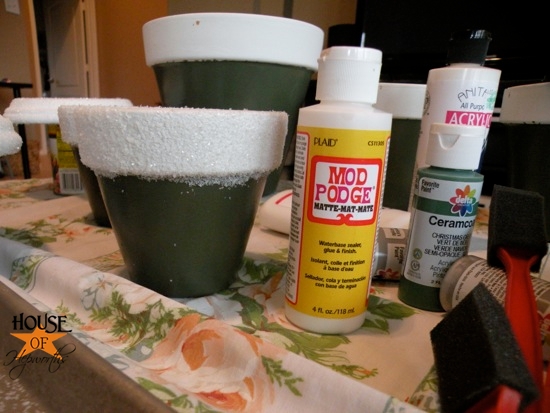
The pots need to be PRIMED before you paint them. I just used a brush and painted the primer on all of them. The saucer needs it on both sides, but the pots only need primer on the outside and the bottom.
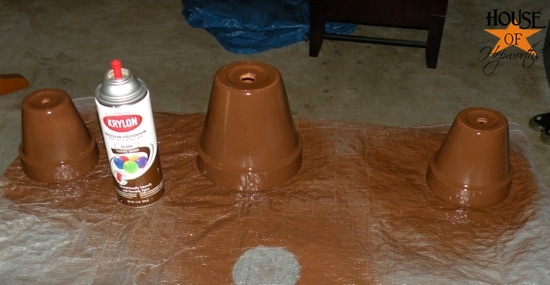
Once the primer is dry, spray paint your medium sized pot (you have two of these – 4″ pots) with the brown spray paint. This will be the stump of the tree. Set this aside until the end.
Spray paint the lip around the top of each additional pot and the entire saucer with the white spray paint.
When they are dry tape off the lip of each white pot.
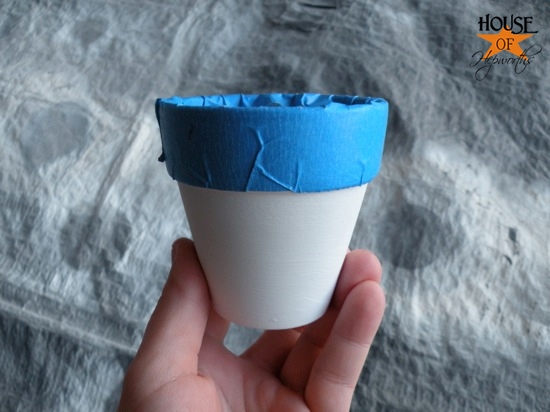
Now spray paint the 3 pots with the Olive spray paint. Make sure to paint the bottom of each pot as well.
When the green paint is dry, remove your tape. The edge doesn’t have to be perfect, but if any of the green bled really bad you’ll need to touch it up with a little white paint. I just used some white acrylic paint to touch up one or two spots.
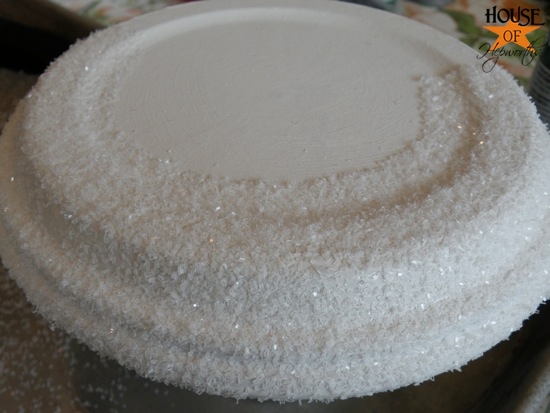
Now it’s time to add the glitter! This part was really fun!
I put a big blob of the school glue in a paper bowl and then added a bit of water (maybe about a tablespoon or so). Mix the glue and water together to make a soup type consistency.
Now just paint the liquid glue on the areas where you want your glitter. I painted all the edges of the pots and saucer (minus the brown pot).
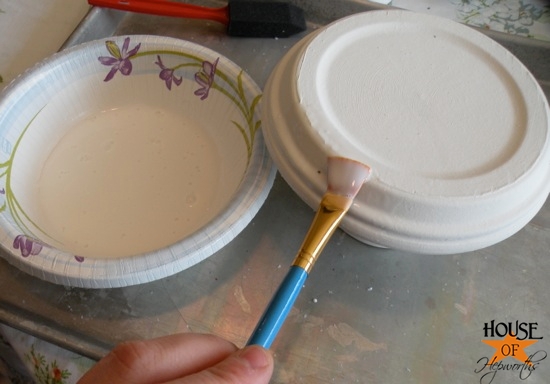
Work in small sections. Paint the glue, add glitter, paint more glue, add more glitter.
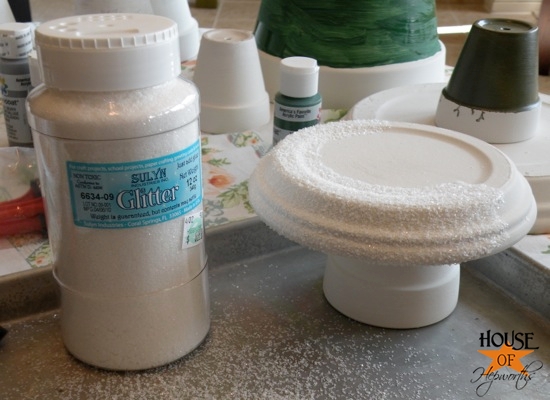
I used a large cookie sheet and just poured glitter over the glued areas over the cookie sheet. At the very end I scooped all the extra glitter up and put it back in the container. Believe it or not this was not that messy!
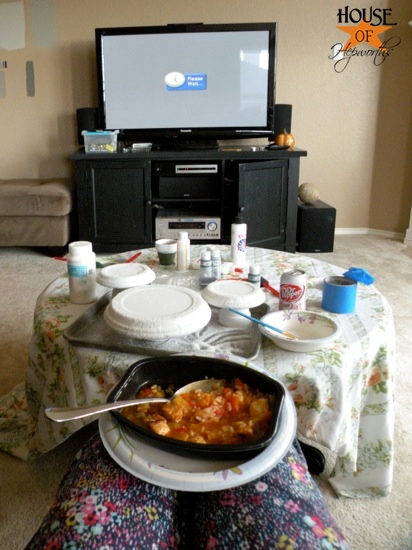
In the middle of your crafting you may want to take a lunch break and watch some TV. 😉 …in your PJs.
I tried the glue mixture AND Mod Podge, and honestly, for this project they worked about the same. School glue is much cheaper!
Now it’s time to wait again. Waiting is the biggest part of this project. Wait for the primer to dry. Wait for the spray paint to dry. Wait for the 2nd layer of spray paint to dry. Wait for the glitter glue to dry….
When it’s FINALLY dry (it really only took an hour or so), you can bust out your red paint!
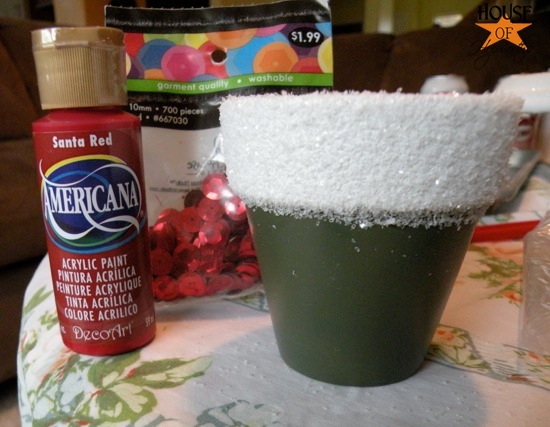
Now, let me give you a little tip. I NEVER squirt paint out onto a plate. NEVER. It’s messy and wasteful. I just unscrew the cap and pour a little paint into the lid and use that to dip my brush. So easy!
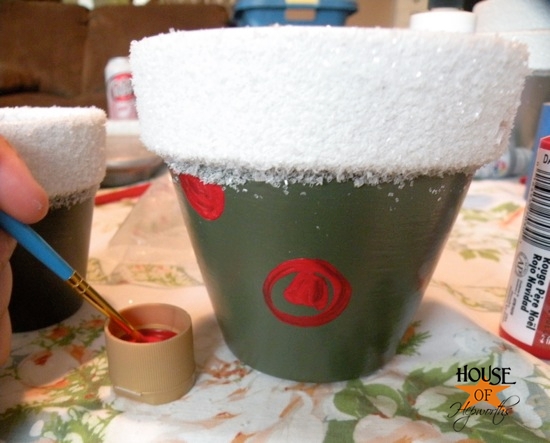
Next I just free-handed some red dots all over the pot.
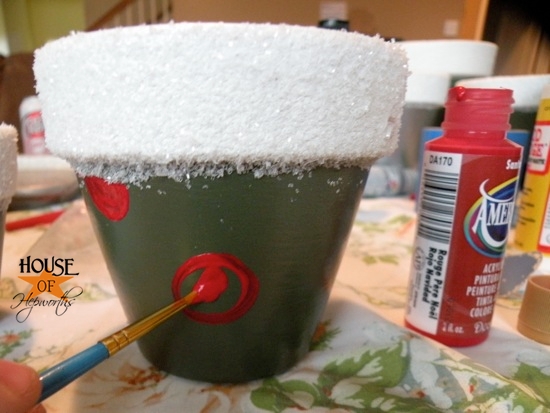
When the dots were dry I coated them a 2nd time so they would be more vibrant. While they were still wet I put a sequin in the middle of each dot. It’s glued on by the wet paint.
Wait again. This time for the red paint to dry.
Now it’s time to stack them!
Turn your brown pot upside down and set it where you want your Christmas tree to sit.
Place the saucer UPSIDE DOWN on top of the brown pot.
Place your 6″ pot upside down on top of the saucer. Place your 4″ pot upside down on top of the 6″ pot. Place the 3″ pot upside down on top of the 4″pot. Yadda yadda yadda….
For the topper I just found a metal star napkin holder at Goodwill. I spray painted it yellow and coated it in glitter. I set it on top with the ring for the napkin around the top pot.
*NOTE* I did not glue the pots together. I would recommend keeping this away from small children and pets that can knock it over. You can glue them together if you’d like, but I like to keep them separate so that I can nest them after Christmas for easier storage.
There are so many possibilities for this tree! I’ve got a 2nd one in the works that is 4 layers tall with a larger base and larger saucer. You can decorate these ANY way you’d like! Add any topper you can think of! I’ve got two more I’m making that are totally different from this design. Be creative! They don’t even have to be brown and green! Paint one hot pink and lime green. Paint one gold. Glue on bells and bows. The possibilities to decorate these are endless!
If you make one for yourself, PLEASE let me know! I’d love to add you to my Share.Inspire.Create. Party. I’d also LOVE to see all the great color palates you come up with.
For quick reference, the other two posts:


Happy Crafting!
This is such a cute idea!
I will be making one of these this weekend … possibly 2 or 3. I think these would be cute to put in my girls’ room on their tables to help spice up their room for Christmas. I’ve got some color ideas going now in my head. I will post pictures as soon as I’m done. Thanks for sharing!
I love the tips- today I have to comment—Did you seriously do all the painting on your lovely carpet? That is more amazing than anything else. Had I done that anywhere but the garage or patio, I would have paint everywhere!
Sweetmamak:
I spray painted outside, but did all the glitter and hand painting over my coffee table (and over my carpet) in my living room. 😉
I’m glad you clarified that you didn’t spray paint in your living room. lol I love your project!!! I love to spray pots too. Now I’m inspired by another project for Christmas. Thank for sharing early. I hate when I see a cute idea 2 days before the holiday (ie. Halloween, Thankgiving, Christmas…). As soon as I can find a usb cord for my camcorder I’ll post my latest projects. I hope you will check them out. 🙂 Your blog is one of the ones that inspire me.
Adorable idea — thanks for hosting!
How cute! good for you for getting a head start on Christmas! I was supposed to start my shopping this week; but that didn’t work out…
I love you blog! I will be showing this on my blog during my Christmas Decoration Marathon starting next week.
I love the suggestive Diet Dr Peppers in the back ground. Way to my heart Allison. Much love. Maybe I’ll make one of these in Philly. We’ll have it to decorate our room.
Super cute allison!!! (The newer subtitle of your blog makes me laugh!)
This is super cute! Would love you to come link up with Fantabulous Friday!
I am so ready for Christmas–what a cute idea, thanks for sharing!
Too cute – and spray paint?!? I’m sold! (love the pj’s, btw)
Would love for you to stop by this weekend and link up to Passion for Paint!
thanks, this is a brilliant idea!
Very very clever!!!!!