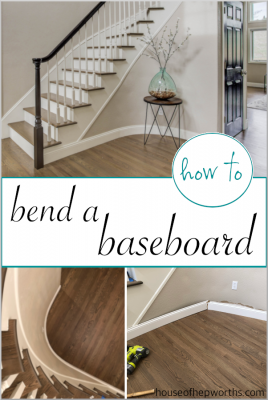
Today I’m sharing how to bend a baseboard around a tight curve. We have a curved staircase which is beautiful…
Read More
Helping you DIY your home one awesome project at a time
Today I’m sharing how to bend a baseboard around a tight curve. We have a curved staircase which is beautiful…
Read More
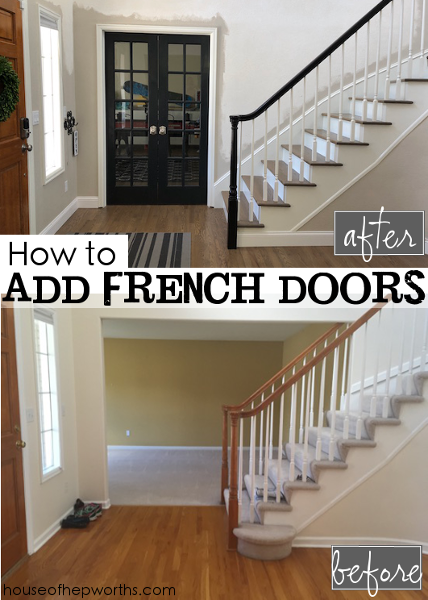
Hi everyone! I hope you’ve been enjoying this whole house renovation series so far! Today I’m back to share how…
Read More
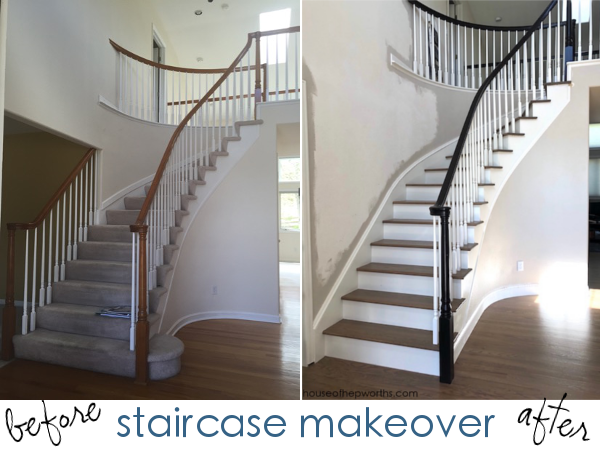
Today is an exciting day! I’m going to share all the nitty gritty on getting our staircase completely redone. We…
Read More
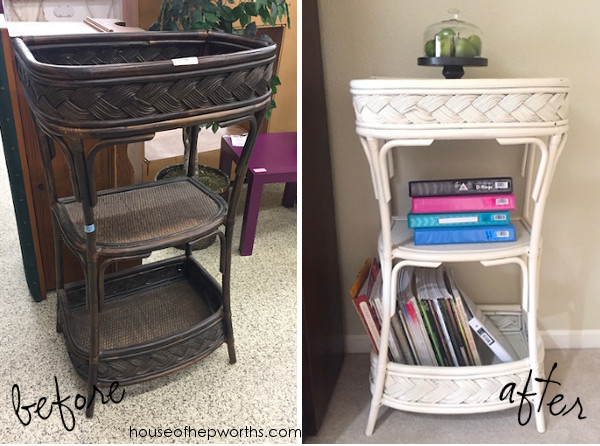
Hey guys! I love finding cool stuff for cheap at the thrift store that I can makeover. I feel like…
Read More
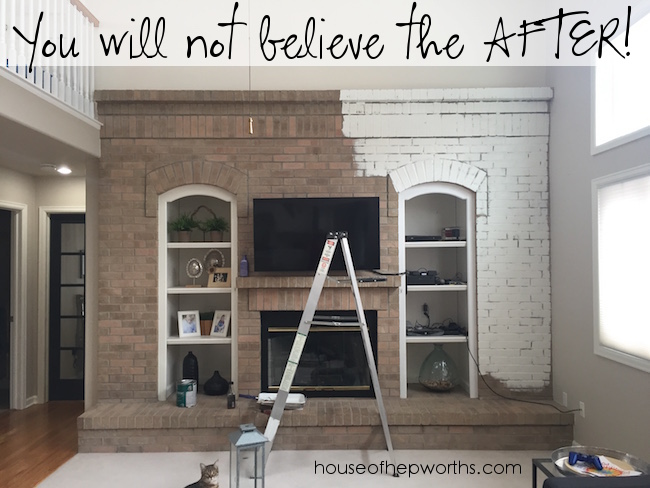
I finally did it. I finally took the plunge and painted the fireplace! I’ve been putting it off for a…
Read More