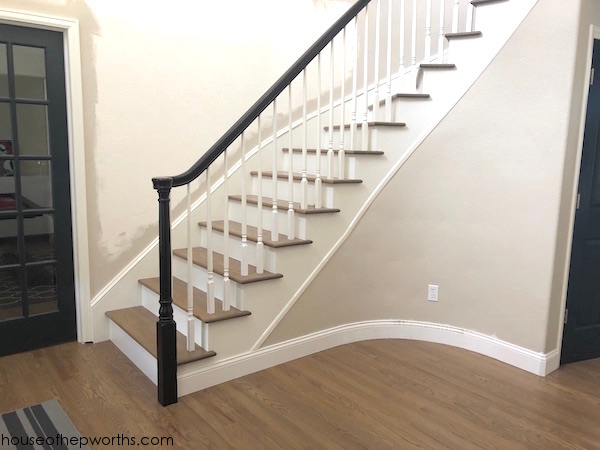
Today is an exciting day! I’m going to share all the nitty gritty on getting our staircase completely redone. We hired out for part of it, and part of it we did ourselves. As not to leave you in suspense for too long, I’ll just start out with the before and after.
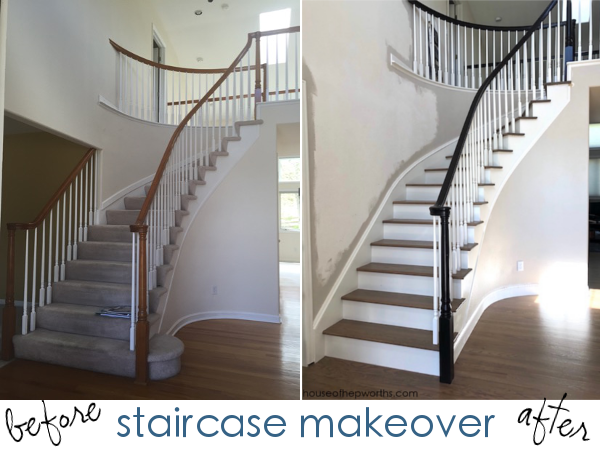
WOWZA! I can’t even believe I’m looking at the same staircase. Clearly we are still finishing up this renovation and need to finish painting the wall.
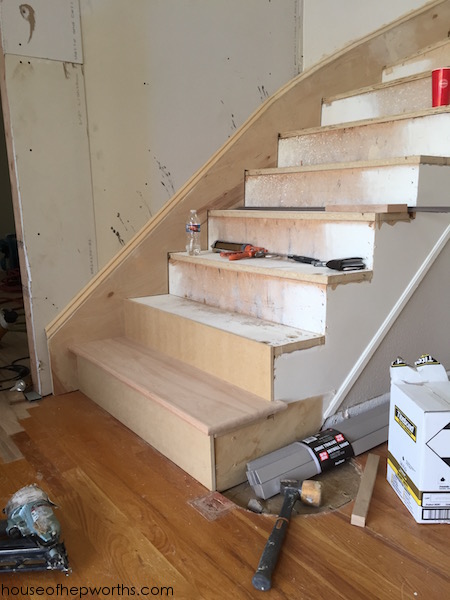
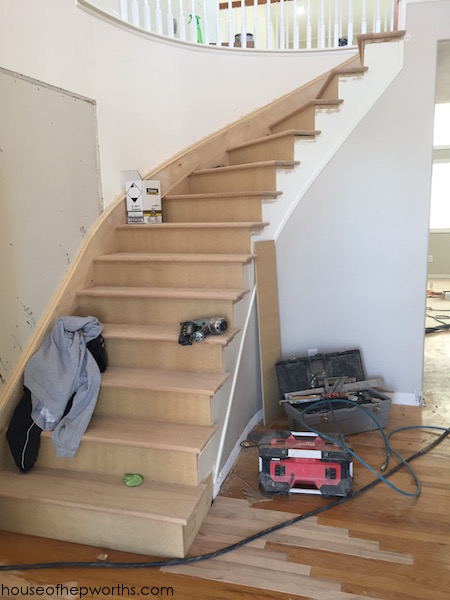
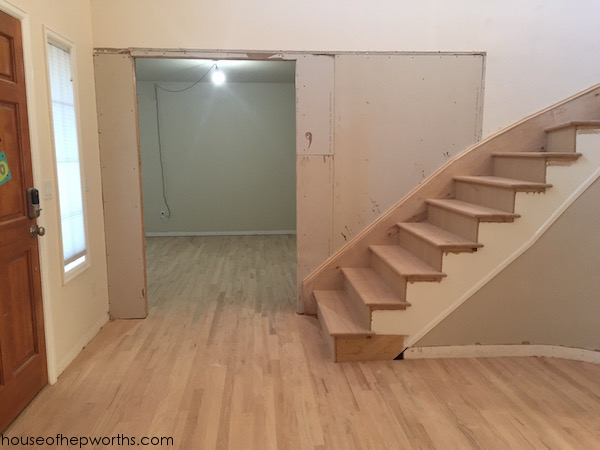
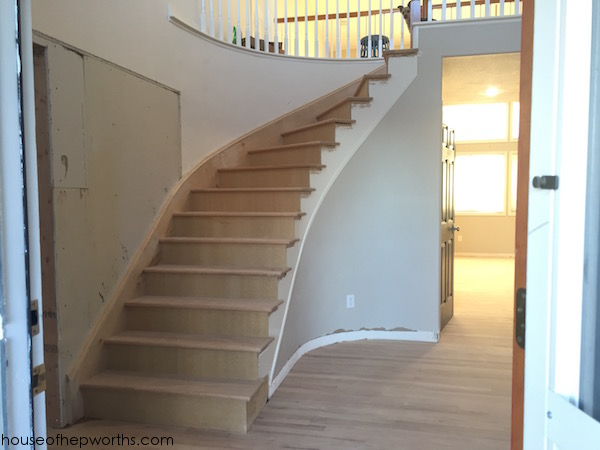
Here’s where we left off last time:
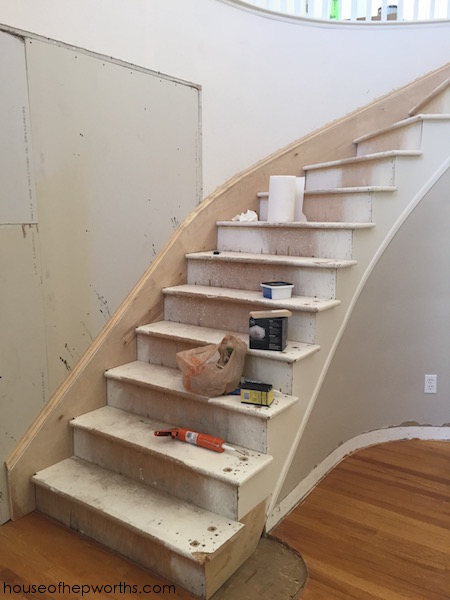
We rebuilt half the staircase and framed out the wall and then I created a custom skirting for the curved staircase. If you’d like all the details I suggest you go read those two posts first.
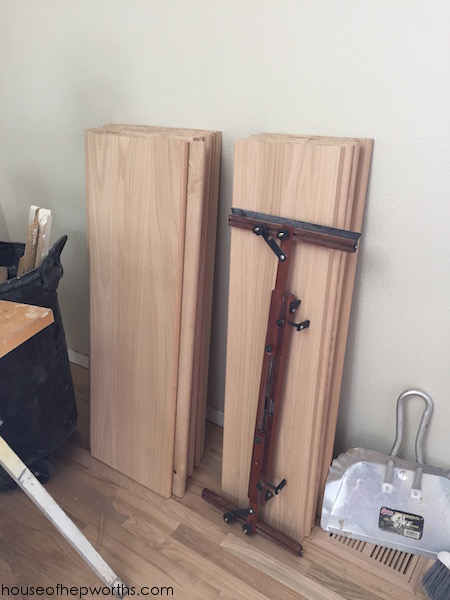
We did all the stairs demo ourselves but we hired a stair company to add all the treads and risers for us. After watching them in action I’m very happy we hired that portion out. They came over a few weeks in advance and measured each step. We had the treads custom-made because more than half of them are pie-shaped.
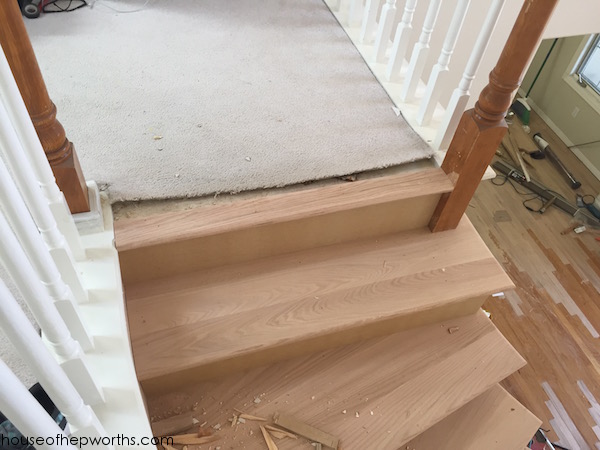
An up close view of the new stair treads, waiting to be fitted and installed.
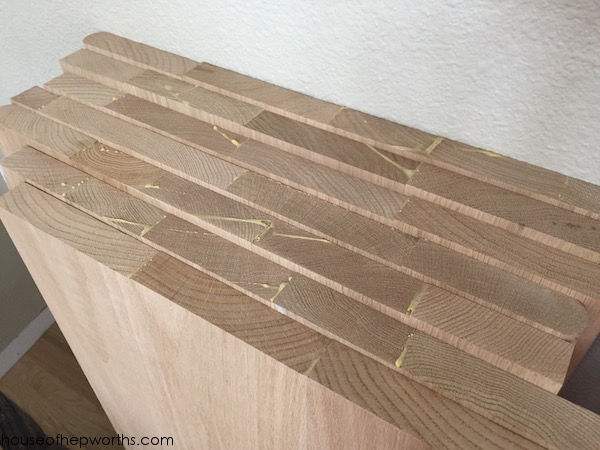
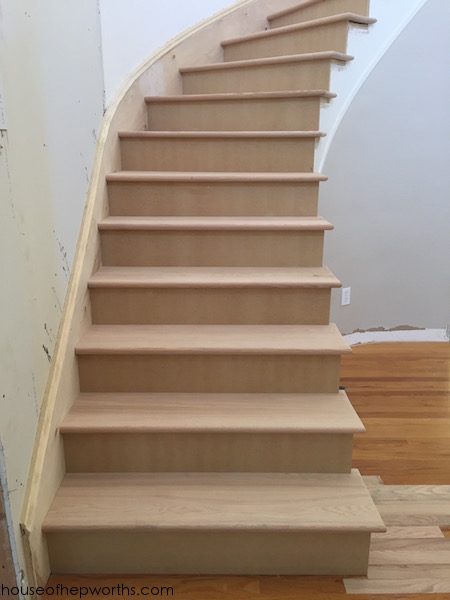
The VERY talented stair guy started on the bottom and worked his way up. He used MDF for each riser and then solid red oak for each tread.
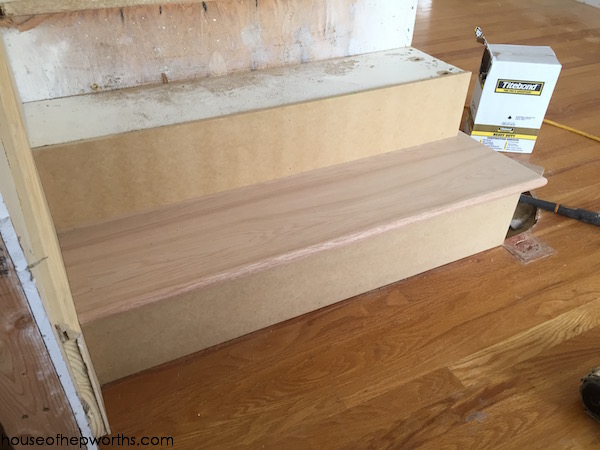
He basically cut off any overhang of our old treads (they were MDF and were covered in carpet). Each new riser and tread went on top of the old ones.
Here’s a diagram I made in case you aren’t sure about some of the words I’m using or are confused about how they were installed:
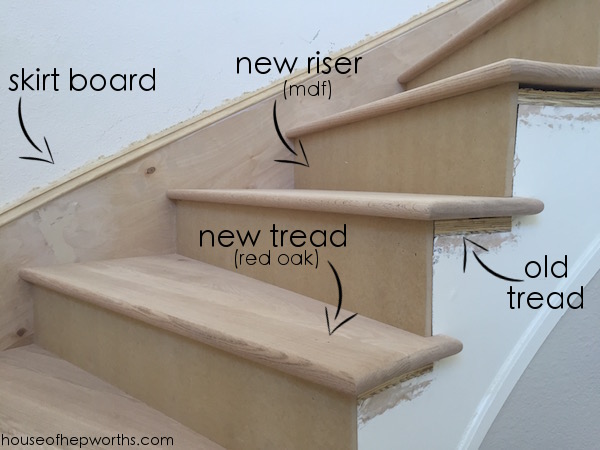
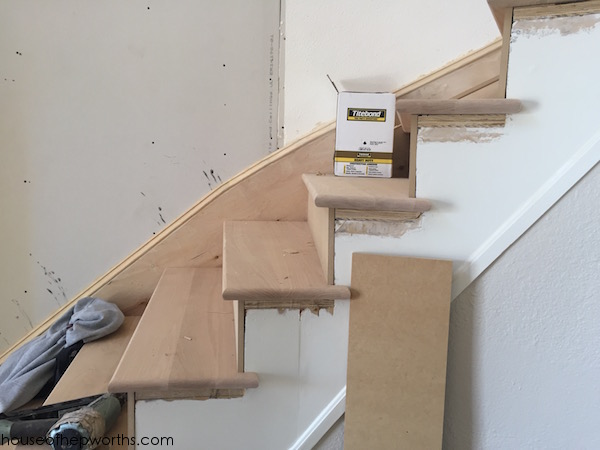
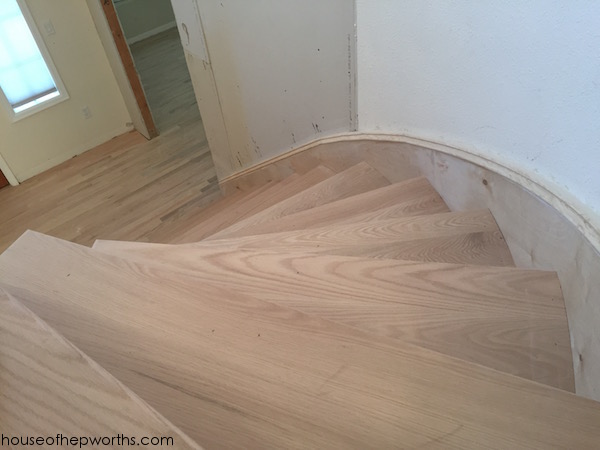
He would add a riser, then would custom cut each tread to fit every unique stair step. the edges were routed and if you look closely you can tell that each of the outer edges has a slight curve to it to mimic the curved staircase.

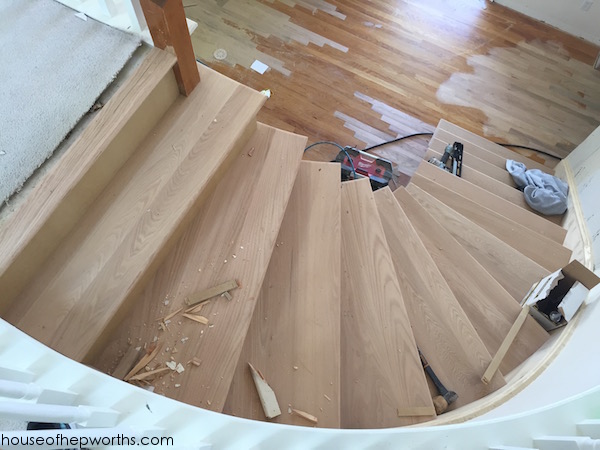
A view from the top.
The landing at the top has a 3″ mini step. When we get new carpet the carpet will butt up to the edge of this cap piece. For now we just cut back the carpet so he could install the cap piece.
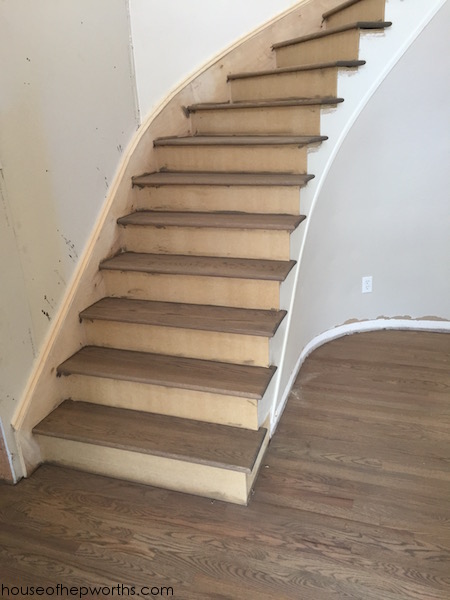
Here’s the finished treads and risers. Can you see now why we put the skirting on first? Each tread and riser butts up to the skirt to make a clean edge.
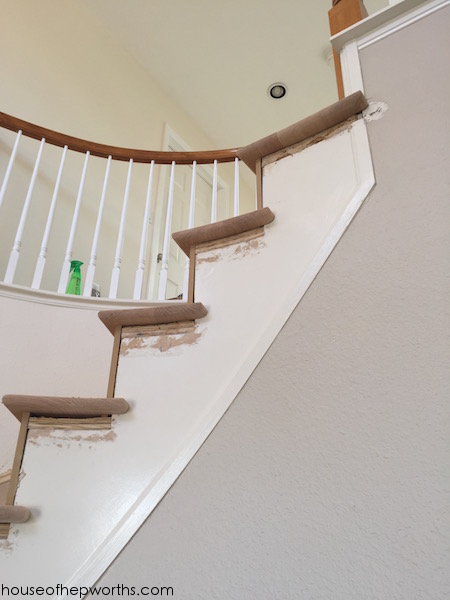
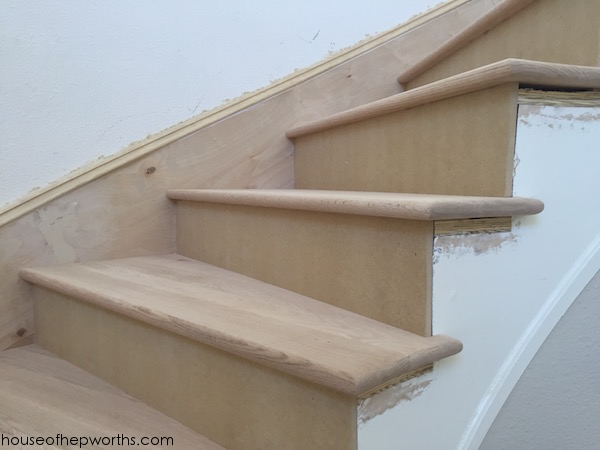
A side view. Finishing trim will need to be added to the outer edges under each tread. In this view you can see the old tread below the new one.
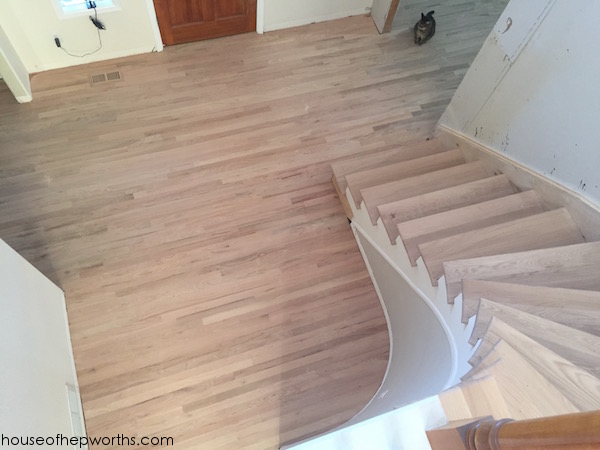
Here’s a view from the top. The treads are on and the floor is sanded. Now it’s time to stain!
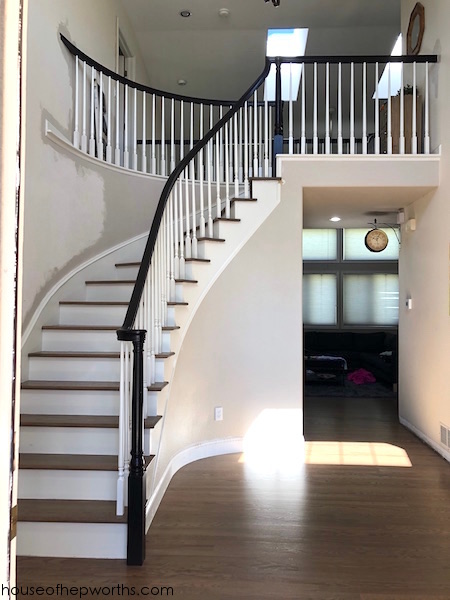
The foyer is coming along. You can see where we are going to add french doors into our new board game room.
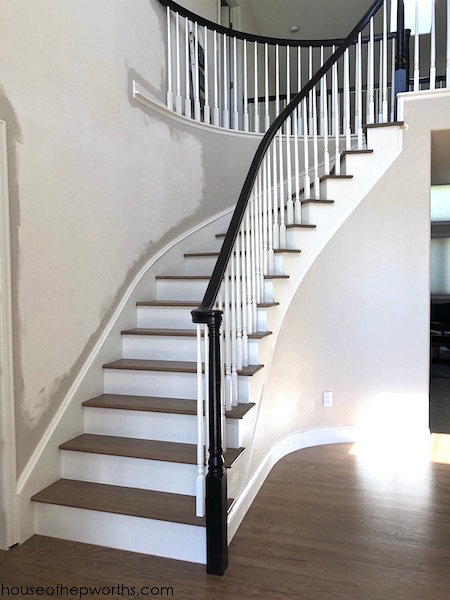
Here’s a sneak peek of our stained floors! I’ll give you more info on that in the next post. As you can see, the treads have now been stained too!
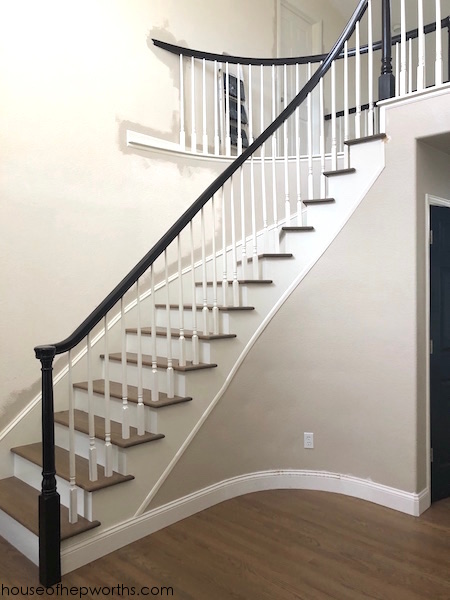
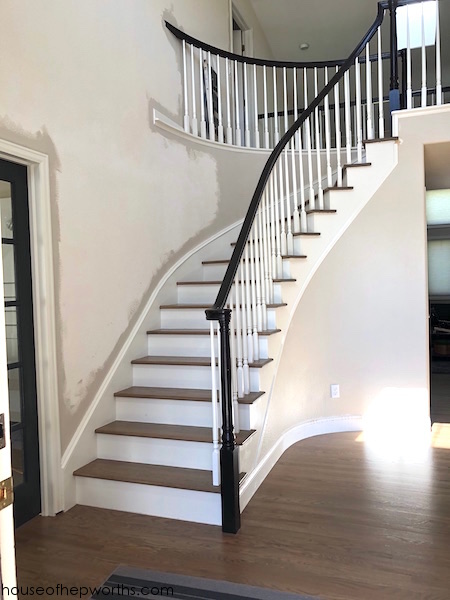
And finally, the railing is back on, all the balusters are attached, and the risers and skirt are painted a fresh coat of white paint. Once the treads and risers were installed I took over and installed the balusters and hand rail myself. Also, I painted everything myself.
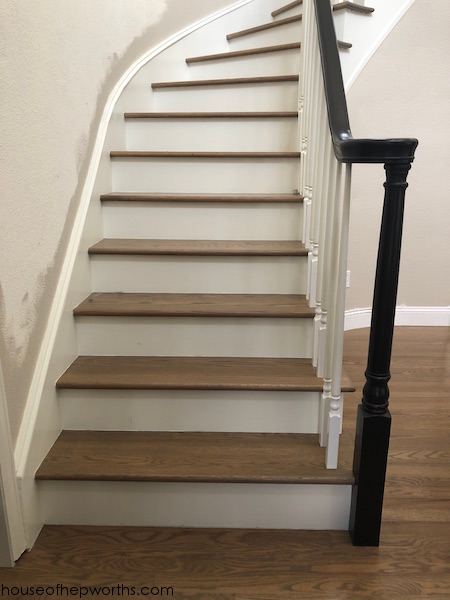
Freshly painted trim, a new baseboard, stained hand rail… This foyer is almost done. Holla!
The balusters are new, but they are the same as the old ones. I found a stair parts place online that had an exact match to our old ones. We were considering replacing all the balusters with something different, but we have a huge cat-walk upstairs and over 120 balusters. In the end we decided we liked these enough and it would save us quite a bit of money to only replace the few dozen on the staircase instead of all of them.
I’m going to talk about painting and staining the balusters and hand rail in a future post, so stay tuned for that. There’s a lot of info to share about it so I’m going to wait and do a dedicated post for that.
I am so happy with how this foyer is coming together. There’s still some that needs to be done (baseboards and painting the walls) but it’s mostly done now.
We are very happy that we hired out for the treads and risers, but I’m also thrilled we saved a lot of money by installing the balusters and hand rail ourselves, as well as doing all the other leg-work ourselves. I still can’t get over this before and after:
This renovation has been so much work, but so worth it.
Thanks for reading! Have a wonderful week!

What color stain did you land on? I am sure that is coming in a post soon, but we are starting our refinishing next week. I love that yours is darker, but not too dark, and they don’t look glossy!
The railing is java. The treads and floor are a custom mix of medium brown and grey.
I agree with the previous comment – your floors are a PERFECT medium brown colour (with zero orange undertones). You’re going to get bombarded with requests for that particular stain combo! xx
Thank you! We did a Satin high-traffic top coat. The stain was medium brown mixed with grey. I added the grey to cancel out the red undertones from the red oak wood. I do love them!
Beautiful! Best of all: no more vacuuming the stairs!!!… or maybe that’s just me?
Absolutely! I still run my stick vac over them but way less often. They are so easy to clean – I just wipe them down quickly with Bona floor cleaner and a rag – 5 min tops!
Your staircase turned out amazing!
Thanks so much!
Nowadays homeowners tend to use wood rather than carpets. Yes, hardwoods are sometimes hard to maintain especially when your area is full of termites.
Your stair remodel turned out great. I am wondering what is the thickness of the underlayment you use for the stair skirt.
1/8″ thick underlayment
How was the rise change of the very bottom step handled (new treads were attached to previous treads)? The rise on all the other stairs should have remained the same relative to each other since they all received an I assume equal thickness tread. Is it safe to assume the top bullnose/end cap piece added that same height as the new treads and transitioned smoothly to the new hardwood floor on the second level?
Great workmanship. Well done.!
In one of the above photos, the caption states “A side view. Finishing trim will need to be added to the outer edges under each tread. In this view you can see the old tread below the new one”. What finishing trim was used on the stair skirt below the new red oak tread to hind the old stair?
Thank you.
Hi, how did you take a template for the “curved” of the treads (the one attached to the curved wall)?
Thank you
My question is the how do you finish the side of the open ended riser so that is looks good from the side. We have added white risers like you did against a white skirt but the seam is very visible. Did you fill the seam and paint it?
Hey! I was wondering if you could share how you finished the sides, where you can see the old tread and unfinished risers. Do you happen to have photos? It looks amazing!!
Looks great!!! Your in Colorado what company did you use to install the custom pie shaped treads. Thanks
Wow! This is what I had been looking for. We are also renovating our stairs and glad I found your post. I was just wondering if you have a different post on how you did the curved skirting. I browsed through your topics and couldn’t find any. Thanks in advance.
Love to see your game room? Also, were you happy with carpet on the landing or do you wish you had continued the wood up to the bedrooms?
Beautiful! How do you reattach the posts and spindles afterward??
What color did you paint the walls??