I’m venturing away from our huge whole-house renovation today to share a quick update in our 1st floor guest bathroom….
Read More

Helping you DIY your home one awesome project at a time
I’m venturing away from our huge whole-house renovation today to share a quick update in our 1st floor guest bathroom….
Read More
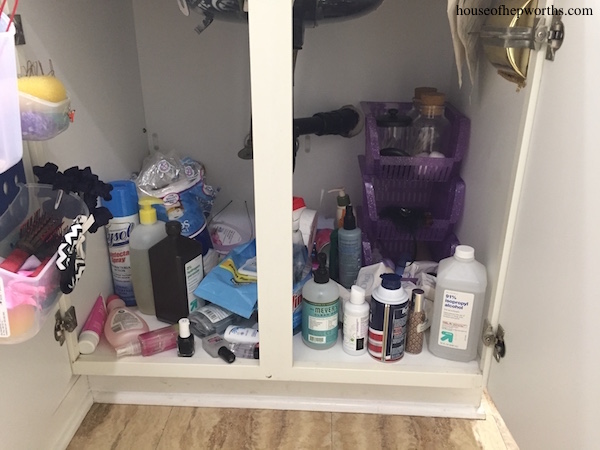
Today I have a quick and easy tip for organizing the cavernous hole under the bathroom sink. Our guest bathroom…
Read More
The guest bathroom finally got a fresh coat of paint! Here’s how it looked when we moved in: And here’s…
Read More
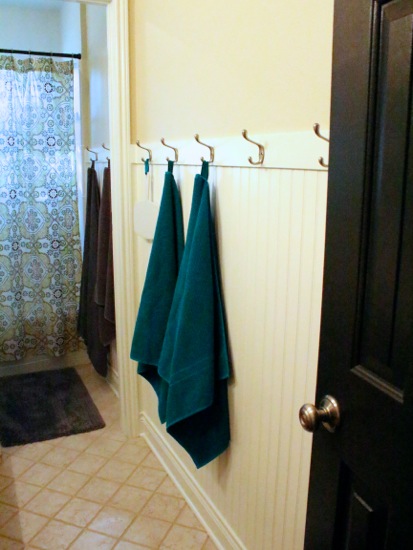
We recently updated our daughter’s bathroom (which also doubles as the guest bathroom) with some beadboard and a row of…
Read More

Today I’m going to share a really exciting DIY project with you. One of our bathrooms doubles as a bathroom…
Read More