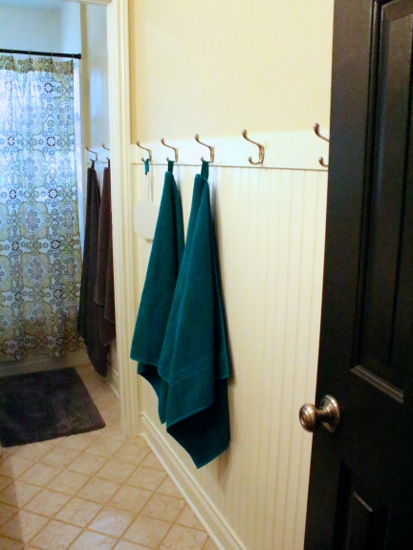
We recently updated our daughter’s bathroom (which also doubles as the guest bathroom) with some beadboard and a row of hooks. Now there are plenty of spots to hang all the beach towels that end up all over the floor each summer.
Today I want to show you how to easily install hooks. This tip can be used when hanging anything on your wall – nails, screws, anchors, hooks, etc.
Start by using pieces of painters tape to eyeball where you want your hooks. You don’t need to measure quite yet. This just helps you get an idea for how many hooks you want and how far apart you want them.
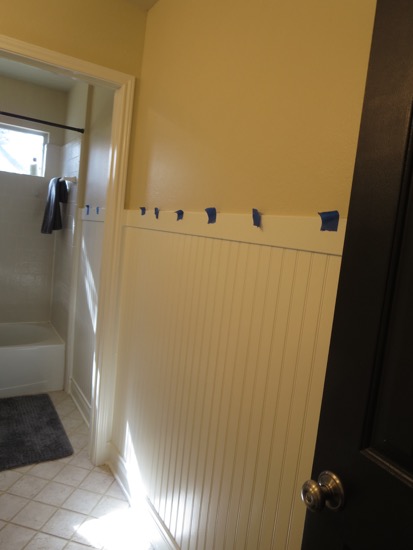
In one section I was debating between two or three hooks… I went with two.
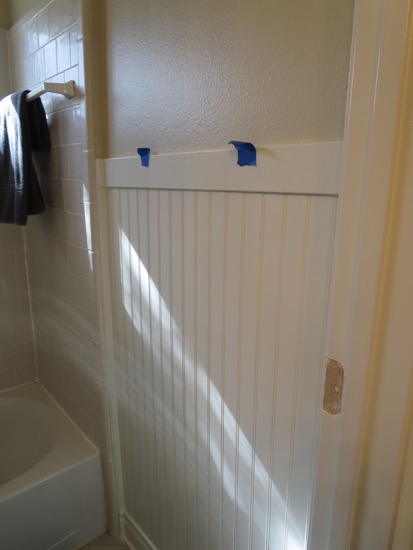
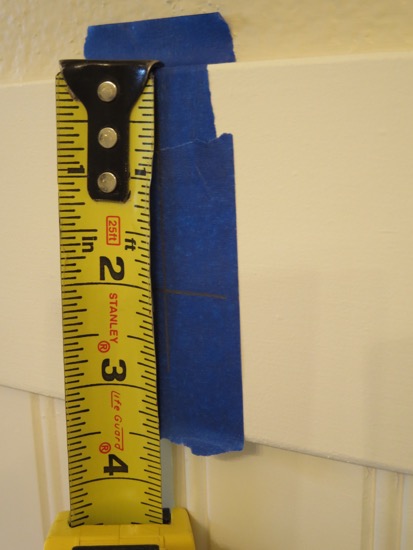
Once you have your layout, use a tape measure to make sure each section is equally spaced. You might have to move your pieces of tape over a bit to make everything even. Now use larger pieces of tape and fully tape each spot where you want your hooks to be installed.
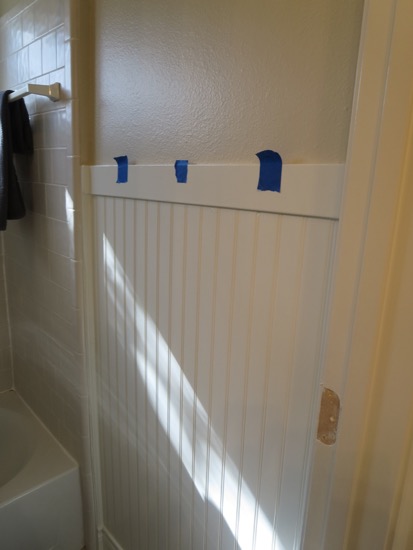
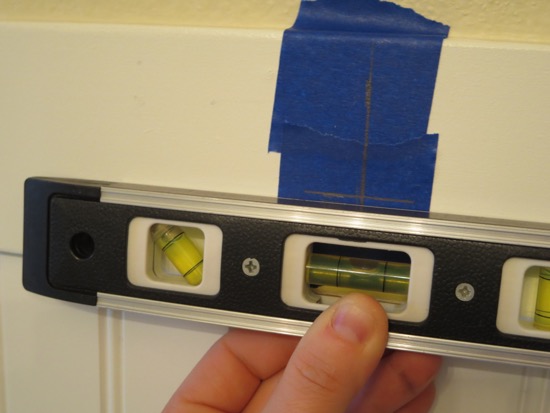
Using a level, mark a vertical line down the center of where you want your hook. Mark a horizontal line where you want your screw holes to go.
I wanted my screw holes 2″ from the top of my board, so I marked a level horizontal line 2″ down on each of my 7 pieces of tape (I’m installing 7 hooks).
Next I took the actual hook and centered it over my vertical and horizontal lines. I marked each screw hole with a pencil. This is where I’m going to drill my pilot holes.
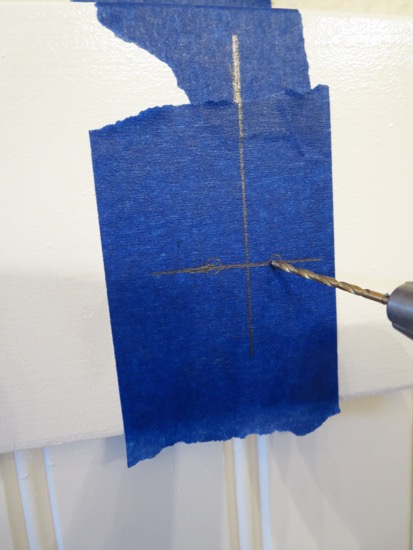
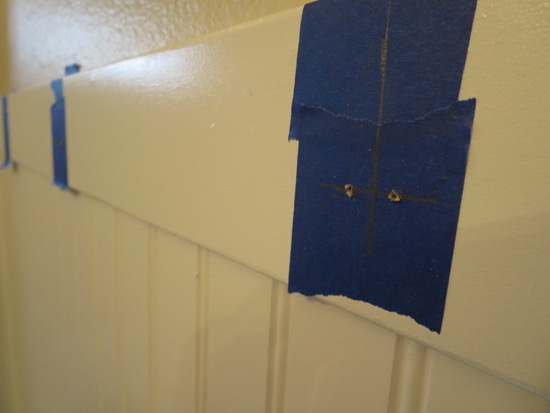
Once your screw holes are marked, drill all your pilot holes through the painters tape. Once the holes are drilled you can remove all the tape. Now all your holes are perfectly placed and ready to attach the hooks, and you have to pencil marks to clean up!
And finally, attach all your hooks. I attached one screw of each hook then went back and attached the 2nd screw. I didn’t tighten the screws down until both screws were installed.
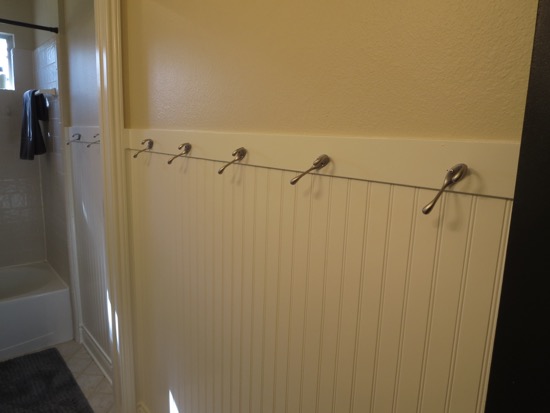
Now I have a lovely wall of perfectly lined up hooks without any pencil marks to clean up.
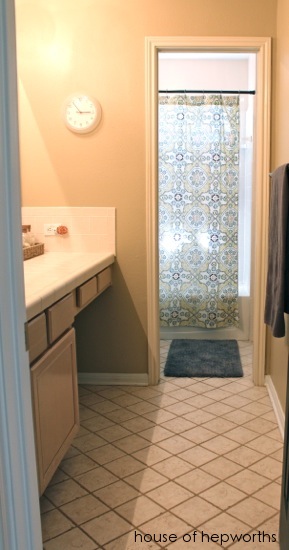
Here’s a “before” shot just for fun.
For a full tutorial on installing beadboard, you can check out my post here.
I tried to look through the other posts for the answer, where did you get the towels? The loops look more significant than the ones from Ikea. Thanks! The bathroom looks great.
IKEA!
What a great idea using the painter’s tape to mark the holes! I have some curtain rods to install in my daughter’s room and will definitely be using this trick.
This looks so much like my kids bathroom that it inspired me to do a bunch of your updates here. I’ve got my plan on paper, just need to go shopping. My husband is on board with it all because I could show him your pictures. He’s not as imaginative as I am. : ) Beautiful! Thanks for the ideas!
You always have the best tips. Painters tape to mark where to drill your holes. I love all the space to hang the towels too.
Missing your posts. I hope all is well.
I checked out your beadboard tutorial and was wondering something. It looks
Iike you installed the baseboards before the beadboard. Is that correct? I have been avoiding beadboard because I was afraid I would have to remove the baseboards first. Am I totally wrong on that?
Allison, I miss you!
I’m still checking…..every. single. day!!! Just want you to know you are missed!!! Hope all is well.
Just curious how your hooks have held up? I recently had some MDF board and batten installed in my master bath, but now I’m kicking myself that I didn’t make the guy do it in real wood. I’m worried that when we put up the towel hooks that they eventually will pull out. I never see furniture made out of MDF use screws, and I think there’s a reason for it.
Thoughts?