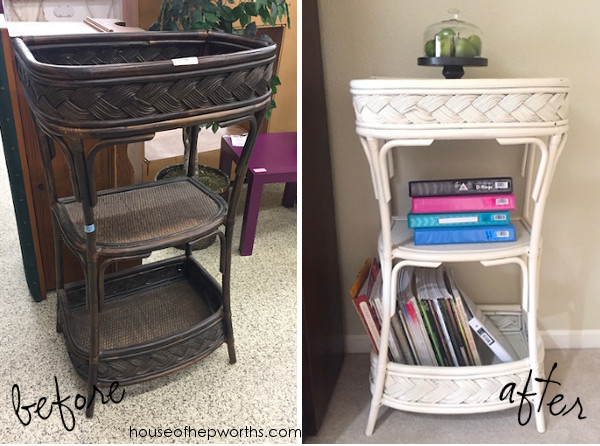
Hey guys! I love finding cool stuff for cheap at the thrift store that I can makeover. I feel like…
Read More
Helping you DIY your home one awesome project at a time
Hey guys! I love finding cool stuff for cheap at the thrift store that I can makeover. I feel like…
Read More
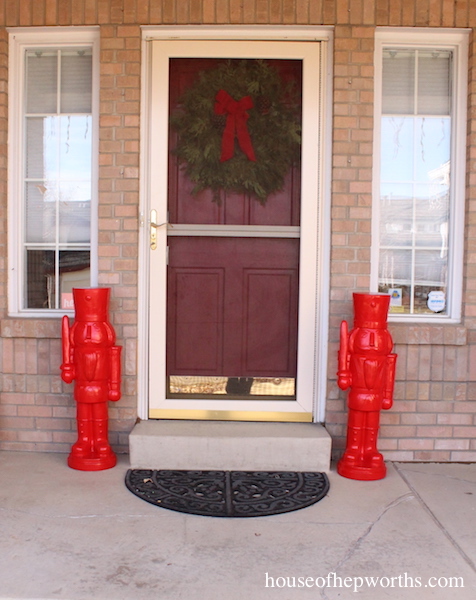
Happy Holidays my friends! As you’ve probably figured out already, I love nutcrackers, especially brightly painted ones! I found some…
Read More

You guys. I am such a sucker for nutcrackers. I don’t know what it is, I just love them! I…
Read More
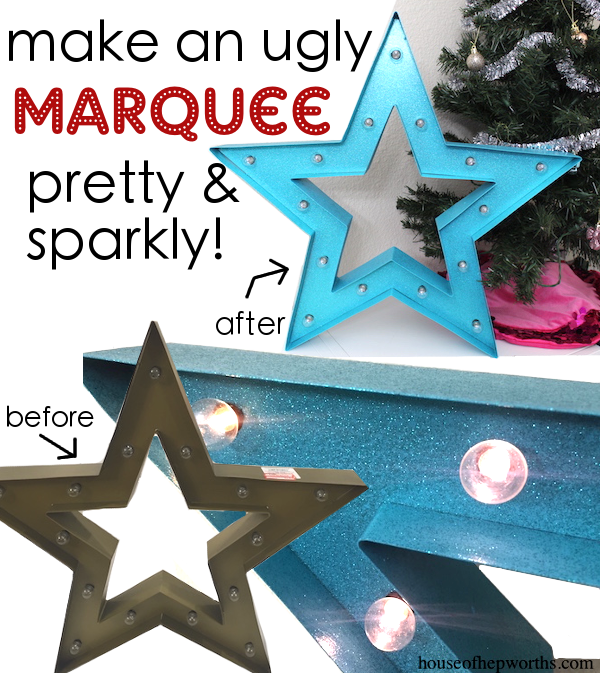
I have another holiday project to share with you today! I found a big marquee star at Target a few…
Read More

Well, I’m back with one more painted Nutcracker craft. I’m a little scared to post in fear of another backlash….
Read More