In November I added moulding and paint to my piano room.
One of the things I did in this room was added moulding around the windows.
It’s easy enough to add moulding around windows, but I had a unique situation that caused quite a bit of drama for me.
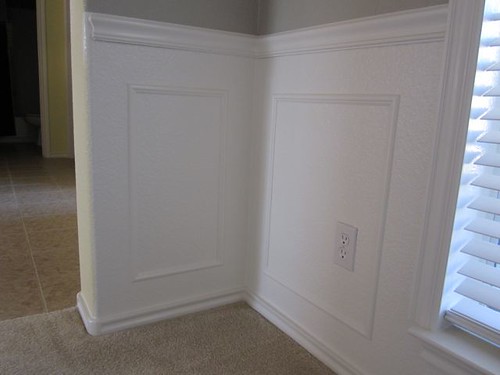
All the corners in our house have rounded edges.
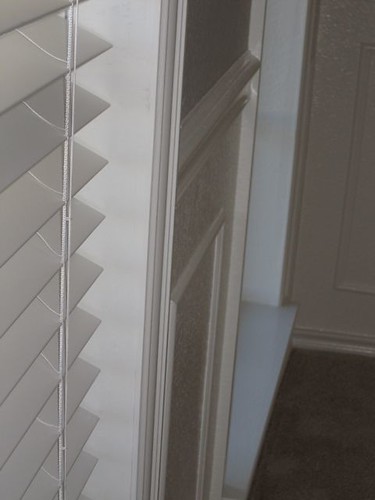
If you look at the wall leaving the piano room and entering the foyer, you can see another rounded corner.
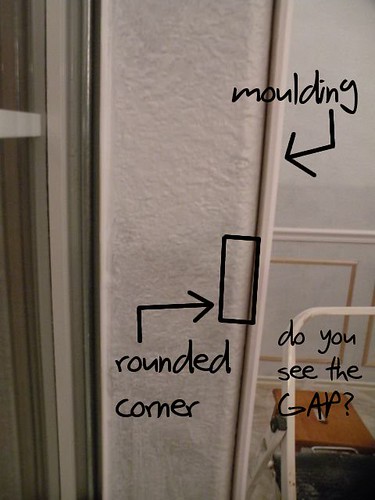
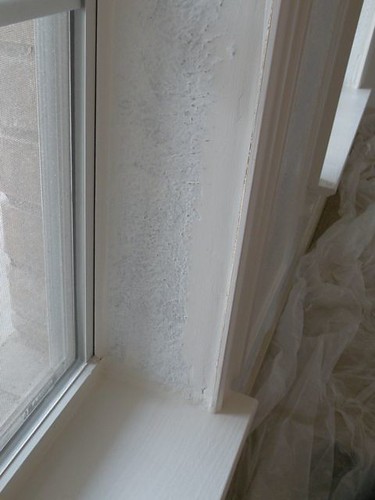
As you can see, when the moulding was hung it left a gaping gap between the moulding and the wall.
I knew before I hung the moulding that this would be an issue for me. I actually had been contemplating how to deal with this issue from the day we put an offer on the house.
Eventually I’d love to have moulding around all the windows in the enter house, and these rounded edges really proposed a big problem for me. After much thought and stewing over this issue, I finally decided that the most cost effective solution would be to fill the gap as opposed to covering it with something. At first I was considering framing out the inside of each sill with a thin piece of wood, but that will get pricey and is a lot of work.
Here’s what I came up with, and I think it solved the problem beautifully.
Joint Compound.
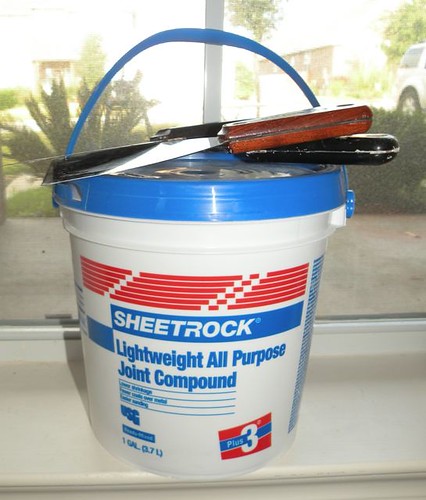
If you’ve never worked with this stuff, you are seriously missing out! I love using joint compound.
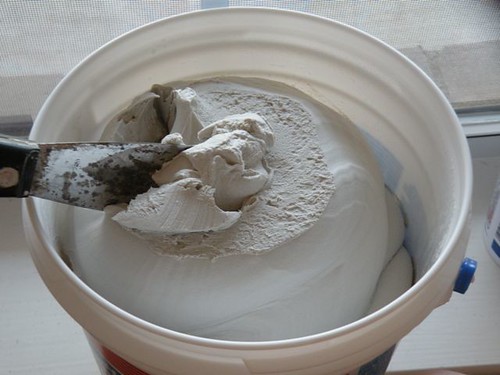
It has a consistency of whipped frosting and goes on as smooth as butteh’. It dries quickly and is easy to sand. You can paint it. It’s also easy to wash off your hands and tools.
I simply filled the gap around the entire window with the joint compound. I used a putty knife to apply it.
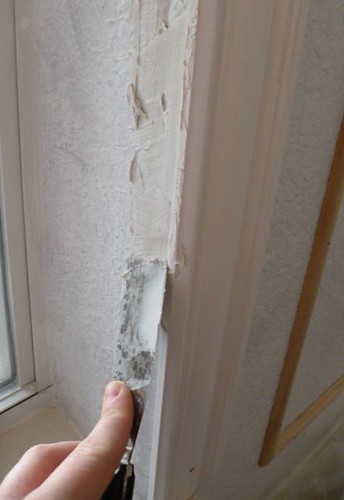 Just blob it into the space and then smooth it out with the putty knife. Make sure to wipe away any excess that gets on your moulding.
Once it was dry I gave it a nice light sanding with a sanding block.
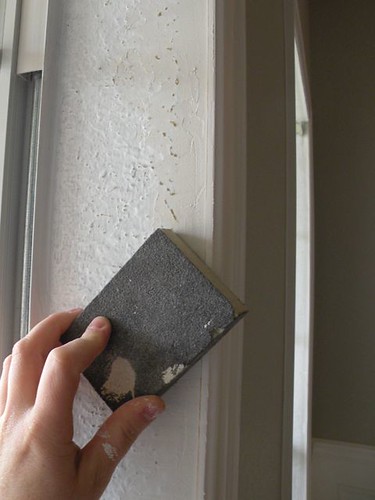
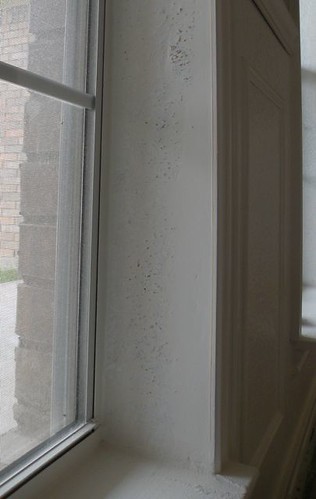
Joint compound will crack if you put it on too thick, and since the space I was filling was rather deep the joint compound did crack in several areas, which I anticipated.
All I did was add a 2nd coat of joint compound and then sand again when it was dry.
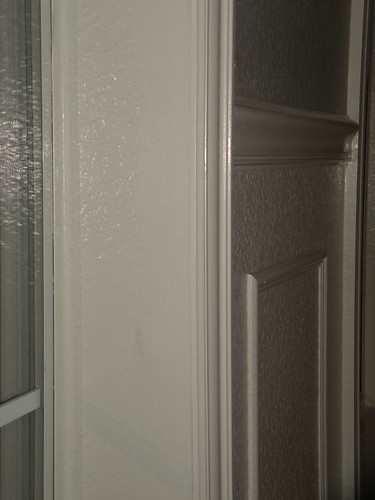
It’s not even painted yet and it’s already so much better looking.
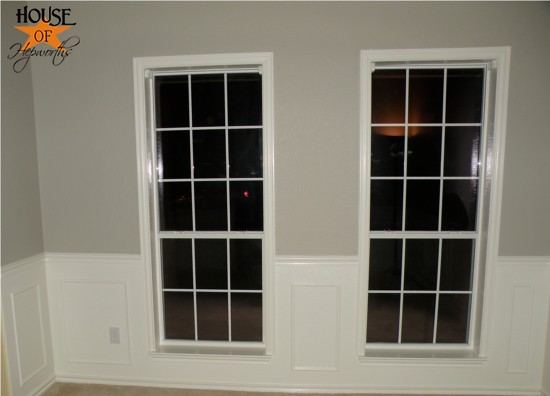
When the joint compound was dry and done being sanded I painted over it with the same high-gloss white paint I used on the moulding.
You can see both windows from this picture. You can’t even tell I ever had an issue with the rounded corners!
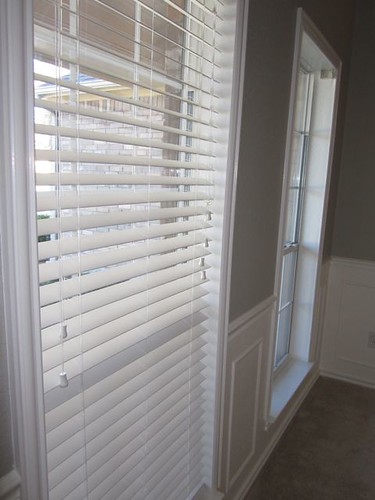
Pretty impressive, right? This is why I love joint compound. And the entire container was only around $7. I’ve got plenty more leftover to tackle several more windows.
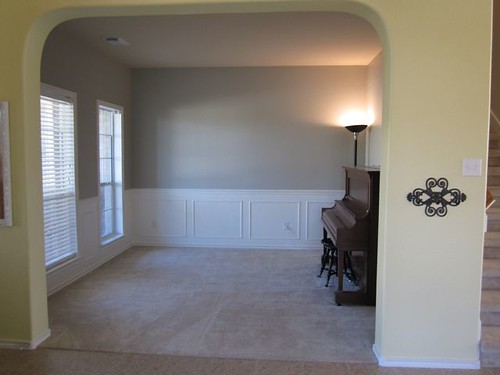
Here’s the room in it’s current state.
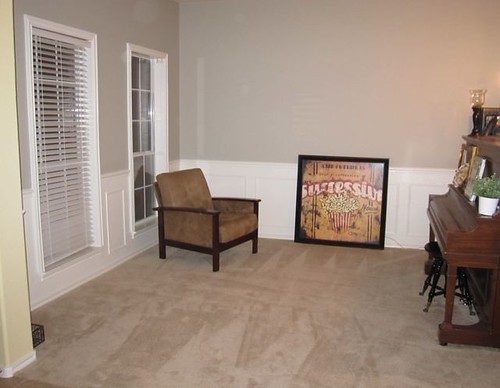
Obviously it needs a lot more work (decorating). It’s coming along though. Next thing I need to do is fix the 2nd set of blinds so I can rehang them.
Joint compound is great for lots of different uses. Filling huge gaps in walls is just another one of it’s many talents. I could have used Spackling, but Spackling is thicker and doesn’t spread as easily and fluid as joint compound. Spackling is great for small projects like filling nail holes in walls, but if you have a big project, use joint compound instead.
Alli you are a woman after my own heart 🙂 When I lived in Vegas all the houses have those cursed rounded corners, Agghh! Hate those! No character whatsoever. THIS looks totally fabulous. I can’t imagine the value you added to your home as well! Kudos, I will be linking to this from Craft Gossip 🙂
What color paint did you use in that room? I am loving that grey color!
Thanks !
Hi Allison,
Great fix. Might I suggest Smart’s Wall Fix next time? It’s non-shrinking so it won’t crack like regular joint compound. You can find it at Lowe’s or Home Depot where they sell the joint compound. I can’t remember which one I bought it at, but if you’re interested, I’ll send you a picture of what it looks like.
Again, great job on the fix. Oh, one more thing. If you want to match the texture that’s on your wall, buy a can of Orange Peel texture and spray it on. It has different nozzle sizes so you can match the orange peel texture you already have. It looks like yours is the large texture. Once it dries, you just paint over it.
Not sure if you’ve ever seen/used that product but it’s the bomb for when you have to repair your walls and don’t want a large smooth surface where the rest is orange peel.
This is AWESOME! I love in Vegas, so the cursed rounded corners have prevented me from starting a moulding project…until NOW! Thanks for the post! I shared it with my readers: http://www.homemakingexpert.com/2010/12/diy-moulding-on-rounded-corners.html
Rounded corners in our open concept house are my nightmare. Thankfully it’s just the wall corners and not the windows. This is a fabulous tutorial – thank you for sharing!
Um, can I just tell you how much you totally rock!!! We have bullnosed edges throughout our entire house, windows included, and, like you, the only solution I had come up with was framing them out and then adding moulding. You just SAVED me!!! My husband will thank you. 😉 Now if only I could figure out how to make the corners come together better when the walls are painted two different colors. I thought rounded corners would be cool until I painted my living/dining area a different color than my kitchen!
I have the same problem. It’s sooooo annoying. Maybe someone clever will come up with a good solution. (hint, hint)
Love love LOVE it!!! You are brilliant! I can’t believe how good that looks. I tell you what — caulk and joint compound are a DIYer’s best friend! You rock girl! 🙂
I absolutely despise joint compound. But I guess that’s what happens after you drywall, putty and sand a whole house.
You are awesome!
seriously, is there anything you can’t do?!? and yes, we’ve used joint compound to hide a LOT of weird crap in some of our (old) houses. It’s a miracle! 😉
why the HECK would they make those corners rounded like that? that looked kind of weird…!
I have the same stupid rounded corners, I’ll have to do this when I decide to get on the moulding bandwagon!
Hop on board! We love moulding around here. In fact, I’m trying to gear up for round two of moulding around windows. I need to hurry and do the ones in my family room.
Oh my gosh I am so happy I found this tutorial!!! I live in AZ. Our house has rounded corners everywhere and plain windows. I have been contemplating framing out the windows to add character to them, but couldn’t figure out how to work around the rounded edges. I am doing a happy dance 🙂
ugh – ALL of our walls have rounded corners – I can hardly wait to start adding the molding just to hide them…
I am so excited that i found your page and that you have shared your project we bought a house 2 yrs ago and none of the windows have any trim which I really think adds such depth and makes the paint color pop. Anyway all of the corners ……are rounded which kept me trying to figure out how I would accomplish this on my own I was seriously thinking of hiring a carpenter ! Thanks so much for your idea !
Oh I am sooooo happy to have found this. The rounded corners are sometimes nice, but not next to our plain, sad looking windows. I am excited to try the fluffy joint compound. I am rather fond of butter, as well.
Thanks for the post! I’ve hated my rounded corners since I signed on the dotted line too. This was very helpful!!!
The darker brown you have on your wall could you tell me what color that is? planning on painting our family room a brown color and kitchen a light yellow, do you think that would look good? not good at picking colors that i can live with for quite awhile. thank you in advance. Katie
Brilliant! I’ve been searching for a way to do this while remodeling my office. Thanks!
Does anybody know Molding Creator, I’ve read on forums that it’s possible to buy nice window frame moldings there, did anybody use their services?
Never heard of them. Let us know how you like them.
Yay! This is what I needed to find! I love in Las Vegas and these rounded corners are everywhere! I’m going to add some character to the’s windows!
OMG I am in love. I have wanting to add a backsplash to my kitchen but my window is frameless and has rounded corners. So no idea what to do until now!!!! thanks I will be buying some joint compound and adding a frame.
Do glad to hear this! Using a ton of caulk works great too.
I love working with drywall compound also. Don’t know why I didn’t thin about using it as you did! Can’t wait to get home and frame all my windows now. I have really hated not having proper Windows was. Thanks so much for sharing.
Great idea. Another idea is to fill the gap with another smaller flexible Urethane molding.