My parents gave me these two nice solid wood bookshelves.
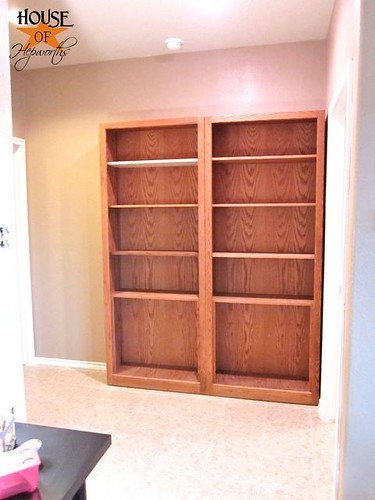
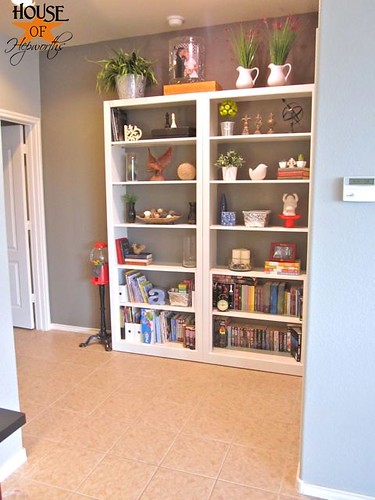
They fit perfectly in this little hallway off our Family Room between the Master Bedroom and the Laundry Room.
You can get a better idea of where they are in the house from this photo I posted while painting the Family Room.

Do you see the shelves in the back corner?
Anyway, the shelves are perfect for the space, but the oak color was really dragging me down. I decided to paint them.
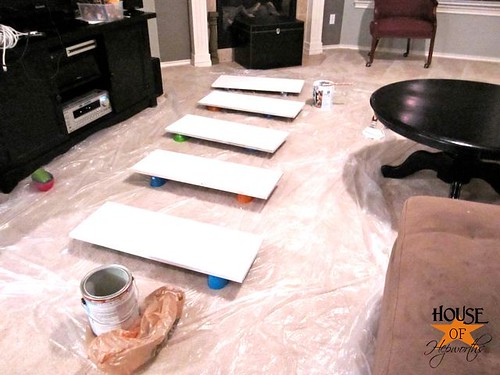
First thing I did was Prime them.
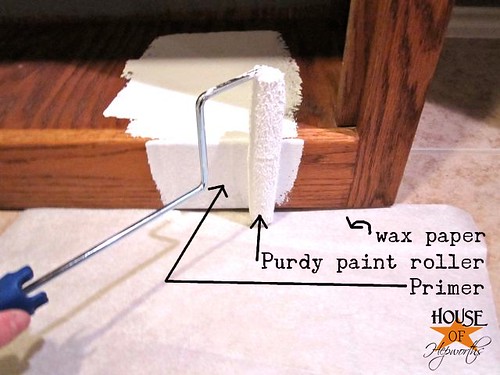
A little trick I used: when I painted around the bottom of each shelf I just slid a piece of wax paper under to block the paint from getting on the tile. Worked like a charm.
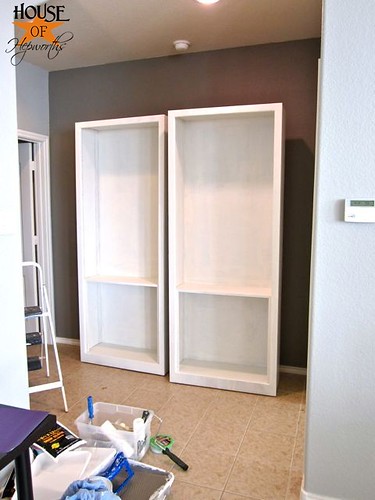
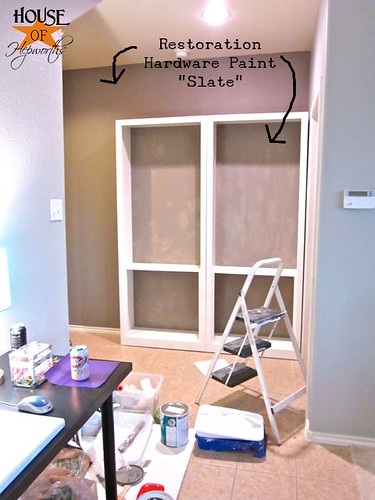
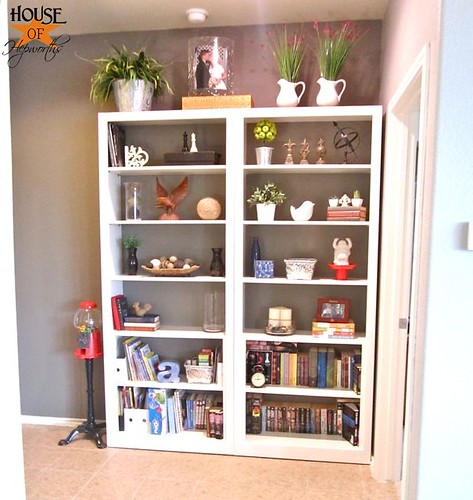
Once they were Primed and dry I painted the backs of the shelves with the same paint I used on the wall – Restoration Hardware “Slate” and painted the rest of the shelves white “Alabaster” by Sherwin Williams in Gloss finish.
They look splotchy because they were mid-drying at this point.
To paint each shelf I set up an assembly line on my floor and set each shelf on top of little bowls and cups – pretty much anything I could find to lift them off the ground a little. I primed each side, and then I gave each side a few coats of the Alabaster.
And finally, the shelves are done.
I’m still tweaking the accessories on the shelves. Many items are in line for a coat of spray paint.
Also, the bottom of each bookshelf is suppose to have doors, which my dad can’t find. So eventually I want to make new doors for the bottom of the shelves to hide all the books.
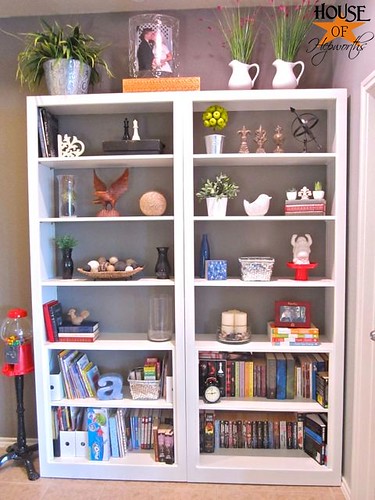
I’m definitely feeling more settled now that I have a place for all of these accessories.
Before:
After:
A little paint can make a huge difference.
Wow, what a difference! I love the newly painted shelves. I like the two-tone look as well, very chic!
WOW!!! looks awesome. I think we have some like that in storage that MIL had in her house but I have NO idea where to put them. 🙁
our house is faitly large but very open and not a lot of wall space for stuff like that.
They look great! We are getting ready to start some bookshelves and I want to paint the back a different color too!
I love it! I especially love that the back is a contrasting color. Looks awesome!!!
Great before and after! That’s so clever painting the bookcase backs to match the wall. You get the look of open shelves but nothing can get pushed off the back. I’ll have to remember this.
I love it now!! The paint makes such a big difference! I recently built a bookcase and considered painting the back a different color… seeing yours makes me want to rip all my books off the shelves and do it! It looks great! Love the pops of color too!
Looks great!! You did an awesome job!
i never would have thought to do the slate gray background! wow!! that pops! beautiful!! can’t wait to see more projects!!
Wow, those look great! I love how the white pops against the slate. I’ve got a hutch top that I’m about to paint. I’m not loking forward to it. ha
A-mazing!!!!! It looks 10000% better! Love them!
Your bookshelves look wonderful. I have some I desperately need to paint, I have a hard time motivating myself, you have inspired me!
I love the faux open shelving look!
Those look great!!
Looks great darling! I love the white and gray!
Love the shelves. Don’t know why I am so afraid of painting things. Thanks for the inspiration.
I have to tell you painting the backs the same color of the wall makes all the difference between office looking shelves and chic looking shelves. Great!
I love everything you do! Your bookcases and the paint color you used look amazing. Please don’t ever stop blogging 🙂
These turned out so well! I love how you painted the back the same color as the walls. These are definitely a great place for displaying just about anything. Did you sand before you primed?
I LOVE how they turned out. What a brilliant idea to paint the back of the shelves the same color as the wall! And all your little accessories look so great!
Oh emm gee! I have almost the exact same bookcase and I just hate the oak color. I’ve been ignoring it because it simply never occurred to me to paint the ding-dong thing. Thank you so much!
The shelves look wonderful!!!! They are pretty and useful. Love! 🙂
Love Love Love how the shelves look backless yet have the stability of full shelves. I want to put that type of shelving in my LR and I am so going with the two-tone.
They look like built-in shelves. Lurve!
wow this is really cool
The bookshelves look amazing! I can’t wait to do that with my very similar oak shelves. Great job!
I love how you painted the back a different color. I would have never thought of that.
They look awesome!
I also really like the cleverness that is painting the back with your wall colors! However, I don’t understand why you’d want to hide *books*, of all things!! 😉
I love this idea! It looks more cohesive now and not an eye-sore like before. BTW, I love the gumball machine!!! (I have the same one but looking to buy a stand for it). Your blog is a daily inspiration!
This is awesome! I love how you make it it look like part of the wall with the same colors!
also….is that a twilight book I spy behind the clock?!
Hi, I have these exact bookshelves I am pretty sure. I just painted them and now the little holes are kinda small for the pegs that hold the shelves up. Do your book cases have the holes? If so how did you get the paint out??
Thanks, your place is beautiful!!!
They look so good!!! can u tell me what kind of paint ( latex or oil based?? How much prep did it take? did u have to sand down everything?? I am ready to start on my shelves but just am wondering how to do it where the paint will hold ??
thanks
linda