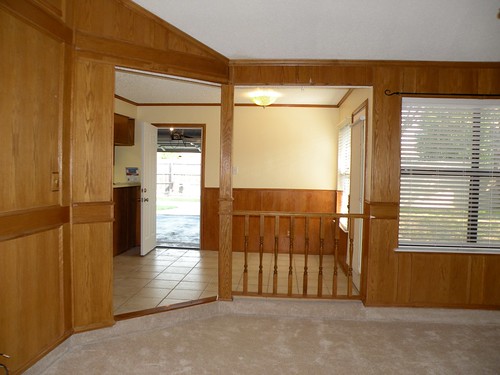
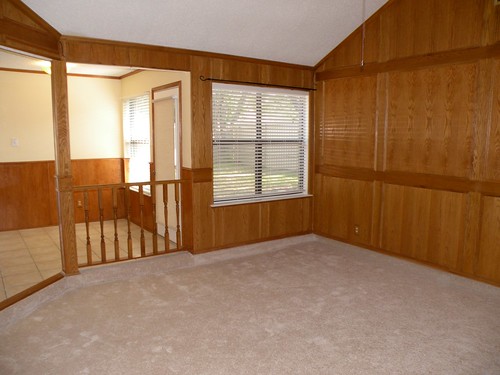
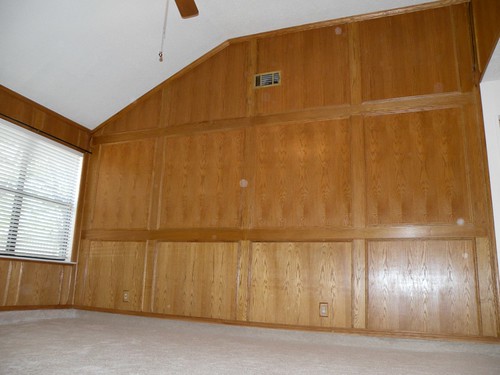
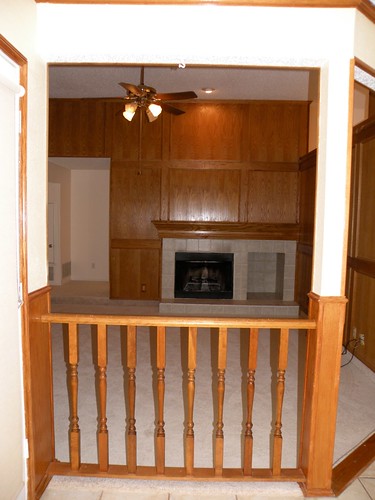
The first room we decided to tackle was the Family Room. It’s still a work in progress (a year later) but it’s coming along. The DAY WE MOVED IN I started ripping the paneling off the walls. That’s how much I loathed that paneling. Here’s a play by play of the destruction of our living room.
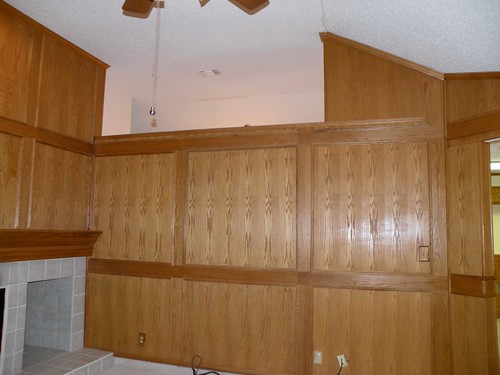
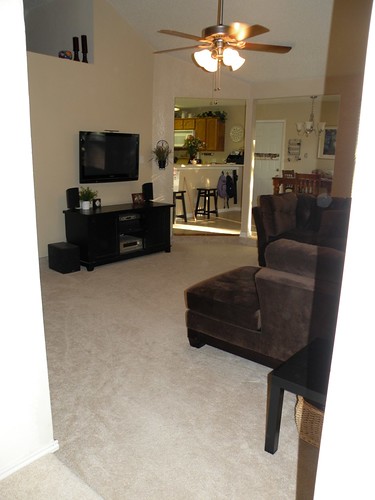
Before pictures:
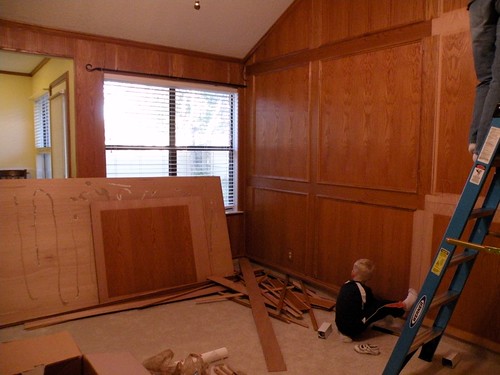
Taking down the paneling
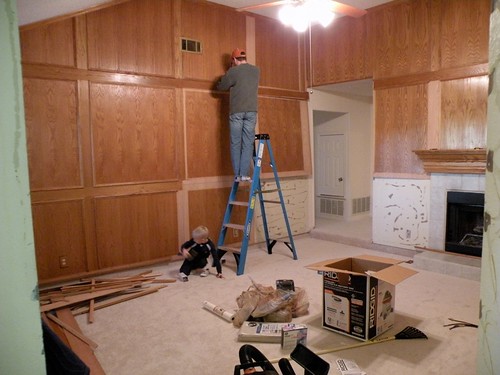
Almost done with the paneling…
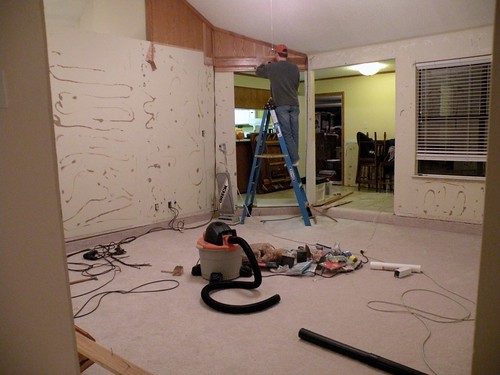
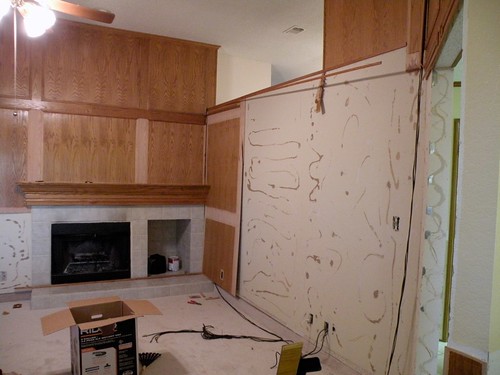
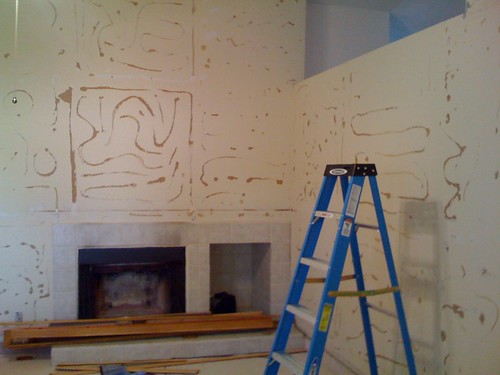
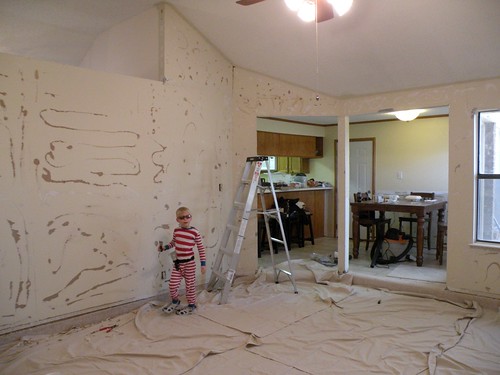
Now we have to work on those walls. Ack! Those squiggles all over the walls are where the paneling was glued to the sheetrock. When we ripped the paneling down, parts of the glue stuck to the wall and we had to cut it off (OMG that was painful!) and parts of the glue ripped holes in the sheetrock down to the cardboard.
Also, our mantel, which I acutally LURVED!!!, fell apart while taking down the paneling. It was a sad day for me. Sniff. I was going to paint it glossy white (Alabaster from Sherwin Williams actually) and it was going to be ah-maz-ing! I’ll vent about the CRAPINESS of the upgrades from previous owners in the house on another post.
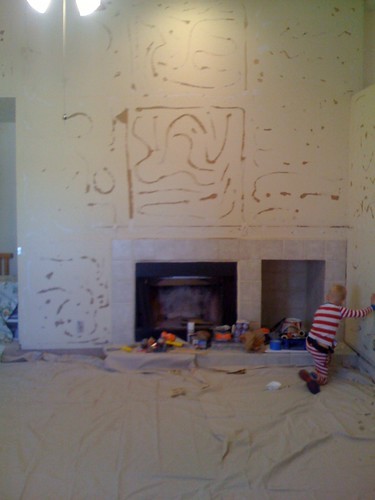
My little T-ster in his adorable jammies helped us out on our big project
<">
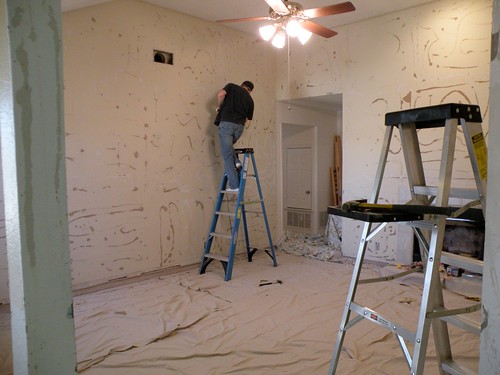
Cutting the glue off the wall, such a HUGE amazing P-I-T-A!!!!
Look at him with his cute little tool belt on!
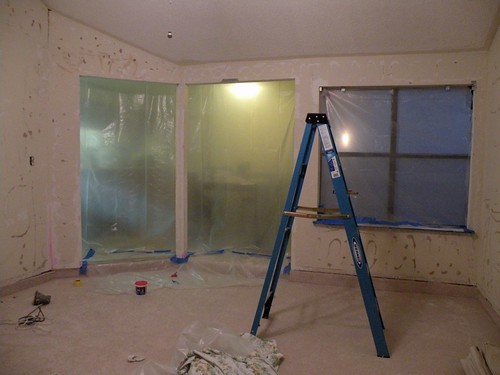
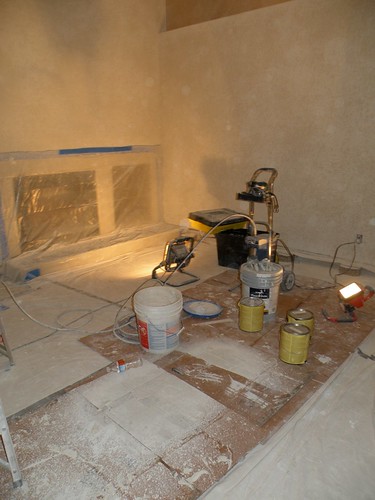
The plastic is up and we are ready to start joint compounding and sanding. Yay! And GROSS!
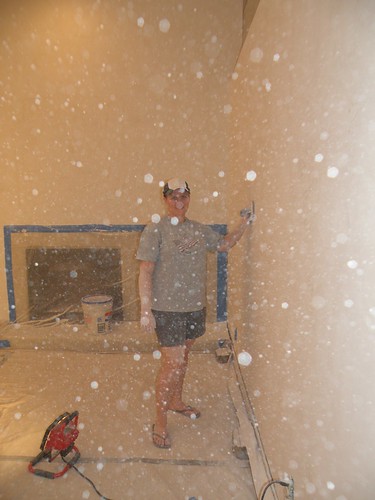
It’s snowing! Oh wait, that’s the overwhelming amount of dust in the air from all the sanding – this dust would find it’s way through our air conditioner and all over every surface of our entire house. Who wudduh thought?!
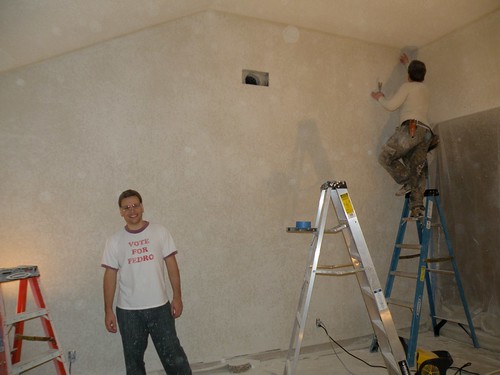
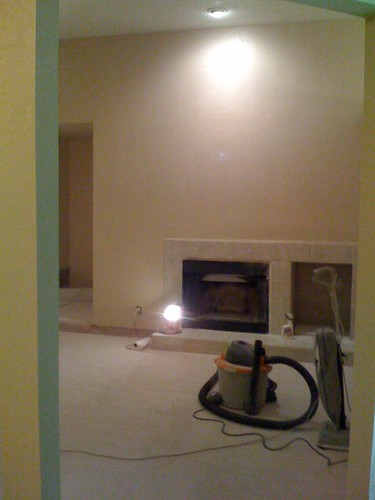
We are done sanding and texturing! Texturing was fun!! I’ll tell you how to do that later. That’s Ben on the left and our neighbor helper Randy
All our supplies for painting. For 200 bucks our neighbor Randy textured and painted with his texture tool and paint sprayer. Texturing was so fun though that I bought my own texture tool and did it myself for the kitchen.
It’s painted. And it’s night. And I should never take pictures of any of my room makeovers at night because they look horrible. And now I know.
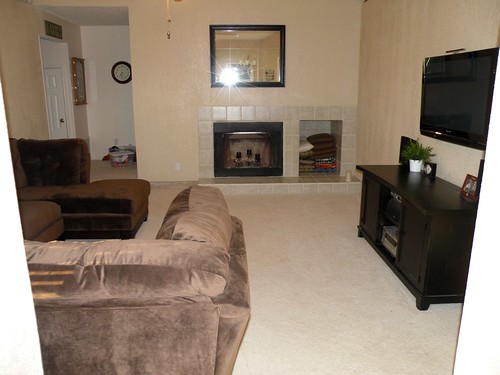
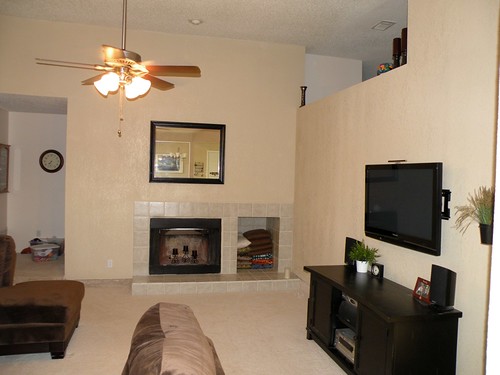
Ta-Da!
All done. Well, almost all done. Just don’t look at the baseboards… because there aren’t any. I’m workin’ on it. I’m going to do really chunky baseboards that start at the floor and go up to the sheetrock. There’s about a 5″ gap from the carpet to the sheetrock and they actually carpeted the wall. Ick. So once I get another miter saw the baseboards are priority #1.
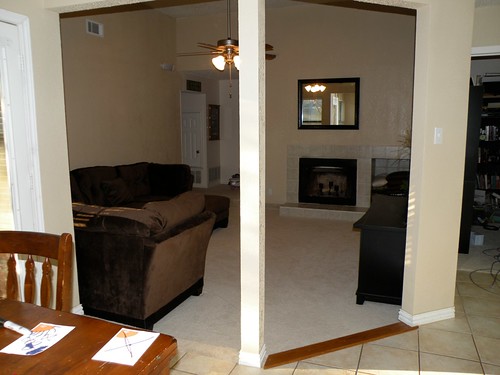
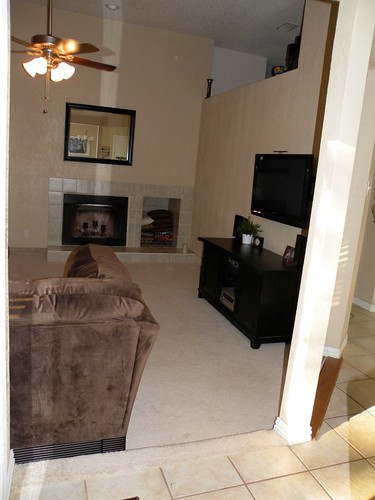
That’s it so far. I’ve got a few things I need to work on, and I’ll address those in another post. But for now, here’s a quick before and after again!
BEFORE:
AFTER:
Bo-ti-ful.
Wow, what an amazing transformation! You really did a fantastic job in here 🙂
Thank you!
Wow that looks like a LOT of work. You did an awesome job though. Thanks for the nice comments on my blog!
Awesome! Wood paneling is the devil.
Your after looks great! I guess I am the odd ball, I think that paneling would have looked awesome painted. I love the grid pattern that it had. I like the painted paneling look, though.