Hi Everyone!
I’m beyond excited to be blogging at HOH today!
My name is Emily and I am visiting from On the V Side, where I write about home decor, DIY, my sassy Redhead and life, in general, at Casa V.
In my world, “HOH” stands for “Hooked on Hepworths”… ’cause I am.
I found Allison’s blog by accident (I was searching the internet for paint colors) about a year ago, and I’ve beenstalking her avidly reading ever since.
And, I’ve basically been copying her from that day forward 🙂
Today, though, I’m sharing how I tackled adding a frame gallery to make a wall in our office give a better first impression than “blank wall-o-death”.
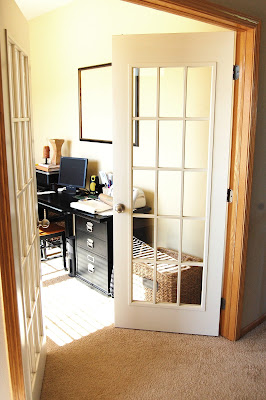
When you first walk into our house, we have a nice, sunny office
I’m beyond excited to be blogging at HOH today!
My name is Emily and I am visiting from On the V Side, where I write about home decor, DIY, my sassy Redhead and life, in general, at Casa V.
In my world, “HOH” stands for “Hooked on Hepworths”… ’cause I am.
I found Allison’s blog by accident (I was searching the internet for paint colors) about a year ago, and I’ve been
And, I’ve basically been copying her from that day forward 🙂
Today, though, I’m sharing how I tackled adding a frame gallery to make a wall in our office give a better first impression than “blank wall-o-death”.
When you first walk into our house, we have a nice, sunny office
right off the entryway.
It has pretty french doors and I love it.
(see the doors, ignore the mess 🙂 )
(see the doors, ignore the mess 🙂 )

What I don’t love is the big blah wall that [until just recently]
greetedvisitors when they arrived.
greetedvisitors when they arrived.
When we first moved in, I had a big shelving unit there that looked all right, but was a magnet for clutter.

A few months ago I swapped out the shelves for this sweet dresser.
It was hefty enough to anchor the wall, be a focal point for the room, and hide store all the clutter.
My problem was the giant expanse of wall above it:

I tried leaning frames against the wall as a temporary solution.
It worked all right, but it was just okay.
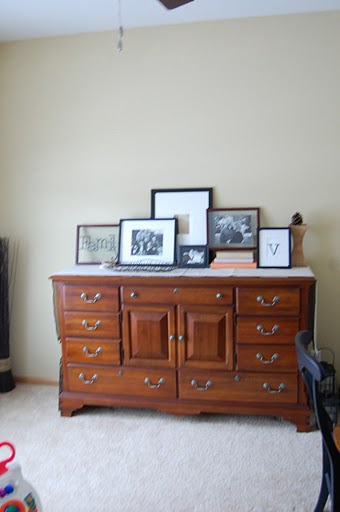
Still too much space up top for my taste.
I love our high ceilings but they made utilizing the space a challenge without having some ginormous piece of furniture or a colossal china hutch weighing down the room.
Enter gallery wall.
I really didn’t want to spend much of anything, and like many of you out there who enjoy decorating/thrifting/repurposing, I’m a bit of a hoarder I keep things that I might need later. 😉
So, I set out shopping the house and got to work.
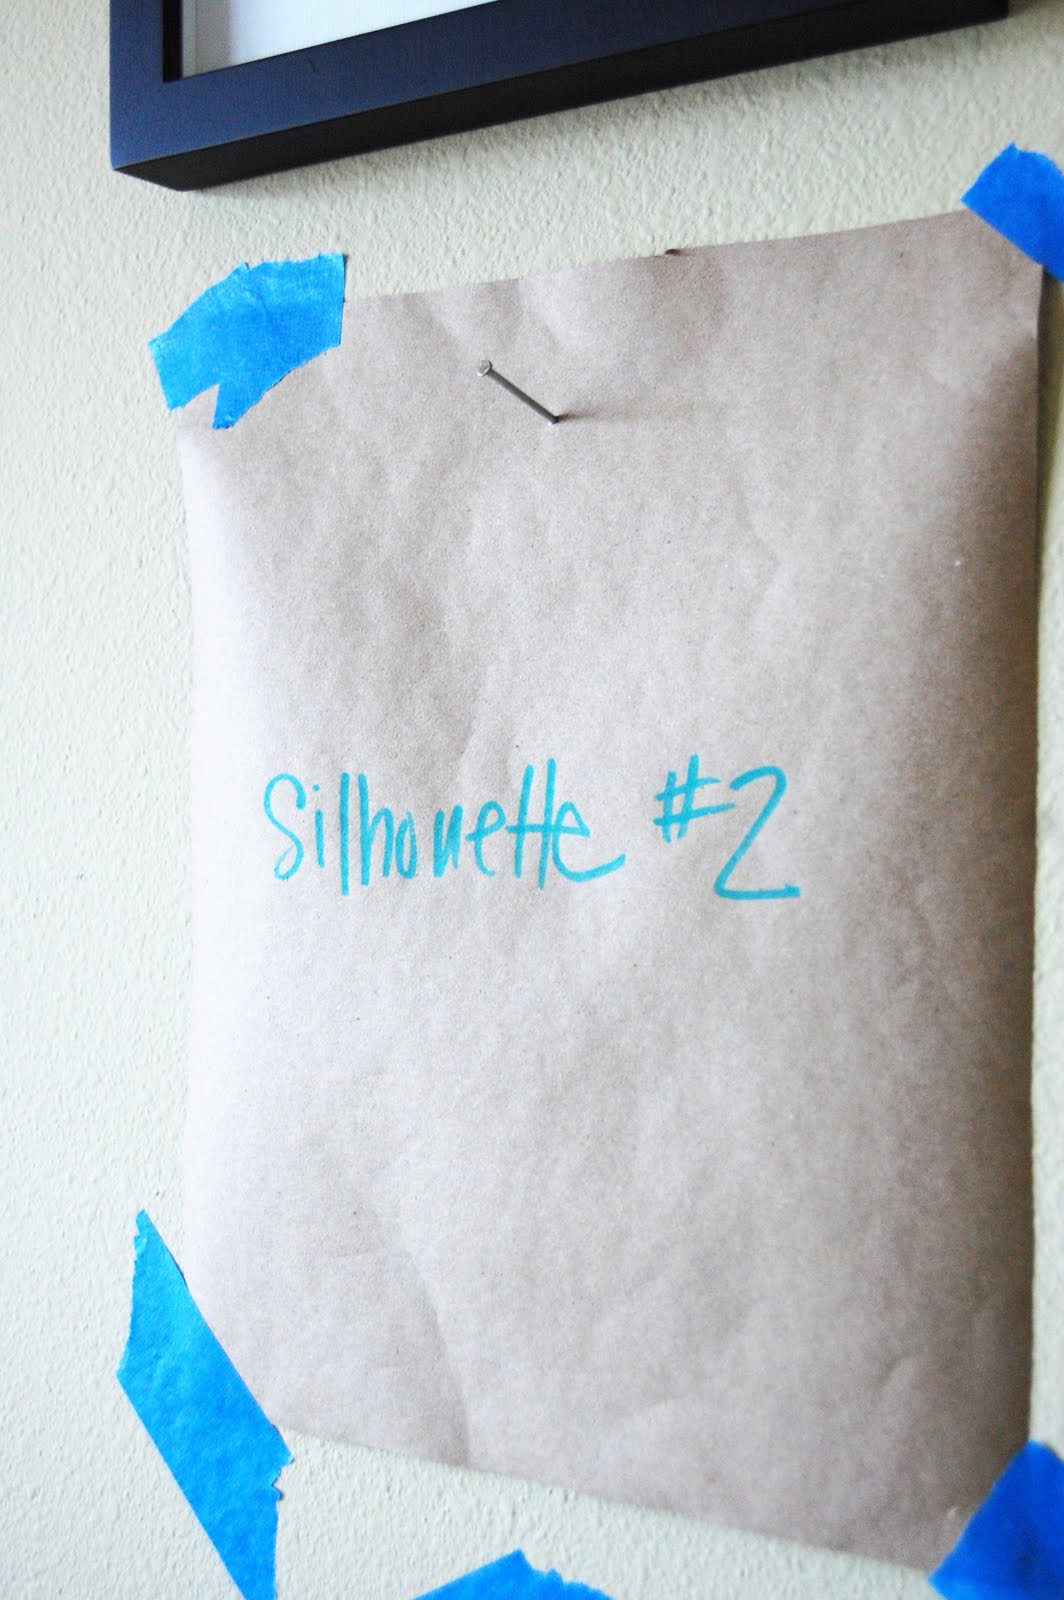
I started by taking all the objects that I thought might be “contenders” for the wall, and tracing them onto kraft paper.
From there, I played around with placement of those things on the wall using painter’s tape, and made sure to label each piece so I could further visualize what was going where.

This way, I could reposition the objects any way I wanted and not worry about putting unnecessary holes in the wall or peeling paint with regular tape.
When I found an arrangement I felt happy with, I left the paper hanging there for a couple days to get used to it and make sure I liked it.

When it came time to hang, I measured where the nail should go based on the hanging hardware on the back of each item, then put my nail right over top of the kraft paper.
I’m the first to admit I’m not perfect, and
neither are my skillz. So this method proved helpful when my
measurement was off – I was able to see right away that I needed to re-place the nail.[See how the edge of the frame and the edge of the kraft paper don’t match up?]

Much better.

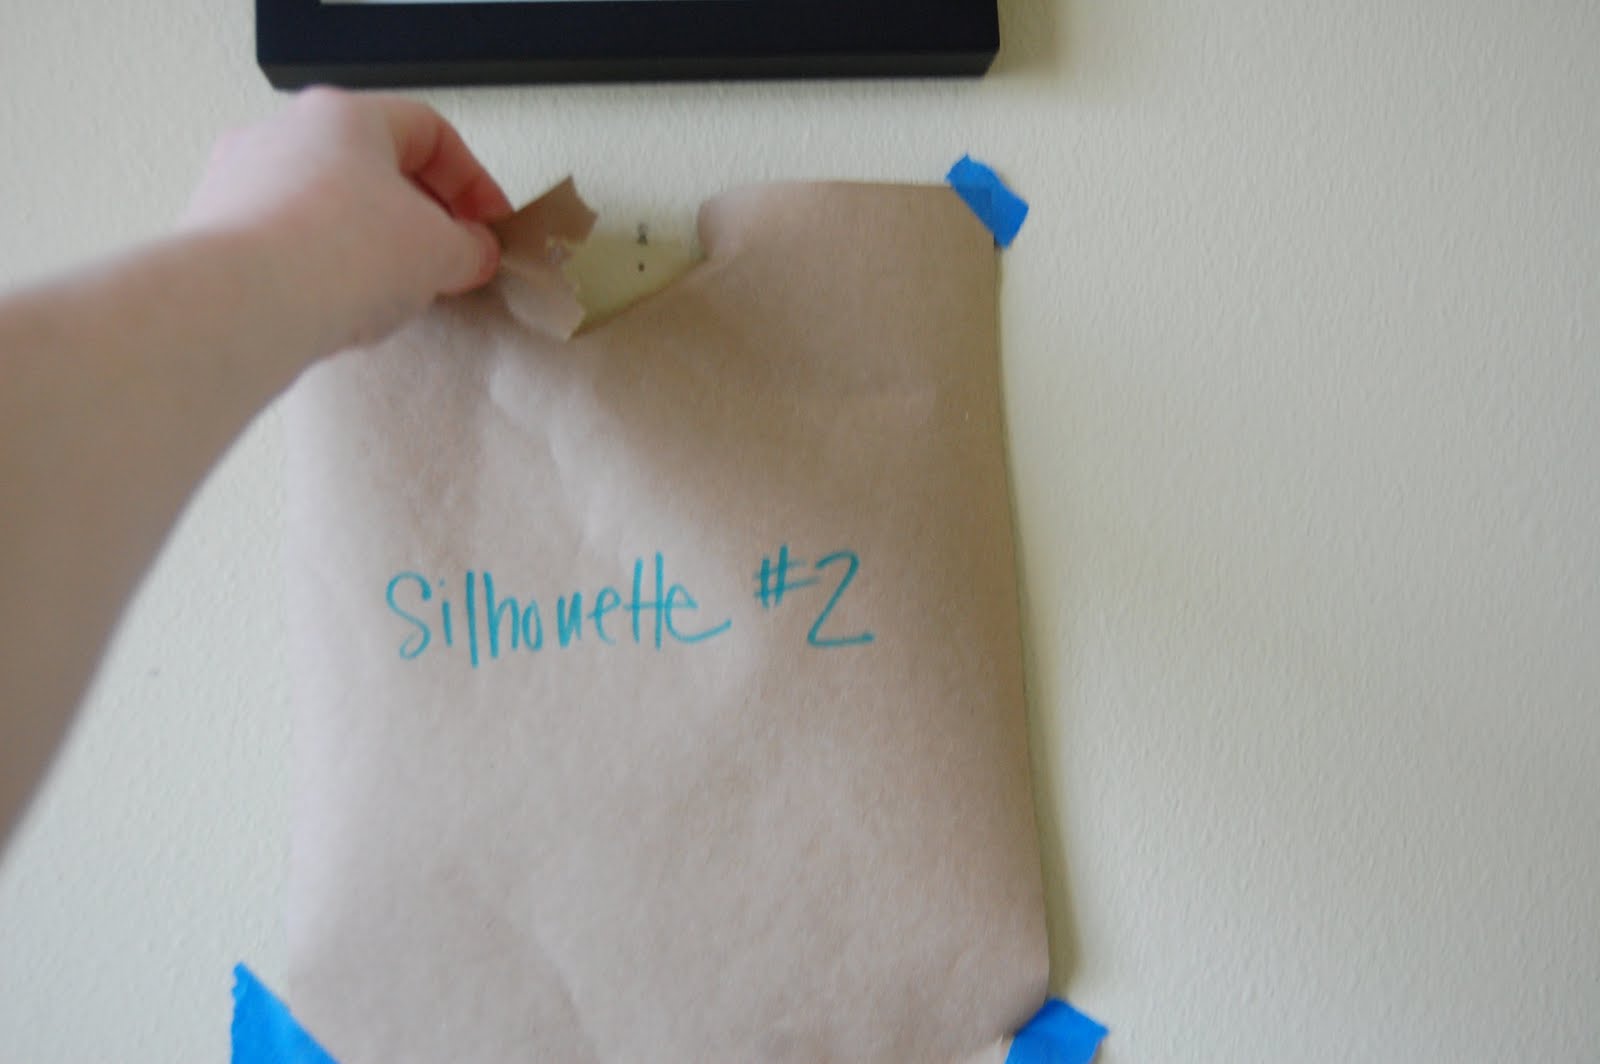
When the hanger was in the right place, I just tore the kraft paper off, leaving the nail
in the wall. Piece of cake!
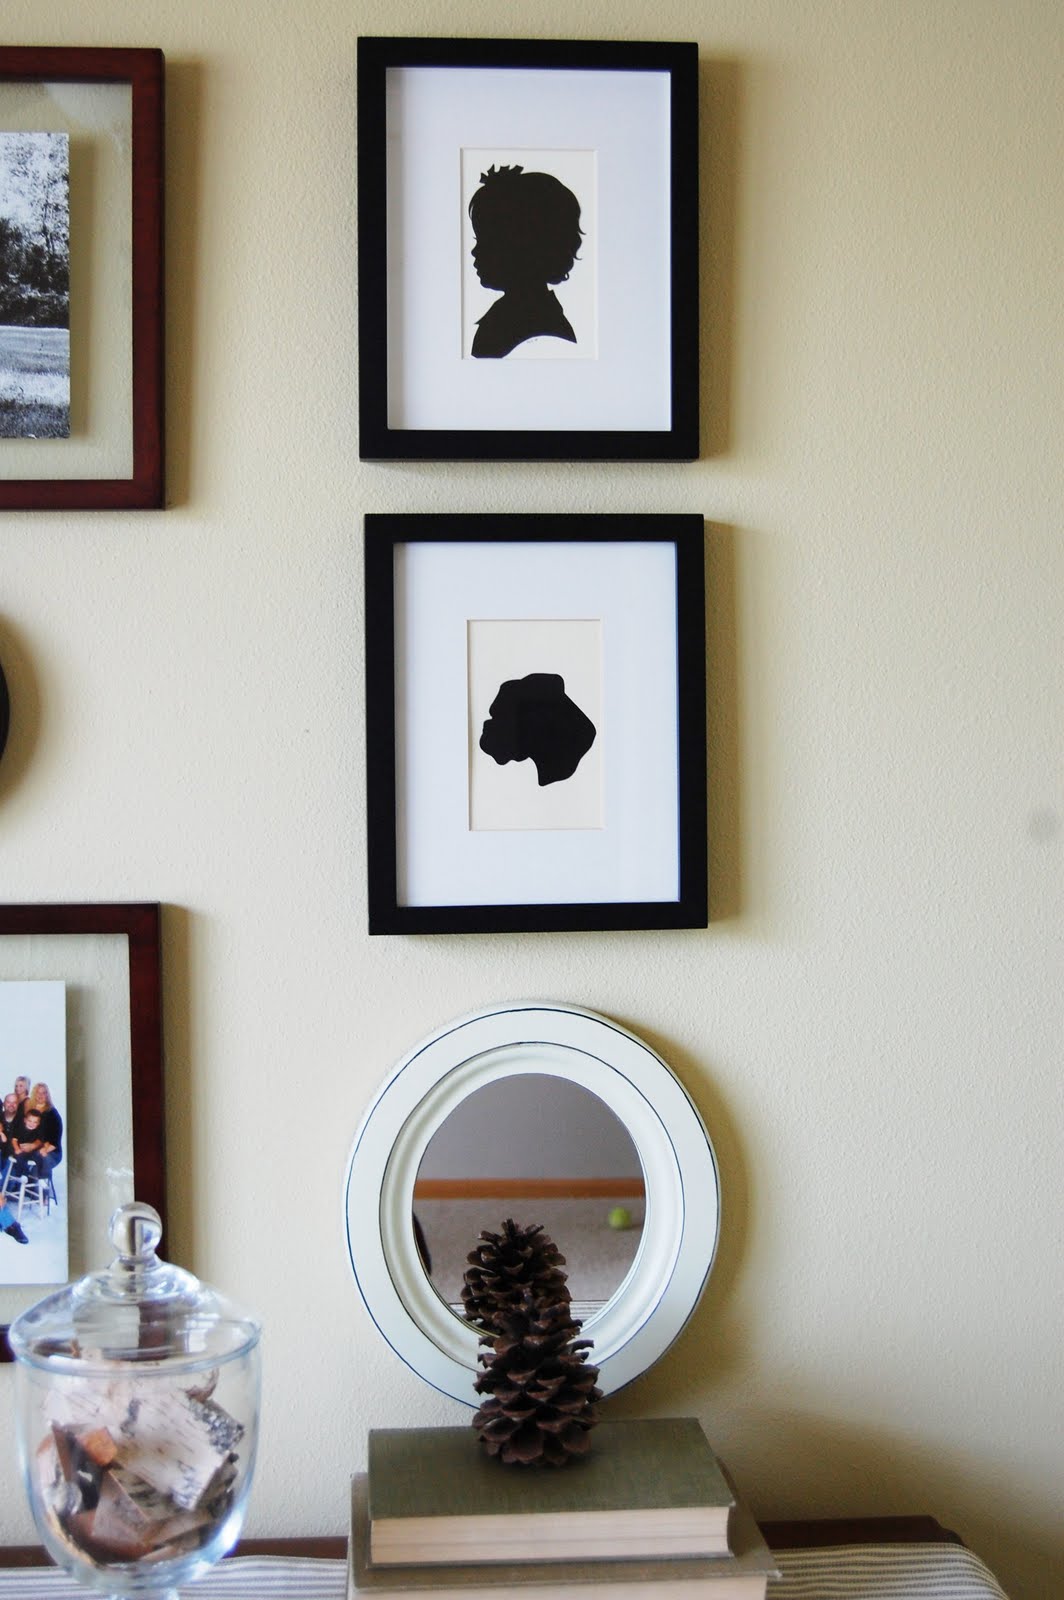
And the final result…
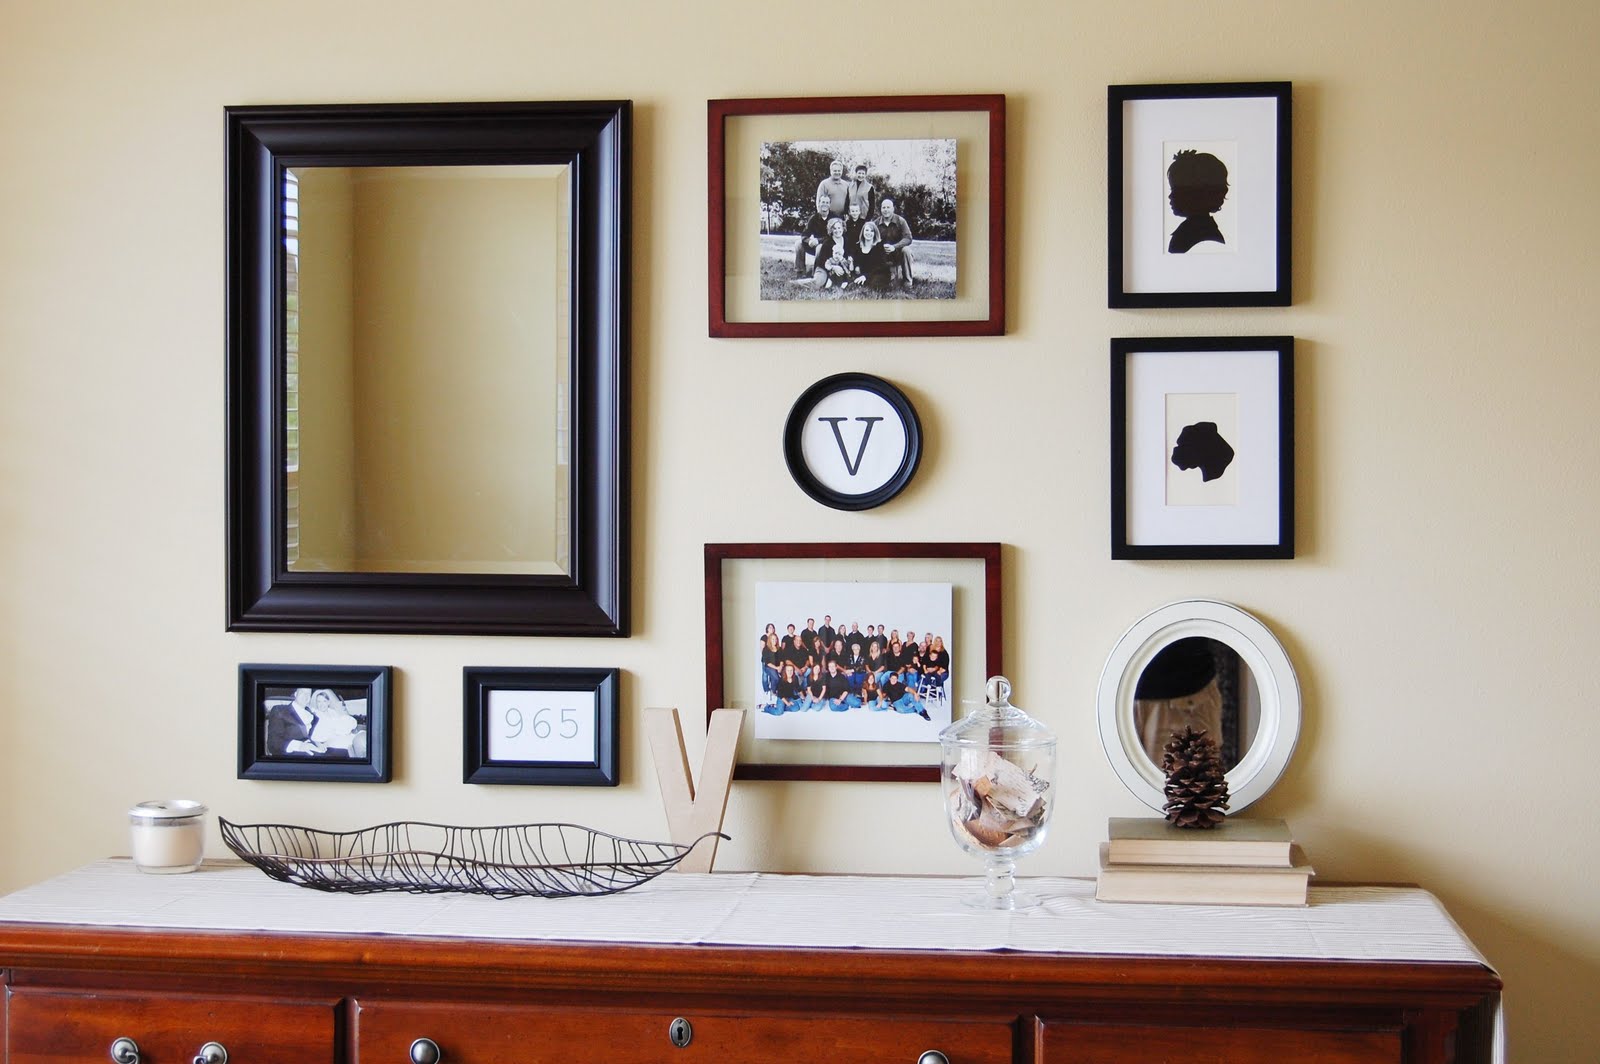

I still have some tweaking to do with the accessories on the tabletop, but overall I’m happy
with the way the wall turned out!
Thanks for having me, Allison!
Cheers,

Love the frame wall!! Very cool!! And that dresser is amazing!
Hugs
SueAnn