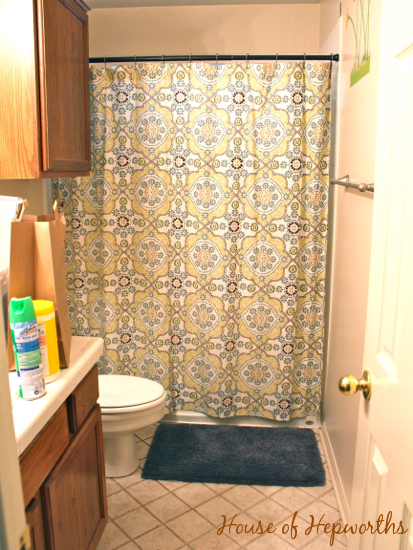
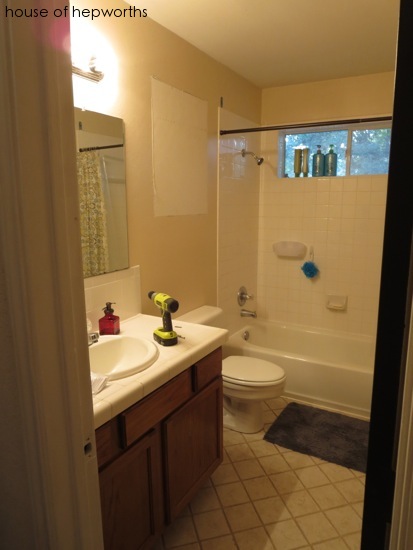
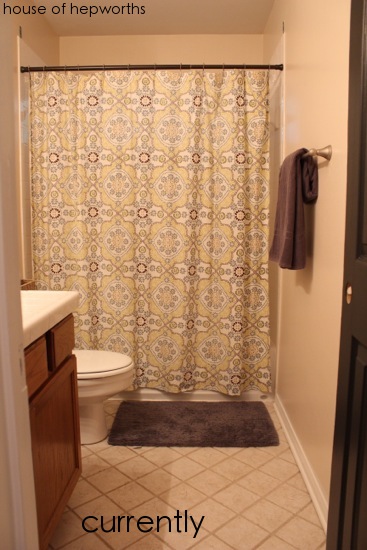
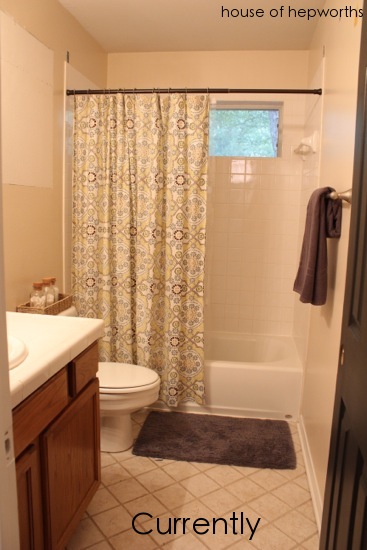
When we moved in a few months ago our guest bathroom looked like this:

After a little tweaking (not to be confused with twerking. Gross.) here, I managed to spruce it up enough that my kids weren’t frightened to shower in there (often one kid will shower in the guest bathroom if they are in a hurry and both need to shower at the same time).
Eta: I’ve been getting questions about the shower curtain. Here’s an entire post about where it’s from and the low down on it.
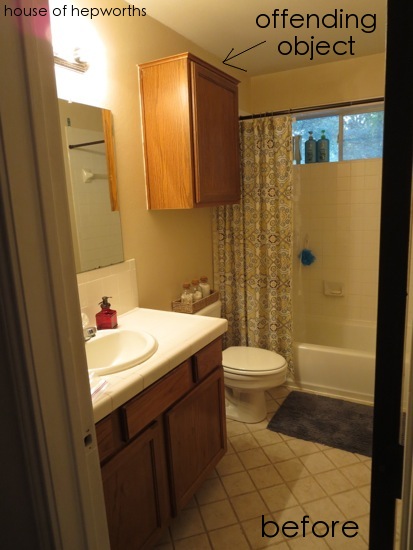
Well, I’ve been back at it again in there. The cabinet above the toilet has been driving me crazy. It is ugly, too big, hung off-center, and totally unnecessary. The vanity holds more than enough items and we just don’t need this big behemoth hanging above the toilet. It just overwhelms the room when you walk in there.
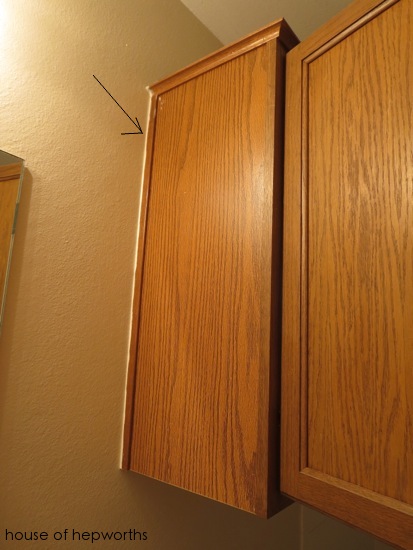
So I took it down. I first prepped the cabinet by cutting through all the caulking around it. If you don’t cut the caulk then two things will happen. 1) It’s a lot harder to pry the cabinet off the wall (caulk is like glue), and 2) once the cabinet does come loose from the wall, it will take huge pieces of texture (the layer on top of the sheetrock) with it. Not my idea of a good time.
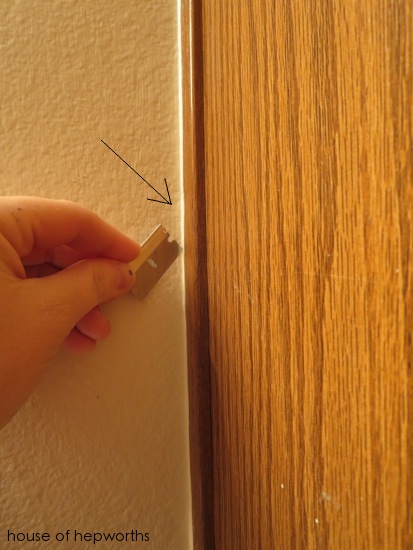
I just used a little blade to slice through it. I probably should have used an actual utility knife, but I couldn’t find it. Plus, I buy these blades in a 100 pack, so I’ve got loads of them.
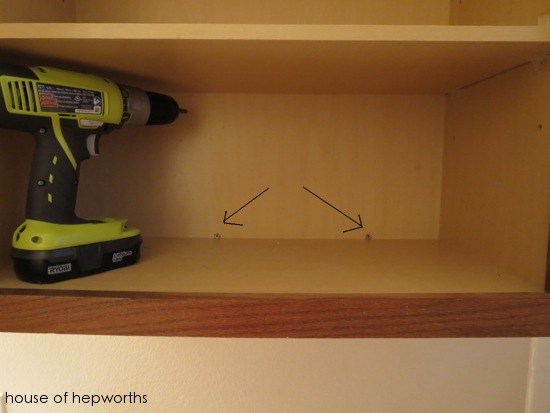
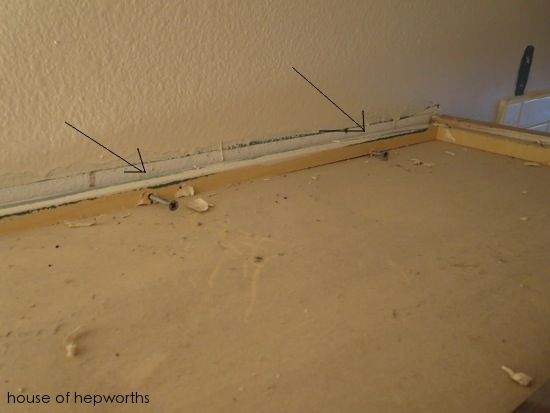
Now for the fun part! Removing screws! I first located all the screws. There were three sets of three screws; along the inside bottom, the inside top, and the outside top.
Unfortunately, I was home alone during this impromptu demo session, so I was forced to come up with an alternative solution to having a 2nd set of hands to help me out. These cabinets are heavy and I didn’t want the thing to come tumbling down on top of my foot or the toilet. Or worse, knock me out completely where I would then lay, in agonizing pain for hours before anyone realized I was hurt. My solution?
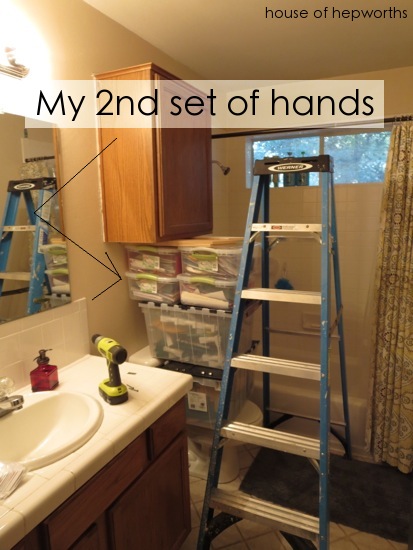
A stack of bins. I know, super classy. But you know what? It totally worked. I stacked up a bunch of bins and then wedged a few pieces of scrap mdf on top until it was a tight fit. That way when I undid all the screws, the cabinet would transfer its weight to the stack of bins instead of falling on top of me.
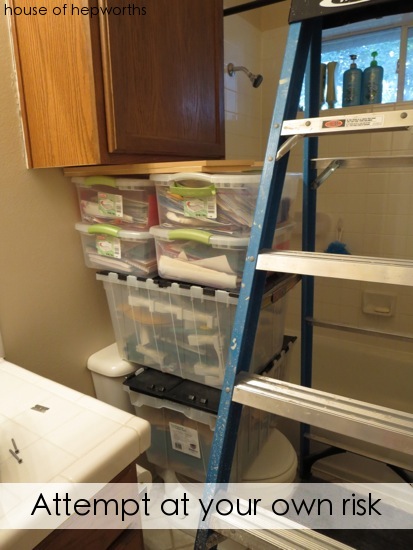
Worked like a charm. Hey, when you are home alone and are trying to DIY something, sometimes you just have to get creative to get the job done. PS, attempt this solution at your own risk. I am not responsible if you stack them wrong and they fall off the toilet and break something.
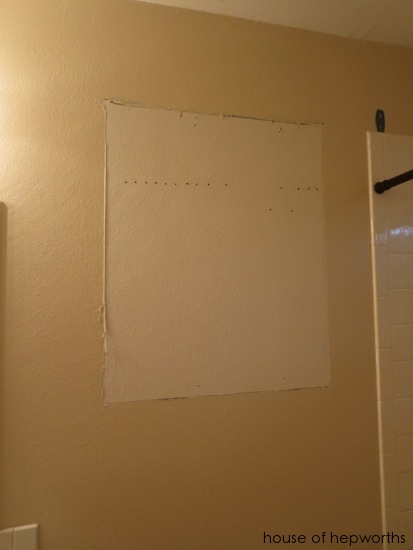
What I was left with was a bathroom with no cabinet! Mission accomplished.
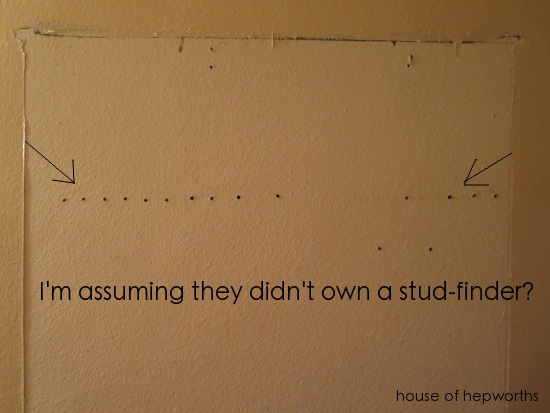
I was also left with a big discolored square on the wall, and about 500 screw holes.
I’m just going to go out on a limb and suggest that whoever hung the cabinet 13 years ago maybe didn’t own a stud-finder? Just a hunch.
So this is where I’m at now. I haven’t patched the holes yet or painted the walls, but the cabinet is gone! And lookie here! The door is black! Yum. And I also painted all the baseboards white (they were the same color as the wall before).
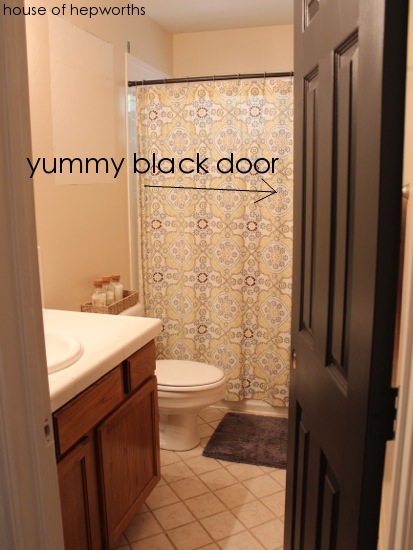
In this current picture you can see the baseboards and how they actually pop now. I am kind of obsessed with bright white trim. It just looks delish.
And here’s a side-by-side of the tan baseboards and now the bright white baseboards:
And one final “current” picture of the bathroom. I feel like I can already breath easier with that big huge cabinet gone. It just took up so much space visually before.
What we’ve done so far:
– removed the curtain bar and replaced it
– replaced the shower curtain
– changed out the shower head
– painted the baseboards white
– painted the door black
– removed the big cabinet above the toilet
What we want to do:
– paint the walls
– either paint or replace the vanity
– replace the tile countertop
– replace the mirror
– replace the light fixture
– add lots of swoon-worthy moulding
– get new hardware
Waaay Before and currently (because I am a huge sucker for side-by-side before-and-afters):
It already looks loads better! Before I far enough to see what you actually did, I thought to myself that if I were doing that room, I would take out that monstrosity of a cabinet. It’s nice to know that I’m on par with someone much cooler and better at DIY than I am. I’m excited to continue to stalk, er, watch your new house unfold! 🙂
Megan, I seriously doubt I’m cooler or better at DIY than you! I’m a dork who sits behind my computer blogging all day. lol I am excited that you are enjoying following along on my DIY journey though!
Ah, it’s like a fresh of breath air not to feel so crowded! Looks great!
Thank you!
It’s looking good! That cabinet was huge! I’ll be the first to admit that a lot of my walls look the same once you remove a picture – for some reason I just stink at measuring so I end up with a bazillion holes 🙂
That’s why I’m OBSESSED with Command strips. OMG best invention ever.
Hah! You’re cracking me up with this one! That’s quite a solution to not having a second set of hands!! I’m glad you didn’t hurt yourself!!!
Good job! That cabinet WAS terrible. It looks much better (and bigger!!) without it!
OH my that look so much better! Reminds me of the time I decided to rip off mirror tiles from a kitchen backsplash in our first home.
Oh Lawd! The screw holes! I pulled a giant 1980’s mirror off a bathroom wall last year and there were 1000 screw holes behind the mirror. Now why the heck would there be screw holes behind a mirror that was glued on??? Craziness!
Wow, it’s looking so much better already! Every time I type tweaking I think of twerking, too and I don’t like it!
Darn Miley! She’s ruined it for everyone.
Looks great! I love bright white baseboards too!!
Mmmmm me too. I love white trim, especially if it’s paired with a darker wall so the trim really pops!
I love the way the bathroom is coming along! Taking down the cabinet makes a world of difference!! We’re in the middle of a bathroom remodel ourselves and I can’t wait to be done!
I am just starting the bathroom remodel and am already dreading it. lol I still don’t really have a plan or mood board or anything for the space. I need to sit down and come up with a plan.
Just better. Way way better! Keep up the good work.
Nora, thank you! I appreciate that. It’s slowly coming together.
Hahaha, I am glad we’re not the only one living in a house where the previous owner was lacking a stud finder. We have a few areas with holes like that. Since we’re going to be ripping down the walls *soon*, I haven’t done anything about them. Sadly, we’ve lived in the house for 3 1/2 years now. 😉
Haha, you are hilarious! I have lived like that too. It just seems pointless if you know you are going to demo it anyway.
Allison!! You are so funny and I’m glad you had all them bins laying around and made good use out of them. I could have removed that hideous cabinet as well. And, all those holes made me laugh. Looks like something I would do cause I have no patience to look for a stud…LOL
xoxo
Denyse
Those bins are way too many years of art and school work from my kids. I seriously need to go through it all and throw a ton away!
Looks great! Way to go making is work when you were home alone 🙂
Wow, that looks so much better! The room is so much more open now with that big cabinet gone. Awesome!
Total wowness! SoOoo much better.
Looks great!! Love the door! “Offending object” LOL!
Laura
House Envy
I crack myself up. Just blogging out loud what other people are thinking!
Looks really nice, Allison. But then again, I don’t ever remember you decorating/redoing anything that didn’t turn out with style and class.
Wow, this was too nice. Thank you. I have jacked plenty of stuff up, but I do try to find a way to work it out in the end. I appreciate your compliment.
Looks great! I want to re do my bathroom and I’ve been looking for a curtain first. I love yours, where did you get it?
The curtain is from world market. I wrote about it
hereif you want more details about it.It’s looking really good! I’m not sure what color you’re planning on using for this room…but I totally love the greige you have in both of the kids rooms. It would look so good in here, too! But, you know what they say about too much of a good thing…lol
Gabriella, I have no clue what color I’m going to paint it, but I do love that idea for the greige! I will have to paint a strip on the wall and test it out.
No matter how hard it is but I like repair. Especially I enjoy the whole process when you are creating something by yourself. It gives a great pleasure. I liked your layout and the curtains in the bathroom are adorable.
you.freakin.rock!! i didn’t know how i was going to remove tall cabinets by myself, but now i do! so thankful for you and your blog!
HAHA you are welcome! Don’t injure yourself!! I have used the bin stacking technique several times now and it works like a charm. You just have to make sure the bins are under there with a tight fit so when the cabinet comes loose it doesn’t drop at all. Stay safe!