The new baseboards are in and painted. And I am all about that base!
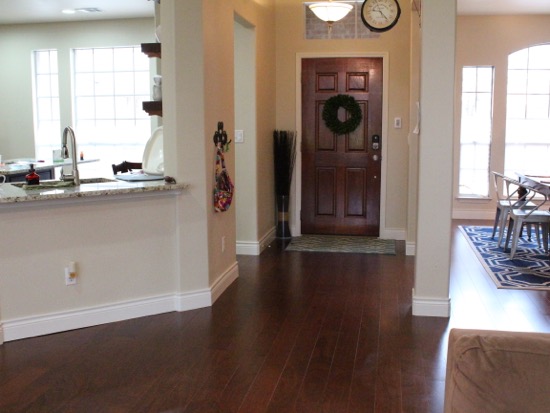
Because we did such a large-scale renovation, the builder sent his team over to do all the trim work for us – baseboards, moulding, shelving, and doors. It was so nice to feel so pampered! Usually I will hang all the base and it takes me forever.
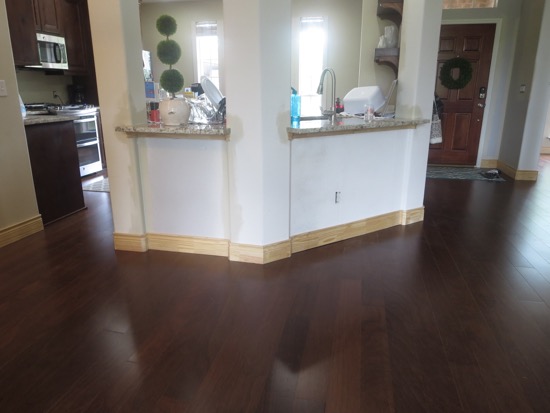
I did however, have to paint it all. And trust me, that was not fun in the least. Each piece of trim had to be caulked, nail holes had to be filled, they needed a coat of primer, and then to finish it off, at least two coats of paint (some areas needed three coats).
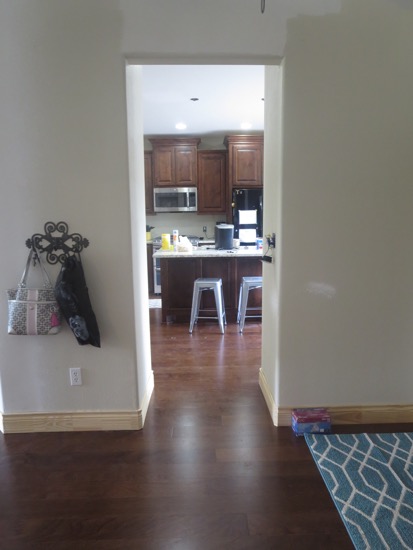
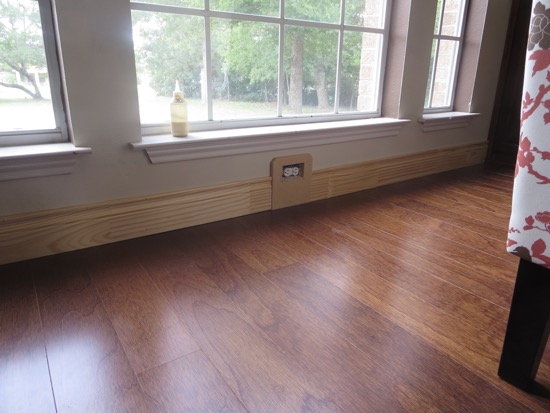
I learned a few additional tips for baseboards by watching the real pros do their thing. Check out how they framed in the plug outlets that were in line with the baseboard:
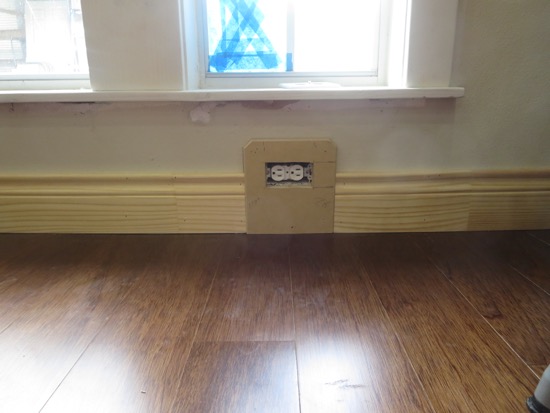
They cut a piece of MDF for the plug outlet. I probably would have cut the base to fit around the plate cover, and it would have looked so dumb. This way is so much more polished looking.
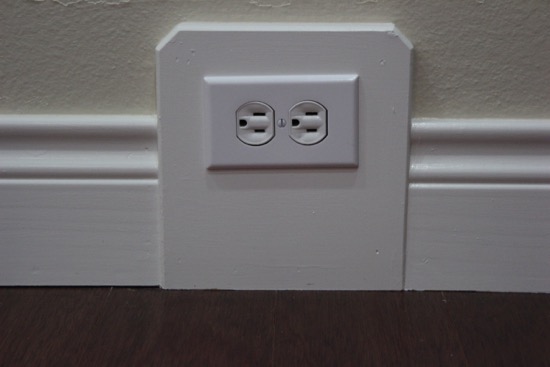
Aaaaand painted:
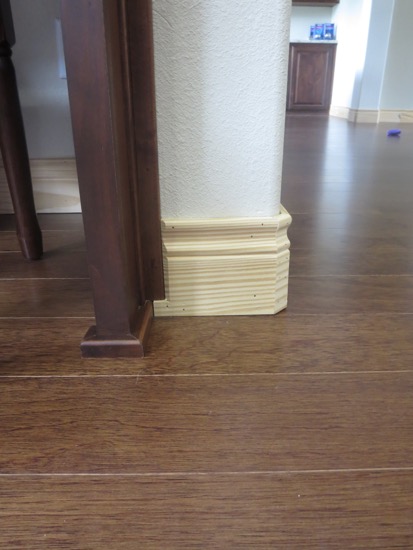
Here they cut the edge of the base on about a 35 degree angle when it butted up to a weird edge. You can see that when it butted up to the trim around the desk, the board was angle-cut on the edge for a more finished look.
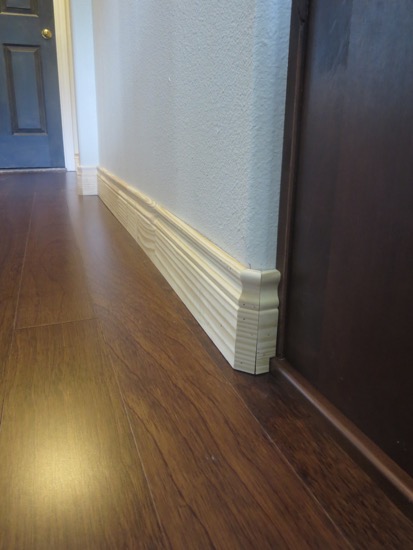
Another thing they did with the baseboard that would have been much more difficult for me was to make angled cuts around each rounded corner. All the rounded corners and bumped-out pillars in our house made for a much more complicated install job.
After literally days and days (and weeks and weeks!) of painting, here they are totally finished:
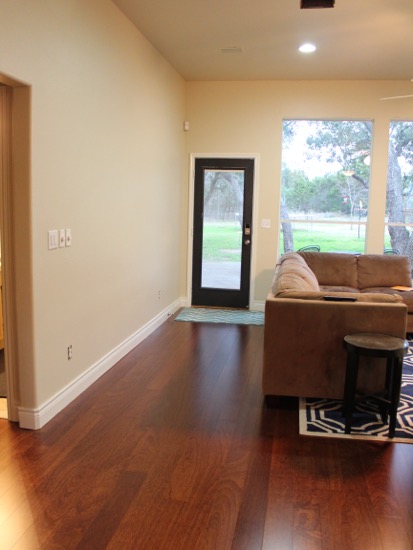
I worked in small sections at a time. I would prep the entire section then prime and paint them all. Once that section was completely finished I would start on a new section.
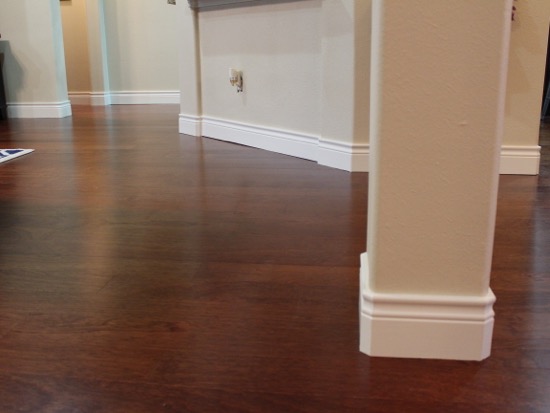
In order to make painting easier I used painters tape along the floor. Once the paint was dry I peeled it back up and carefully used a straight-edge razor to remove any paint that may have gotten on the wood floor.
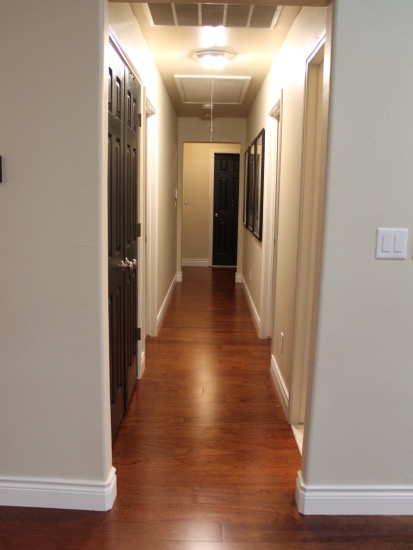
We opted for a taller baseboard because we like them. There was no other reason than that. I did order a bunch extra of the baseboard and plan to eventually replace all the old shorter baseboard in the entire house. I will do the rest of the baseboard myself, now that I am armed with all these new tips and tricks from the pros!
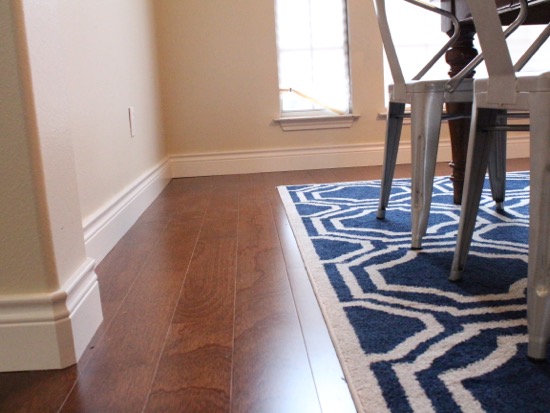
I thought they looked good after they were hung, but now that they are painted? They just look amazing. And here you can get a sneak peek of our new wall color! (I’m not hiding it from you, I just haven’t had the whole house clean enough to take pictures for the blog yet!)
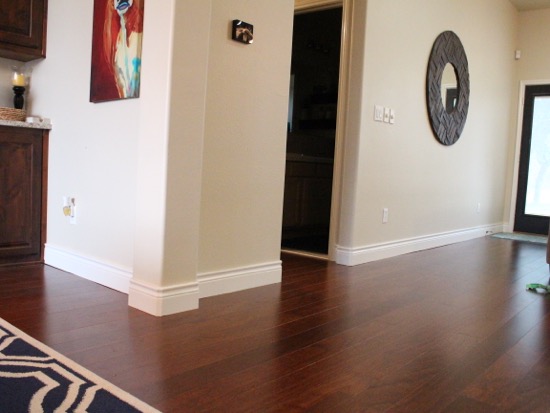
You guys should know by now I am such a huge sucker for before and after photos. Of course I hunted down some old photos from when we moved in a year and a half ago. Be prepared to pick your jaw back up off the ground. 😉
Before & After:
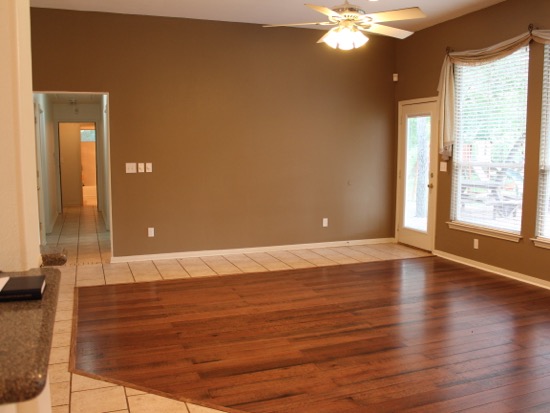
Before & After:
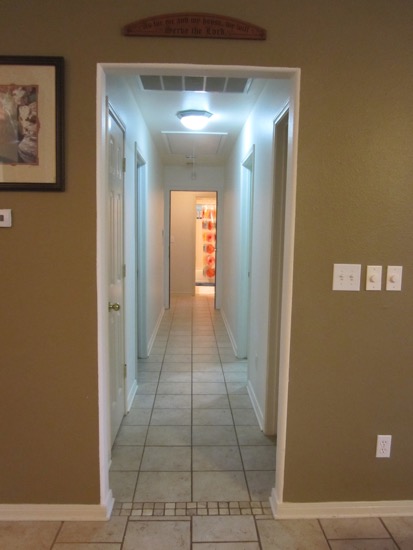
Crazy, right? New floors and baseboards really make such a huge difference!
Oh my! I love a good trim job and these look amazing! What a huge difference. The before and afters look unrecognizable.
Wow. It looks amazing!
Absolutely Love the new floors and beefed up base boards!! Taller Base board made a huge difference, stunning!!
Amazing job. Love the height of the baseboard, certainly
changed the look. Thanks for sharing.
Gorgeous! I love the way wooden floors make a room look so much larger than it really is.
Debbie, yes! The rooms felt so small before with the tile divided up weirdly, and now that they are all the same floor, they go on for miles.
I’m curious as to your thoughts on baseboard style. I have followed your blog and know you have used trim molding around your doors and windows that are shaker style or craftsman style – correct me if I’m wrong on that. I really like what you have used and wondering how that influenced your baseboard choices. I’m wondering because I would like to update some trim around my front door and around the “doorway” from my living area into hallway with a simple molding (not the standard that comes with the door). So does the baseboard style matter? I hope I made sense here. . .
Dana, I owe an update post on the trim and moulding topic. After I picked out the cabinets and flooring, I realized the craftsman style just does not work with this house. I love craftsman style, but I really wanted a traditional kitchen and felt like the craftsman didn’t “go” with it. So down the craftsman trim came. You can tell in a few pictures that the frame around the back door in the living room is now a basic trim and the windows are bare again. I’ve picked out some new trim that is more elegant and traditional looking so it will flow throughout the entire house.
As for your question, I think you can pull off a craftsman style around your doors while still having a basic style baseboard. Thrifty Decor Chick has done tons of craftsman style, yet she still has traditional baseboards. I think it works well together in her house. For my house, the craftsman style around the windows was really competing with the traditional kitchen so I chose to take it down.
What black paint did you use for your doors? That’s on the docket of things to do and I’m curious as the black everyone has used!
Love those baseboards! Your home is really coming together and looks great! 🙂 By the way, I now have your post title stuck in my head. :/ lol
Excellent! I’m so proud of ya, Allison. My husband always says it’s the finish work that makes the house – icing on the cake.
Love the look. I’m off to buy trim for my entry way today! What paint did you use for your trim? Also what was the new paint color for your walls? Beautiful!
Incredible! Gorgeous! Awesome!
Wowza! What a difference! Looks great!
http://www.lee-lee-land.com