• about
    • press
    • work with us
    • Privacy Policy
  • archives
  • our favorite products
  • popular projects
    • link parties
    • Facebook
    • Instagram
    • Pinterest
    • Twitter
    • YouTube

House of Hepworths

Helping you DIY your home one awesome project at a time

  • DIYing
    • Decorating
    • Fixing
    • Furniture updates
    • House Tips
    • House Tours
    • IKEA hacks
    • Kids DIY
    • Moulding
    • Organizing
    • Outside
    • Painting
    • Renovating
    • video
  • Crafting
    • Crafts
      • Craft fails
    • Dollar Store Crafts
    • Decor
    • kid crafts
    • Seasonal
    • Vinyl crafts
    • Wood Art
    • Wreaths
  • Sewing
    • Bedding
    • Costumes
    • Curtains
    • Kids sewing
    • Pillows
  • Eating
    • Appetizers
    • Breakfast
    • Candy, Cookies, & Cakes
    • Healthy
    • Kids Food
    • Main Dishes
  • Lifestyling
    • Announcements
    • Challenges
    • Diet/Exercise
    • Musings
    • Random
  • Blogging
    • Blog Tips
    • Brands
      • Giveaways
      • Product Reviews
      • Promotions
    • Conferences
    • Features
      • Guest Bloggers
    • Link Parties
      • Hookin Up with HoH
    • Press
    • Roundups
      • HoH Roundups

in DIYing· Painting· Renovating· video· Youtube

My office is painted! blog post + video

My office is finally painted. Painting wall after wall in my house is really not fun at all, but making a time lapse of it all is fun! So lucky you, here’s another time lapse video for your entertainment. I’ve also encluded a regular ol’ blog post with photos below. Have fun watching and reading!

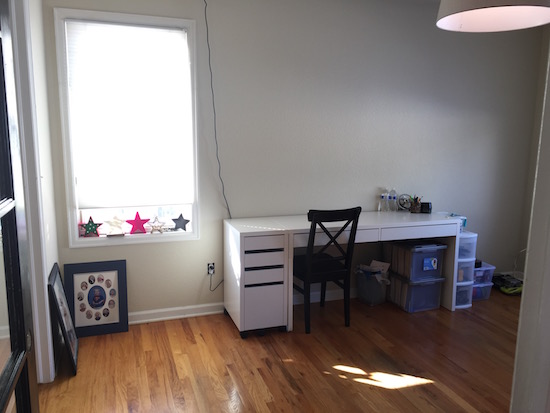
The previous owners painted the room green. Honestly, it wasn’t a terrible green. I just didn’t like it very much.

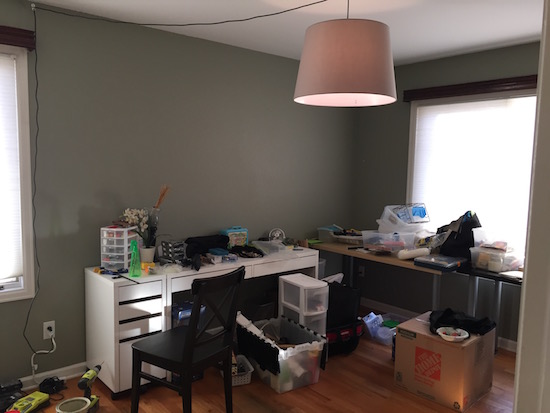
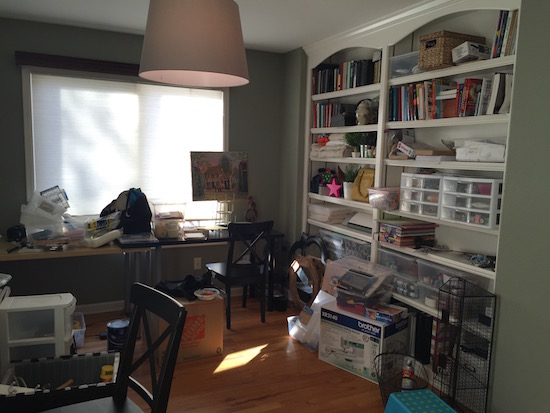
Like how messy my office is? Yes, it’s terrible. The office is right off the family room on the main floor so it tends to become the dumping grounds for any and all crap. It’s a work in progress!

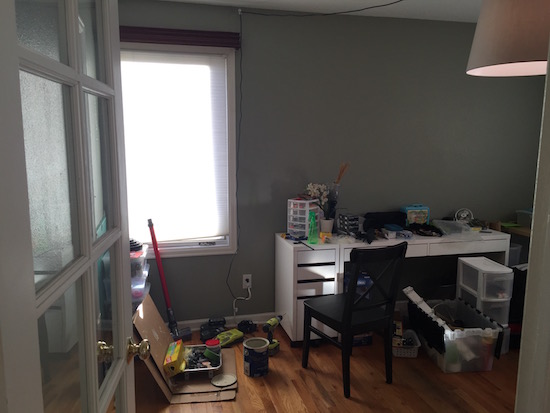
Here’s one more ‘before’ shot.

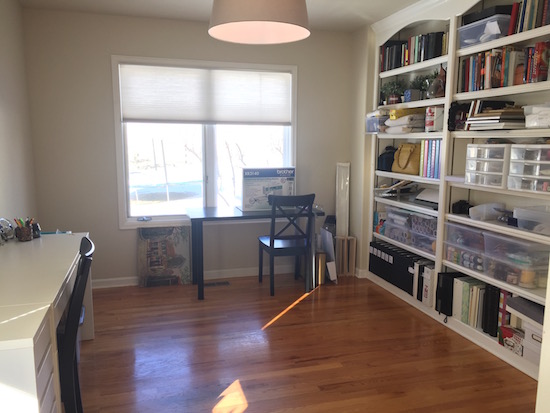
And just like that, with the magic of the internet, the room is painted! And clean!!

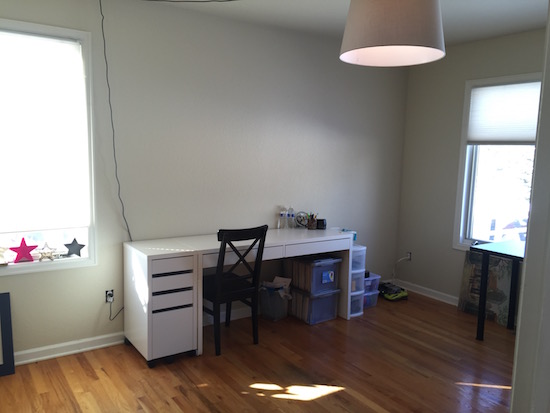
The color is Sherwin Williams Stucco in a satin finish (paint and primer in one).

The space is much brighter now and I feel like I can focus a lot more on my blogging and crafting now.

Before and after:


See all my blog posts with videos here.


Instagram || Facebook || Pinterest || Youtube

Shop our favorite tools & products

Thanks for reading! Have a wonderful week!

Filed Under: DIYing, Painting, Renovating, video, Youtube Tagged With: Allison's office, DIY tutorial, office, painting walls, Sherwin Williams, video, youtube

Check out our most recent posts

  • Mentoring at Haven Conference 2019
  • How to BEND A BASEBOARD around a tight curve
  • diy SNOWBOARD shelves: an easy tutorial
  • Make your own succulent hanging wall planter
  • 20+ amazing FARMHOUSE counter-height barstools

Get the latest via email!

« How to build your own closet built-ins using a Billy bookcase (IKEA hack)
When you can’t replace carpet, at least shampoo it »

Comments

  1. Christy says

    05/18/2016 at 1:56 pm

    I’ve always been told you’re not supposed to do edging without painting immediately otherwise they’ll dry different and you’ll get different colors. I’ve only painted, oh, once, so I have no idea if this is really true… In your video, you did all your cutting in and letting it dry (or so it seemed to me) and then went back and painted your walls complete. Did you have any issues with it drying differently, have you ever, or is my information incorrect? Because your way seems MUCH easier! 😀

    Reply
    • Allison says

      05/18/2016 at 2:41 pm

      I have never heard that! Interesting. Sometimes I will take DAYS to paint a room. I’ve never had a drying issue with sheen or color. Mix your paint really well each time you paint because the sheen can separate and one will look more shiny or flat than the other.

      Reply
  2. Clogan says

    05/19/2016 at 11:38 am

    Looks great! You’re making headway! Love the new color!

    Reply
    • Allison says

      05/19/2016 at 1:27 pm

      Thanks! Trying to make some headway on this house! I was so close on the last one and then had to move for husband’s work, so I dreaded having to start over! It is what it is though and I’m happy to be in a nice house even though I have to start all over again. 🙂

      Reply
  3. Christianne says

    05/21/2016 at 11:32 am

    I liked the green color but it does look brighter now. Heck, just removing the clutter was probably more work than the painting (because you have to find a place to put it all–super challenging at my housel). Looks great!

    Reply

Leave a Reply Cancel reply

Your email address will not be published. Required fields are marked *

Welcome to House of Hepworths!

House of Hepworths Family
Our mission is to help you DIY your own home, one awesome project at a time. Learn all about us by clicking here.

  • about
  • archives
  • our favorite products
  • popular projects
Load More...
Privacy

Copyright © 2022 · Market theme by Restored 316