Each Friday I’m going to make a post about something I’ve made or done from a loooong time ago. I might even post pics of me as a child! Yay!
Without further adieu, may I present to you my nursery!
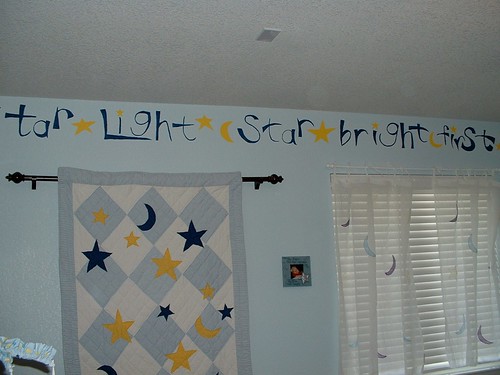
I painted and decorated this nursery for my firstborn in 2002. I kept the same theme and added pink when my daughter was born in 2004. The entire poem border is hand painted. Many have asked if I used a stencil – no, I free-handed the entire poem which reads:
Star Light Star Bright,
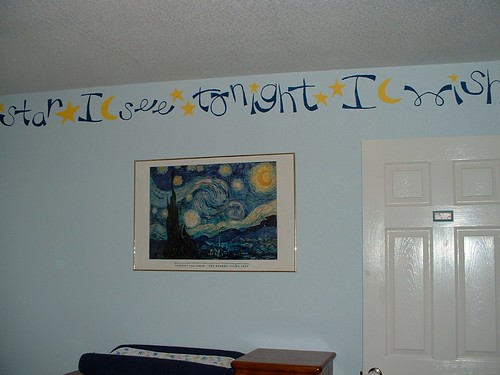
First star I see tonight
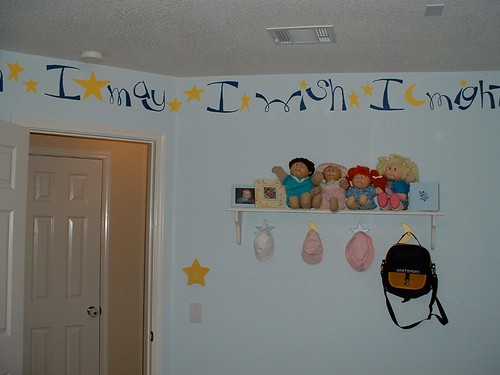
I wish I may, I wish I might
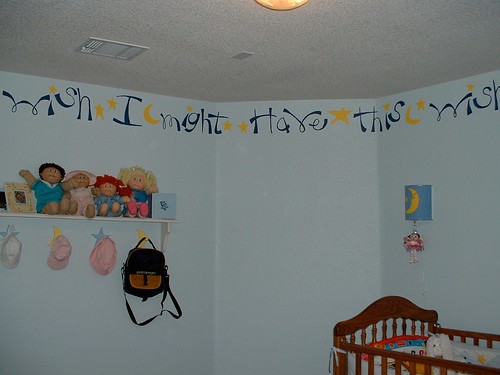
have this wish I wish tonight.
It took me about six weeks, but I could only paint a few hours a day while my son was napping in another room.
First I painted the entire room light blue. For the stars, moons, and words I used quart sized paints from Sherwin Williams and a small artists brush.
I worked out all the details on paper before I started. First, I measured each wall and added them all together. Then I added up the number of letters and spaces and commas and divided it by the number of inches in the room. After that I used a yard stick, tape measure, level, and painters tape to tape off the area I was going to paint – I made two parallel tape lines around the top of the room. After that I measured every increment that I’d previously figured out and put a small piece of tape to mark off each section.
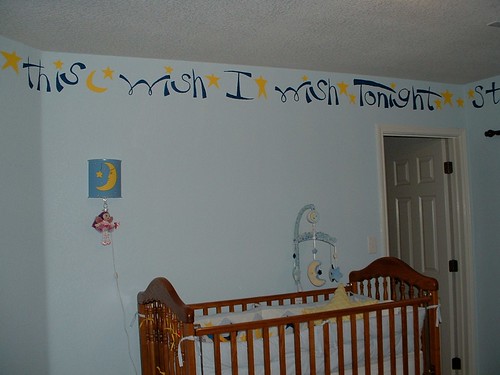
After that I knew that every section was for one letter, space, or comma. Once the letters were done I free-handed the stars and moons. I didn’t use any pencil beforehand. I just drew with paint and if I messed up I covered it up with the light blue paint. While I worked it out on paper before hand I practiced several writing styles to decide what type of font I wanted to use.
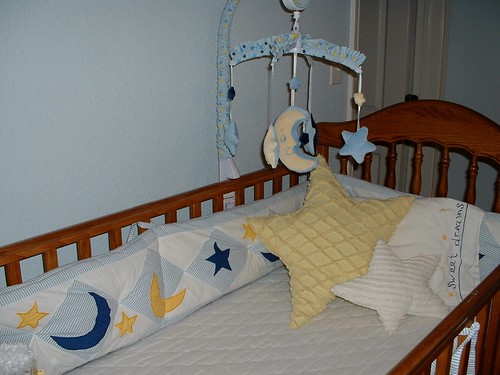
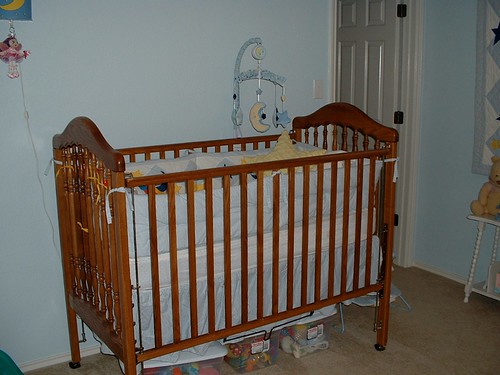
All of my accessories I found on ebay, Target, IKEA, or discount stores. The crib and dresser were a gift from my parents.

My mom was going to throw this shelf away. I pulled it out of her trash can. It was dirty and broken. I removed the section under the shelf that had pegs on it, cleaned it up, painted it, and added wall hooks to the back of it. I found the cute star and moon pegs under it at Target.
When we moved from this house I was so sad to leave my custom paint border behind. Once the kids were both out of a crib, I sold all the star and moon accessories in a lot together on ebay.
So yes, believe it or not, in addition to everything else on this blog, I can also PAINT. 🙂
the room is so cute!!
I LOVE the poem at the top! Adorable! You are way too creative and need to share some of that creativity with me!
Down side, please please rethink the crib bumper and drop side crib. All drop side cribs have been recalled and crib bumpers are very dangerous. No judgment but I thought I should share as someone shared this with me when I was building my son’s nursery.