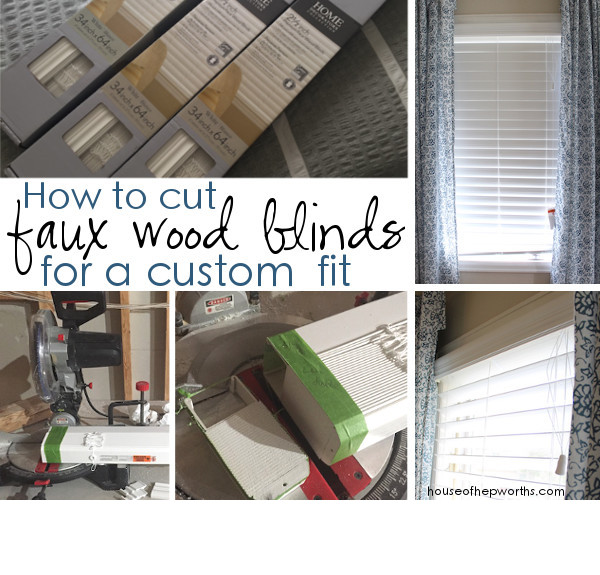
I am so super excited about today’s post! Do you want faux wood blinds but they seem like way too much work? You have to custom order them, or at best, go to the hardware store with your measurements in hand, purchase them, have the store cut them for you, and then take them home and hope and pray your measurements were correct.
Not anymore!
Yup, I’m here to show you how to purchase the blinds from the hardware store, take them home, and then measure and custom fit them yourself. {Oh no she didn’t.} Oh yes I did!
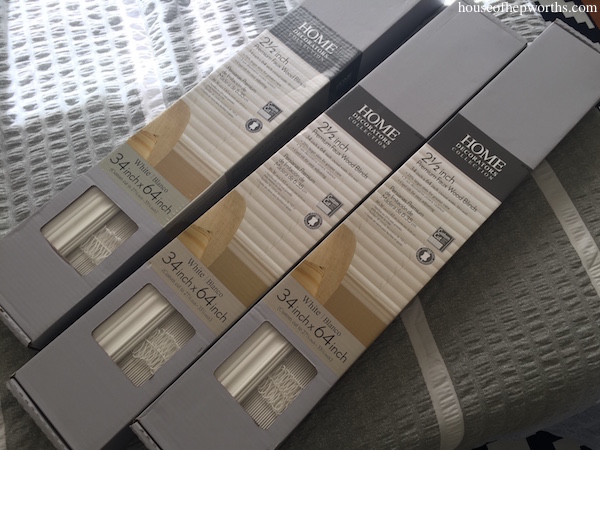
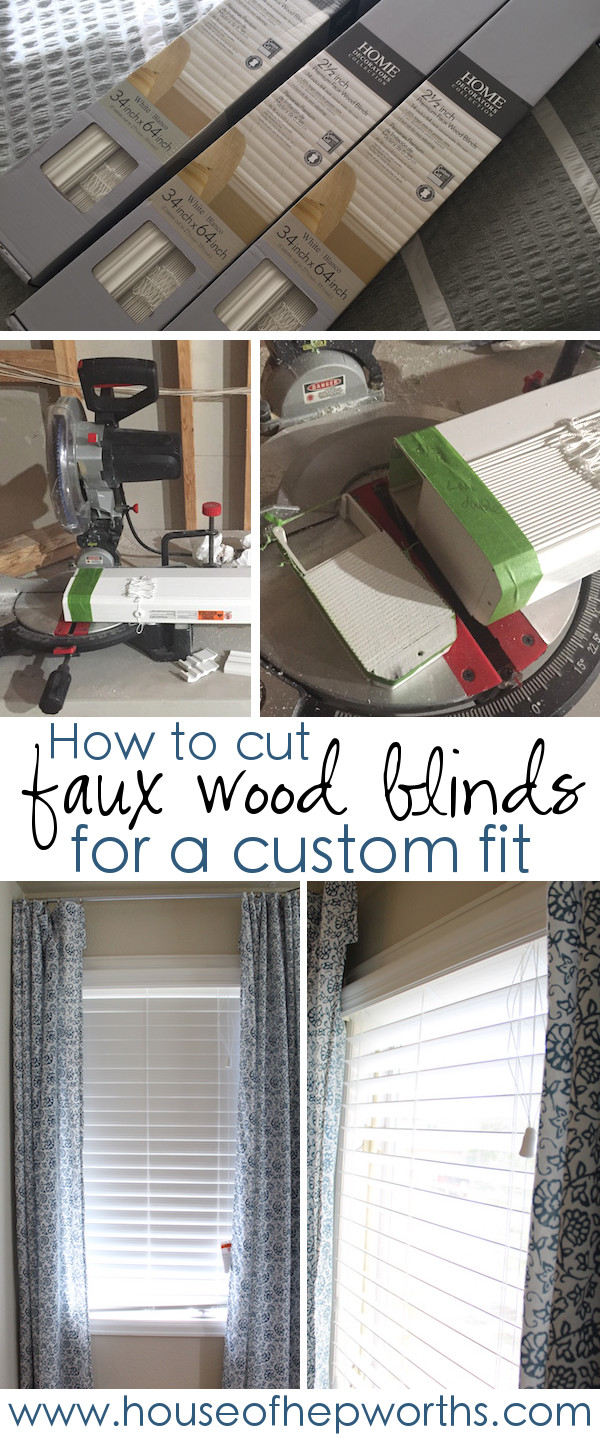
Step one is obviously to purchase the blinds. I hung brand new faux wood blinds in the guest room. I’ve got two windows in there – a normal sized one, and a double window. I picked up these 2″ faux wood blinds from our local hardware store.
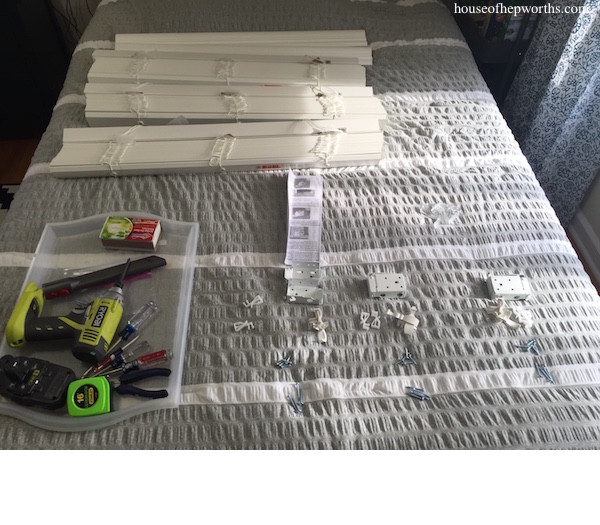
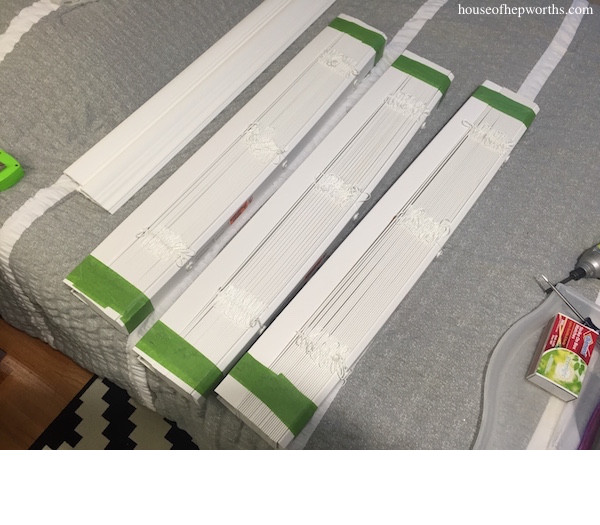
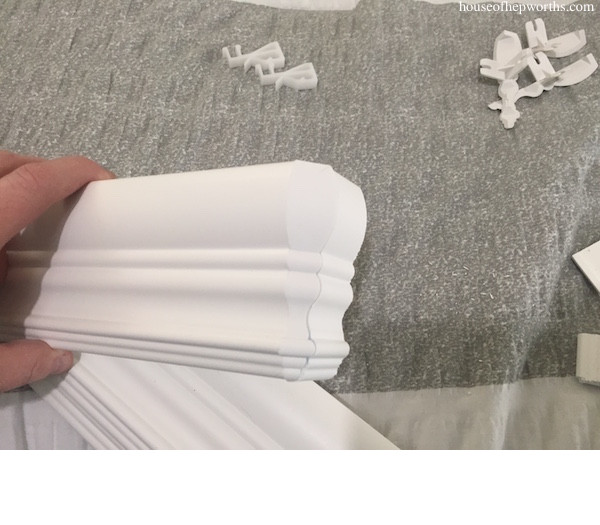
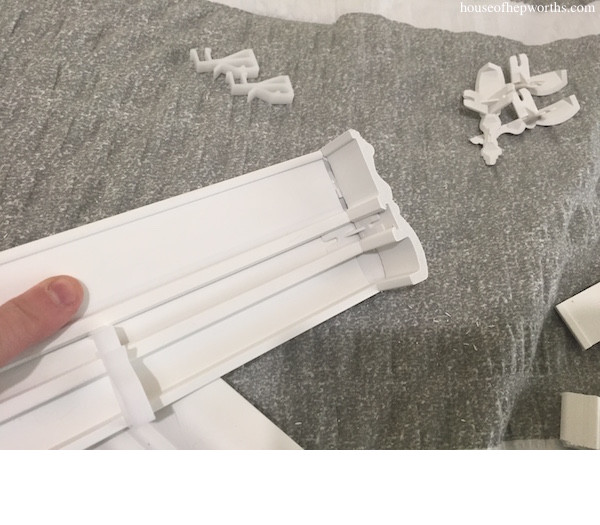
Open your blinds and get everything sorted.
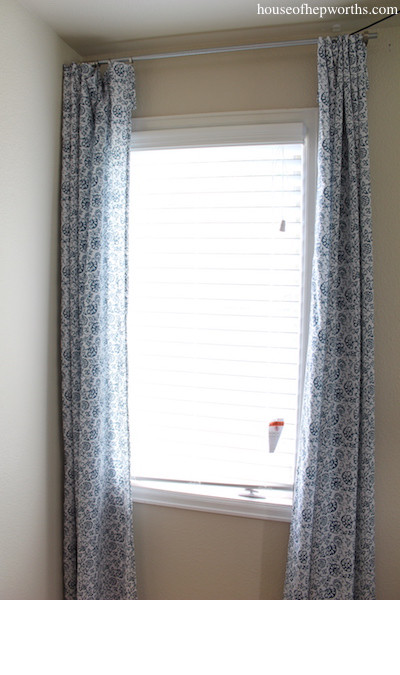
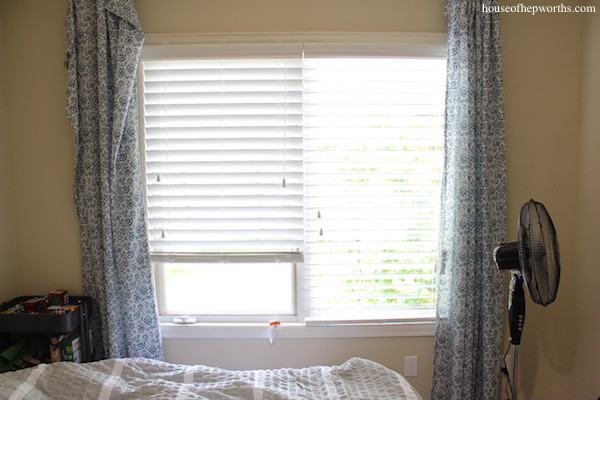
These blinds are going on the following windows:
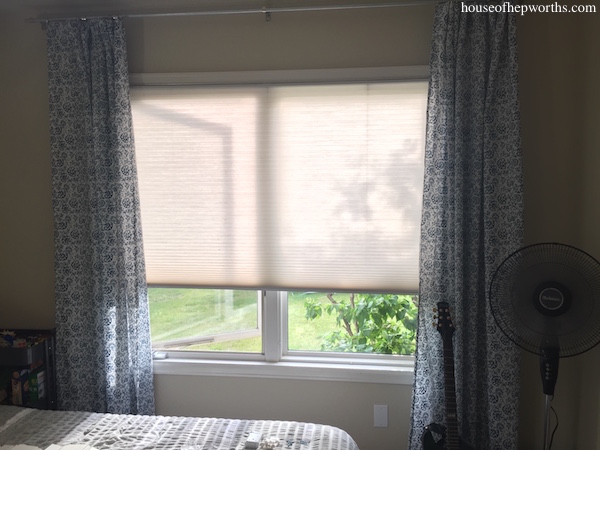
The large window is a double window, so for a variety of reasons I’ve decided I want to hang two sets of blinds side-by-side instead of one very long set of blinds.
Before you start hacking away at your new blinds, hang the brackets. This way when you measure you get a perfect fit. Not too tight, not too loose.
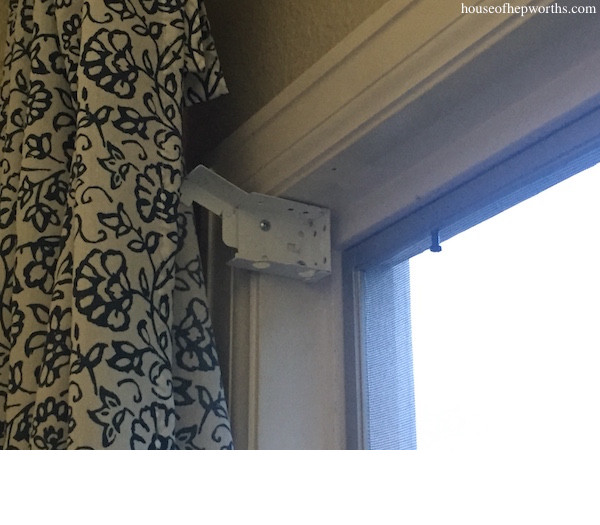
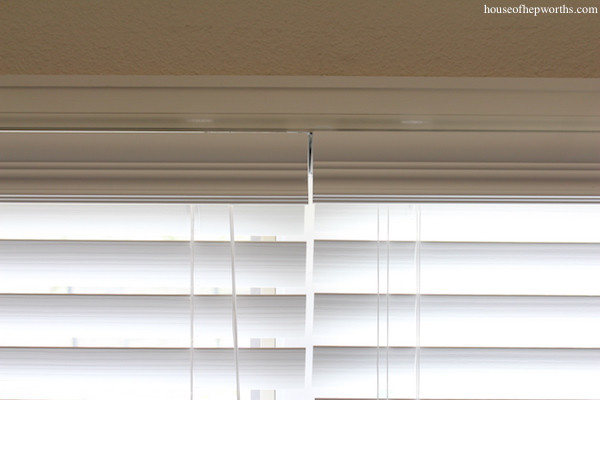
For the double window, I hung two brackets side-by-side in the center of the window:
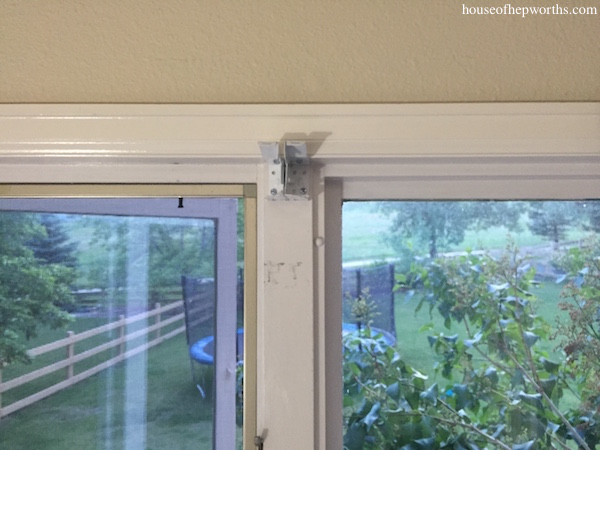
And one more view of both sets of brackets in the double window.
Once your brackets are hung, measure from the inside of the bracket to the inside of the other bracket. You want your blinds to fit between these brackets with as little wiggle room as possible. Get down to the sixteenth if you have to!
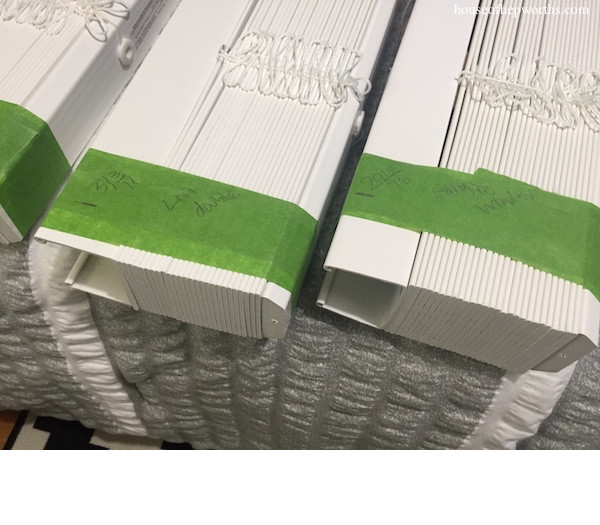
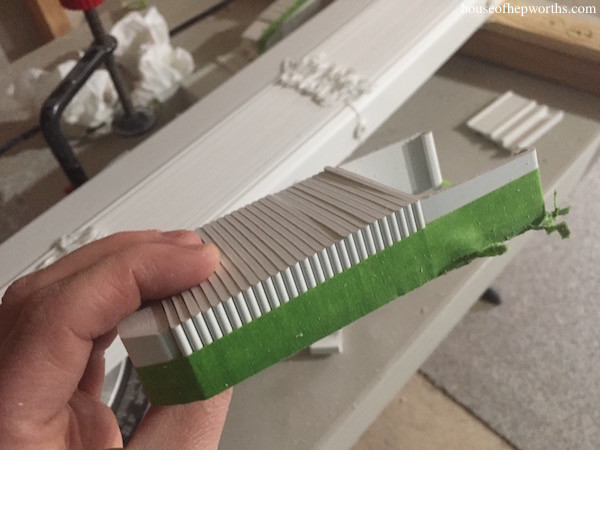
Now here’s how to cut the blinds. First off, make sure you purchased blinds that are plastic and not metal. This is vital! The blinds need to say on them that they are cuttable or sizable. Get painters tape and wrap either end of the blinds as tightly as you can. Make sure they are perfectly square as well and all the blinds are lined up. Remember, make the tape as tight as you can get it. You will eventually cut along these tape lines.
Using your measurements, mark exactly where you want to cut. Make sure you’ve got painters tape wrapped around where you are cutting. You want to cut through the painters tape. If your tape is in the wrong spot, leave it there and add more tape. If you cut your blinds without the tape, the saw will trash your blinds and you will cry.
Note: I want my strings in the blinds to stay centered and equal on both ends, so I cut either end of my blinds to keep everything centered. If you don’t care about that, you can just trim one side and leave the other side as-is (but still tape the other side to hold everything in place).
Now it’s time to cut. You can do this. I know it seems scary to cut blinds that you just paid more than $60 for, but it’s a necessary step! Measure twice, cut once!
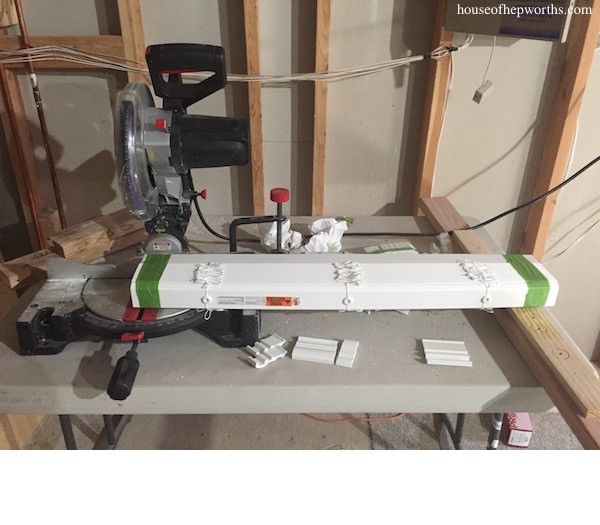
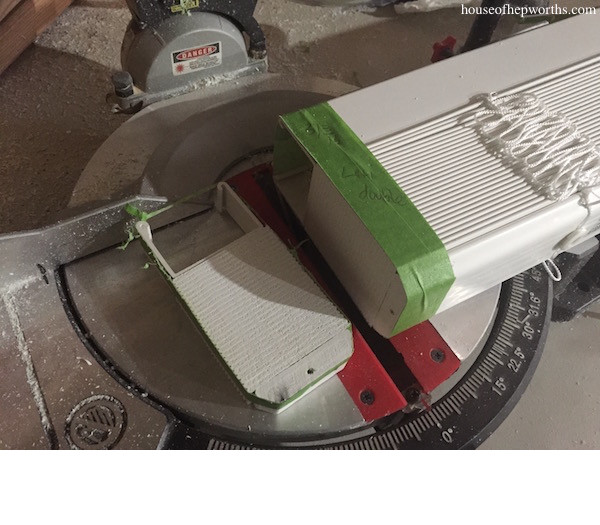
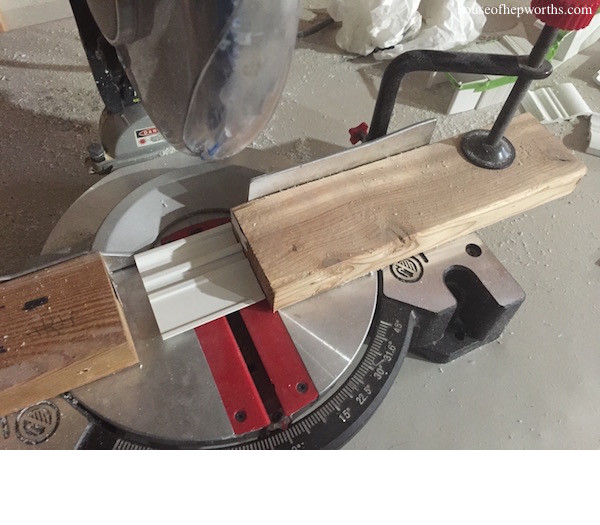
Put your blinds in your chop saw (miter saw), make sure you get it lined up exactly where you want it. Remember, when you cut, the saw blade will take away a teeny bit extra, so make sure you’ve got the blade lined up on the outside of your line. Also, MAKE SURE all your blinds strings are away from the saw. You do not want to cut any strings.
Take a deep breath. Put safety goggles on. Make sure your fingers aren’t anywhere near the blade! Breathe in. Aaaannd cut.
You did it! You are one step closer to custom fitted blinds! Check out this blinds slice. I geek out every time over how cute it is. I’ve yet to come up with a craft using all these little rectangle blinds leftovers. I haven’t given up hope yet though!
Once you have your blinds cut, take all the tape off and make sure they fit perfectly. If they are still too big, bummer but you have to retape them and trim more off. If they are too small, that sucks. So make sure you don’t cut them too small!
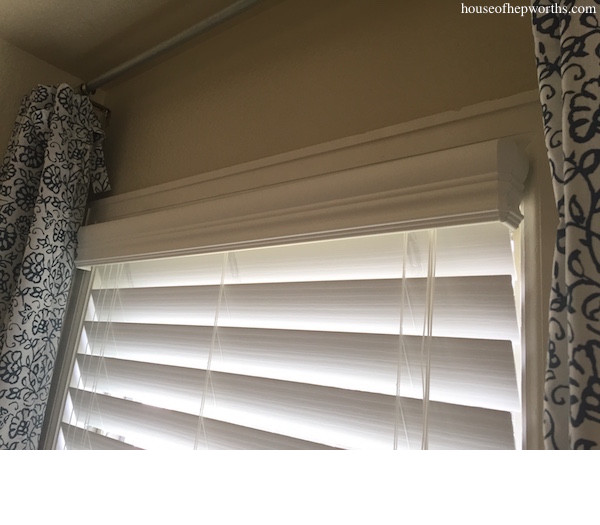
Now it’s time to cut the valance. Instead of measuring from inside the brackets, you measure from the outside of the brackets. This will allow it to cover the blinds and the brackets.

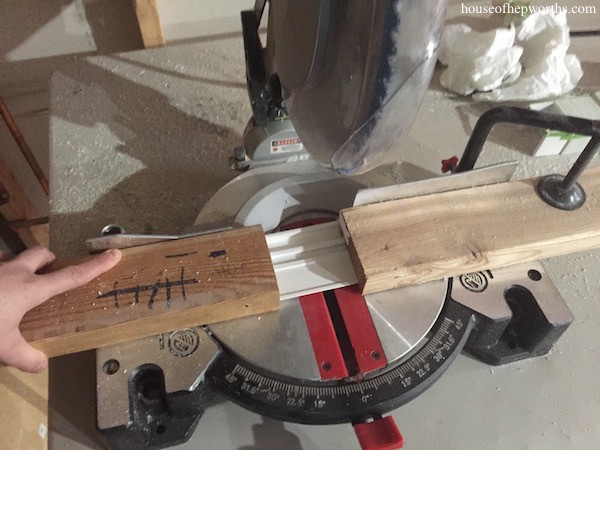
If for some reason you need to have your valance wrap around, the kit should have come with those parts. My windows are weird and my blinds hang out from the window about 1″, so I needed to trim the side pieces down to 1″ wide. I’m not sticking my fingers near a miter saw while I’m cutting, and cutting 1″ is a little too close for comfort. To remedy this, set up a 2×4 exactly where I needed to cut the small valance piece.
I used a 2nd 2×4 to push the small piece into place and hold it while I cut. Now my hands aren’t near the saw.
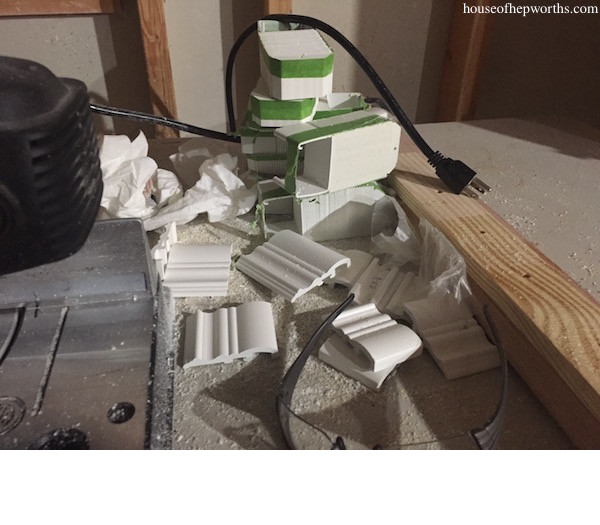
Lots of blinds and trimming creates a fun pile of blinds trash:
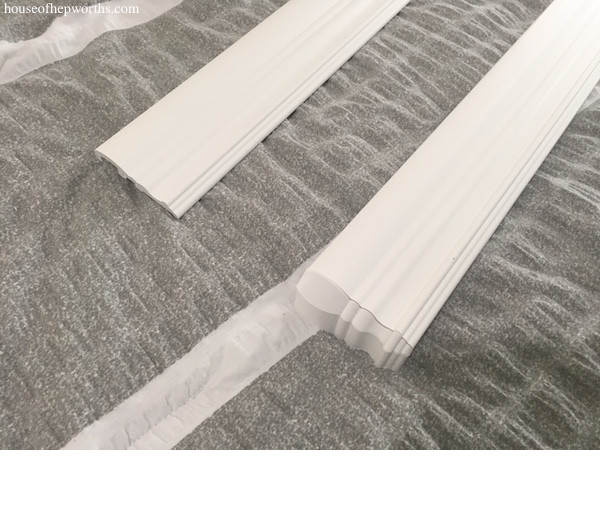
To assemble a wrap around valance, use the little corner pieces the blinds came with and attach the side pieces. Remember, I cut my side pieces down to 1″.
Basic valance vs. wrap valance. It all depends on what type of window you have.
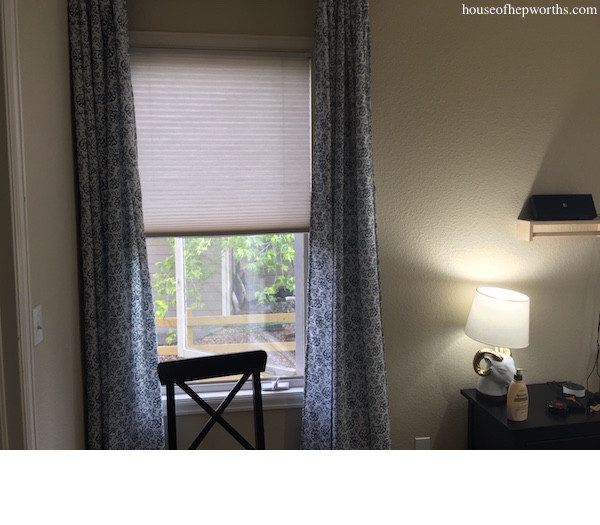
Want to see the finished blinds? Me too!
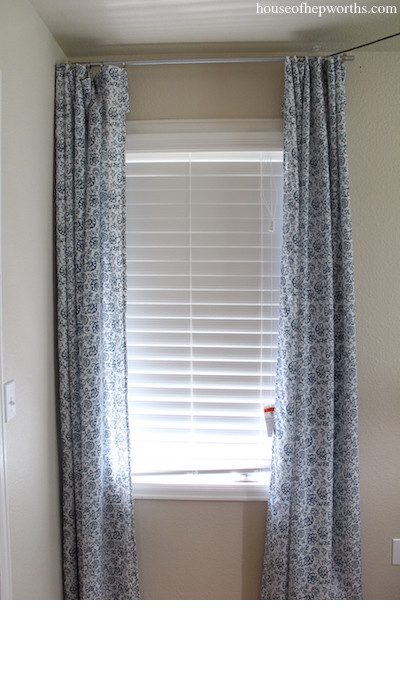

Photographing windows on a sunny day is hard. Sorry for the weird lighting! Here’s the small window again:
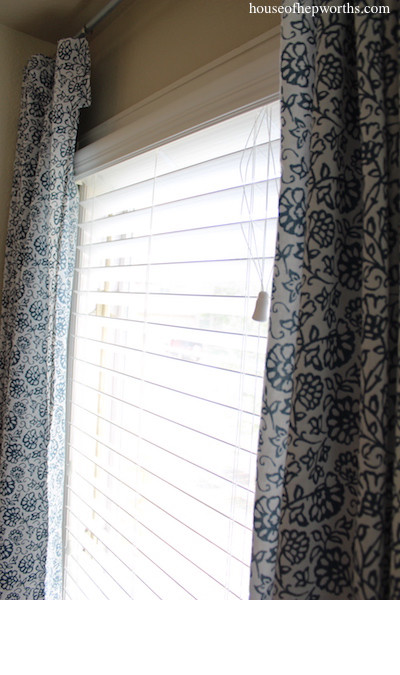
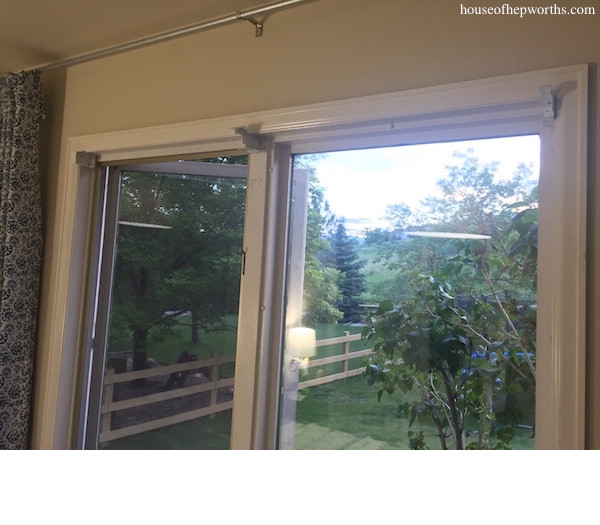
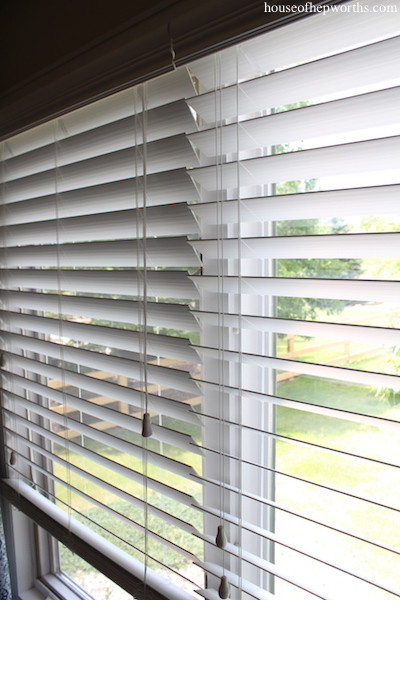
And here are the double blinds again:
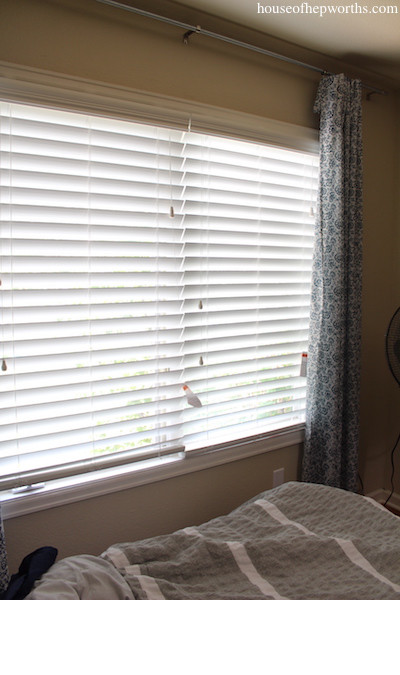
I like that I can open only half the blinds if I want. Also, having two smaller sets makes them easier to open because the really wide blinds can get heavy. Also, please pardon my messed up drapes. Our cat will not stop tugging on them! It’s a game now for him, like a ball of yarn.
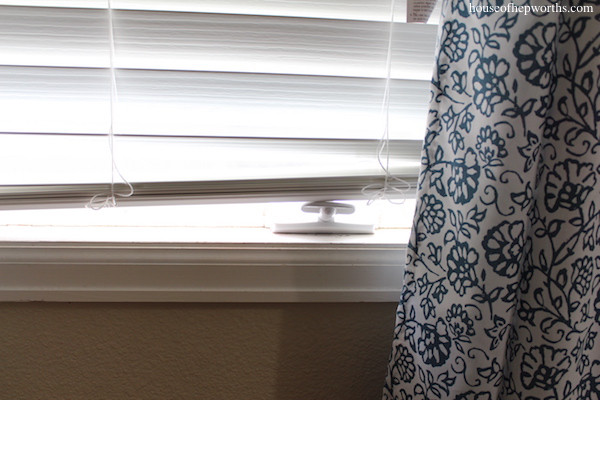
In case you are wondering why the blinds don’t sit flat inside the window sill…
Each window has a crank on it. They drive me crazy. Some day, when I win the lottery, I’m going to put in all new windows that slide open.
There you have it, my friends! How to cut faux wood blinds for a custom fit. I hope you enjoyed this tutorial today!
Thanks for reading! Have a wonderful week!

*this post may contain affiliate links
Very, very nice! And thanks for not fixing the cat arranged curtains, and styling the daisies out of the room, and making the rest of the world feel like worms for not having perfect going on all day everywhere. Really! Looks GREAT!
Haha any time! There’s no way I could even pretend to have a picture perfect house!
How are these with light blocking? We’ve been considering them for our bedroom, but I don’t want to cut them to fit and then realize they aren’t what we hoped. Great job! Love the look! 🙂
They are 10x better than the cloth honeycomb ones that were in there previously, but they don’t make the room pitch black either. They do a pretty great job. If you want a black room I’d advise hanging light-blocking curtains also.
I don’t know where you come up with this stuff, Allison. You continue to impress me on a daily basis.
Sooo excited! I JUST came home with new in the box faux wood blinds from a discount house for 5 dollars apiece!!! I just knew someone online would teach me how to trim these myself and viola, I found you!! Thanks so much I can’t wait to get to work!
What type/size miter blade did you use?
My saw came with a 24 tooth, 10inch “wood” blade – will that work?
Any information on this would be greatly appreciated – thanks for the great tutorial!
I used the standard blade that came with my Titan Mitre saw with great results. It’s good for most materials from what I’ve read
Great tutorial! I have the same question as Jason regarding the blade that you used. Bought name brand, in sealed boxes blinds. 3 for $30! Don’t want to screw this up!
Thanks for sharing such a great information.. It really helpful to me..I always search to read the quality content and finally i found this in you post. keep it up!
If you build a birdhouse, all those pieces you cut off can be shingles on the roof.
What type of blade did you use on the miter saw.
Thanks for this, it gave me the courage to try it. Because of COVID, none of the big box stores are cutting blinds,wood etc. They turned out perfect, but I wouldn’t have dared try it if not for your tutorial. Thank You!
Don’t ever consider cutting faux wood blinds for the sake of a custom fit yourself. Instead, have an expert or someone experienced to do it. It can get really tricky, as I found out as well. Then you’ll just end up ruining it all, really.
Just wondering if you can sand faux blinds. Halfway down my window they are hitting side. Not sure what is happening. Just needs a little bit off,so wondering if I could sand them . Thanks