Hi friends! I hope you are having a fabulous summer. We’ve been so busy this summer, and I just realized school starts in less than 4 weeks. I’m kinda sad about it. It’s so fun having my kids around all day, and also not having to follow a strict schedule.
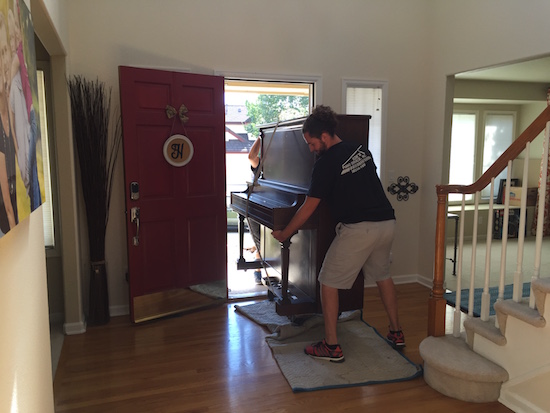
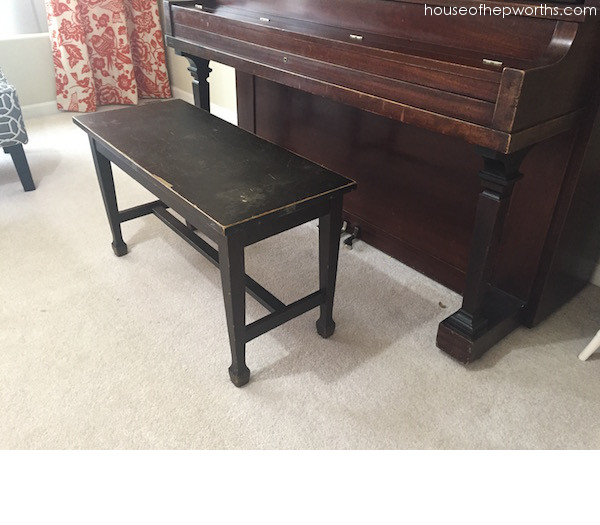
Last year we bought a piano. It has pretty much become the staple item in our house. We all play, and all of my son’s drumline friends play, so it gets used daily as a minimum.
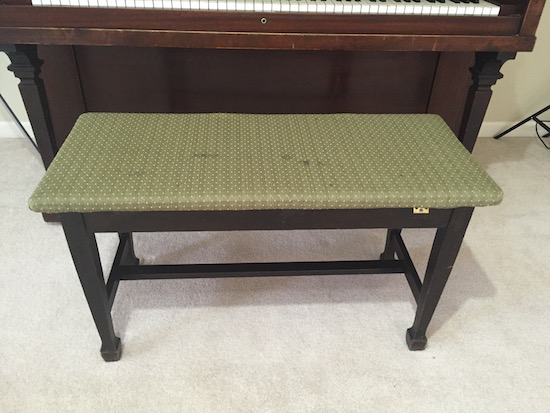
I also added a new layer of fabric to the bench:
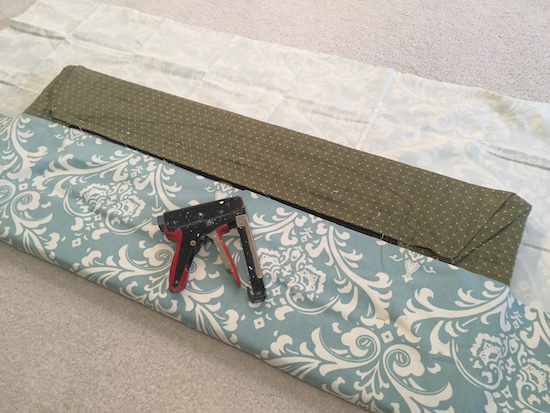
Most of you liked the new fabric, but a few of you commented that it was gross that I didn’t remove the old fabric first. You are probably right, but I just wanted to get some fabric on the bench quickly.
Well, since then the top of the bench has never been attached. Yup, it just sat on top of the frame and would fall off occasionally. I finally got annoyed enough that I bought the parts to attach the bench top to the bench frame.
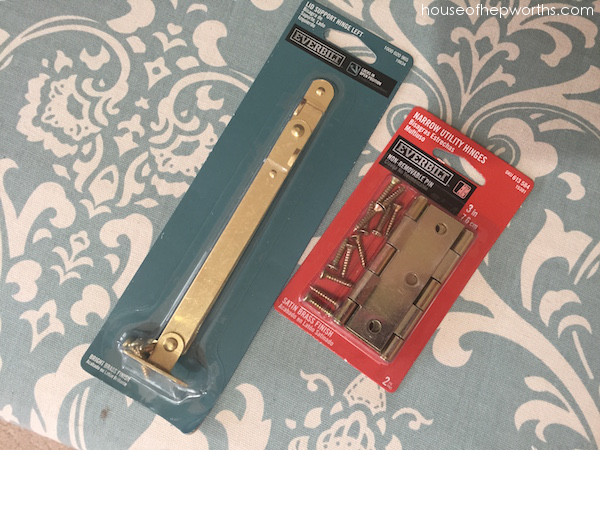
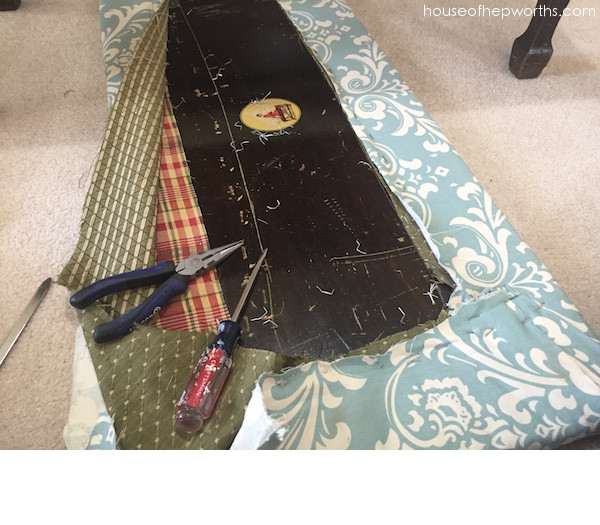
To add the new hardware I first had to remove all the old broken hardware.
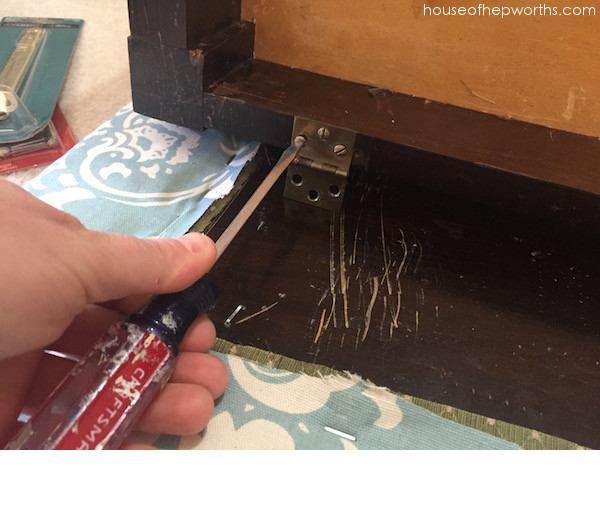
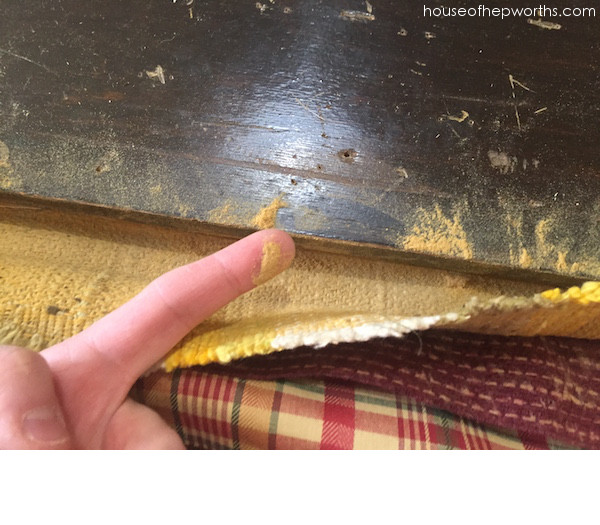
To attach the new hinges, I quickly realized there were way too many layers of fabric in the way, so I decided to just remove all the fabric once and for all and start fresh. I started pulling each layer of fabric off by removing the staples with a flat-head screwdriver and a pair of needle-nose pliers.
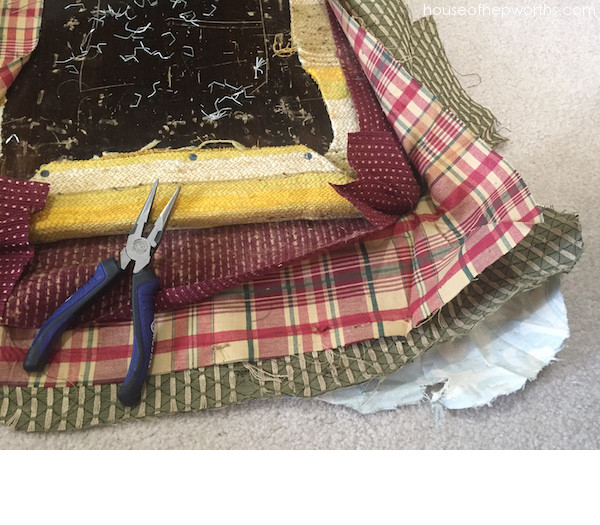
Layer, after layer, after layer, after layer, after layer… I felt like Pee-Wee during the basement scene (…and knitting and knitting and knitting and knitting…) (fast forward to 2:27)
I ended up removing 5 layers of fabric and a totally rotted out piece of felt. Barf!

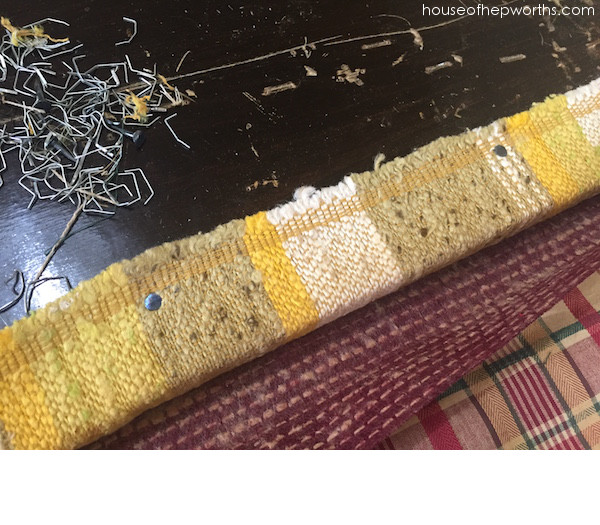
The final piece of fabric must have been the original because it was held on with little tiny nails instead of staples.
When I peeled it back, it revealed a layer of disgusting powder, probably a mixture of dirt and rotting fabric and felt.
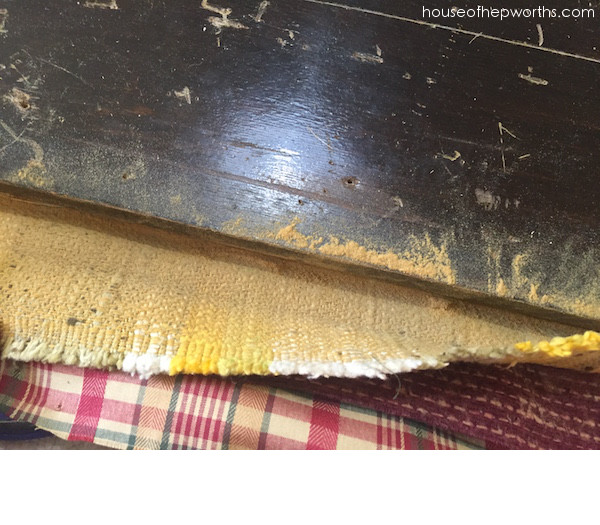
I probably will end up with lung cancer at some point in my life just from breathing this crap into my lungs. I should have worn a mask!
Once I got all the fabric thrown away, the powder vacuumed up, and everything wiped down with both a swiffer and a lysol wipe, it was finally time to attach the new hinges.
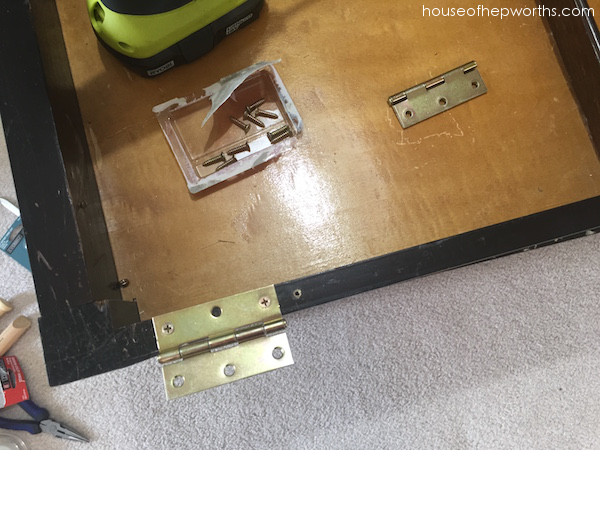
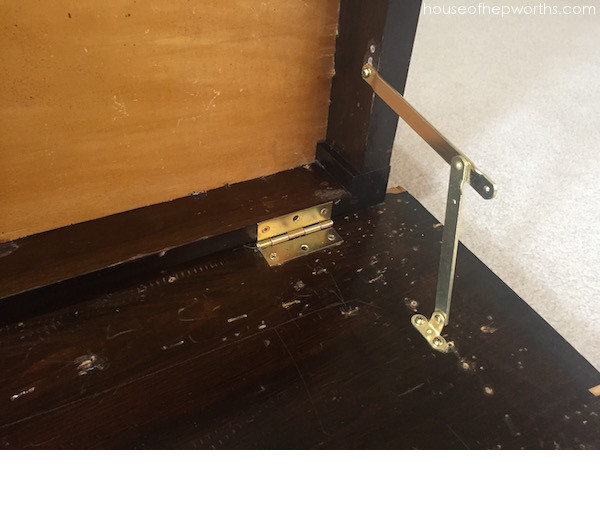
The hinges were easy to attach. The lid support hinge was another story. That thing was hard to attach and get to close properly. I did succeed finally. Victory!

As much of a pain as the hinge was, it works great now. Glad I forged ahead and didn’t rage quit the hinge.
Here’s the bench, all de-fabric’d and hinged up. It actually stays open.
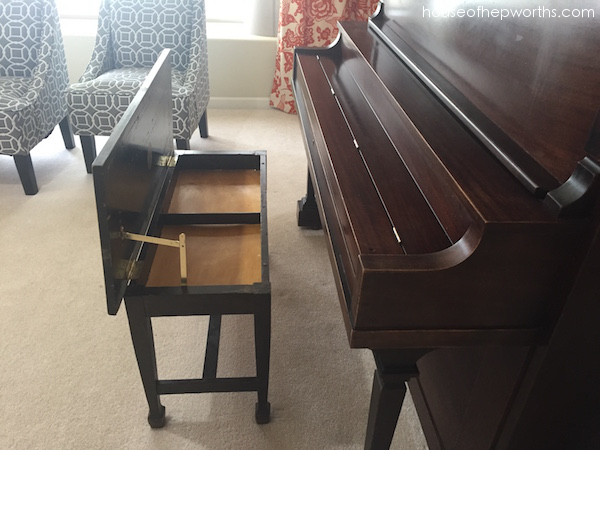
Aside from the color of the bench being slightly different than the piano, I actually like it now much better than with the fabric.
I guess the next step in the piano and bench story would be to refinish the entire thing, but that is quite an ordeal so I may or may not ever achieve that. No matter, this piano brings great daily joy to our home.
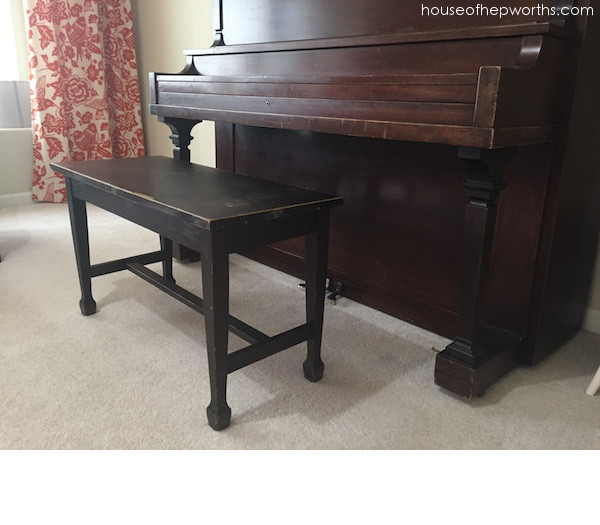
Here’s the before:
And here’s after:
Thanks for reading! Have a wonderful week!

I recently got my childhood piano from my parents and while I’m itching to make it over, I’m terrified of screwing up. I can’t wait til you redo your piano so I can take all your tips. 😉
It looks so good!
Great make under! 🙂