The huge whole-house renovation continues! We’ve had to do so much work just to get to a place where we can even begin to think about refinishing the floors. Honestly, it’s crazy and overwhelming how much work needed to be done just to be able to refinish the floors. Like, weeks of hard work. If you are just now jumping in on this renovation journey, you can catch up here first:
Let the whole-house renovations begin!
Just click the above link and start reading! Make sure to grab some popcorn before you begin. At the end of each post will be a link to read the following post.
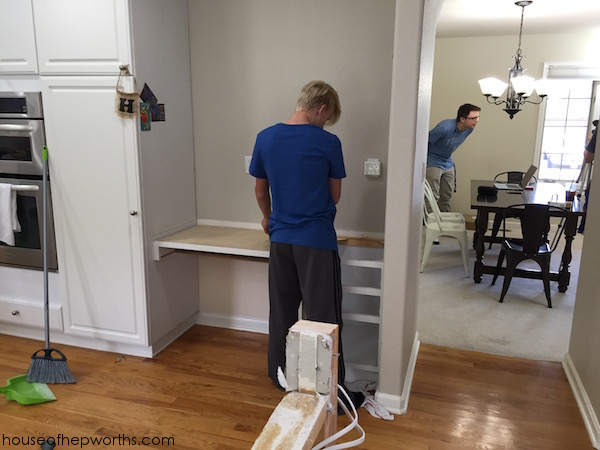
Okay, so today I’m going to talk about the rest of the work we did to prep the house to have the floors refinished. After we tore out the half-wall, demo’d the huge brick fireplace, and completely reworked the staircase, it was time to gut the kitchen. We waited until the last minute on this one because, duh!, we need a kitchen and wanted to eek that out until the last second.
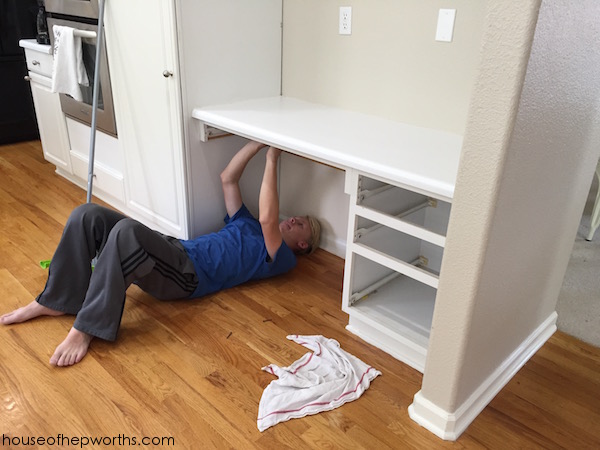
Travis was more than happy to get to demolish the kitchen. Honestly, I think most people are more than happy to get to demolish something. What is it with taking a sledgehammer to something that is so satisfying?
We rented a big ass dumpster for a week. It snowed that week. Lots of fun demolishing a kitchen and carrying cabinets outside while snowing. Kidding, obvs.

Because of the snow and the time crunch to finish before the flooring company came, I pretty much broke blogging rule number one and didn’t take any pictures. At all. None. Zilch. And trust me, I searched for those nonexistent pictures. They do not exist. I am so disappointed in myself. BUT! But don’t fret. I do have lots of gutted pictures.
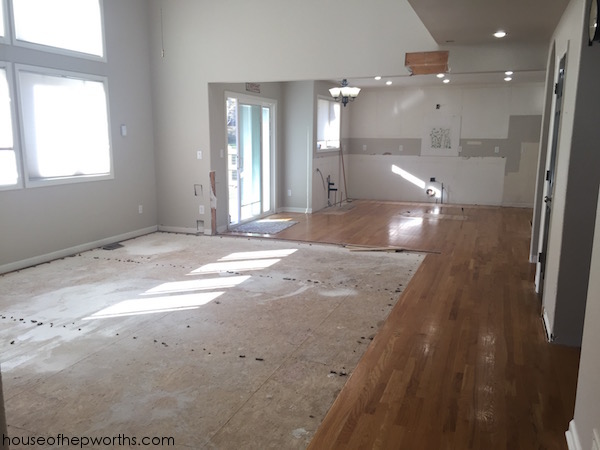
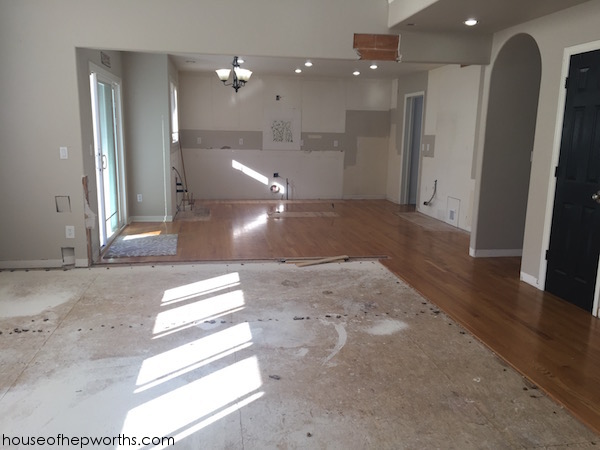
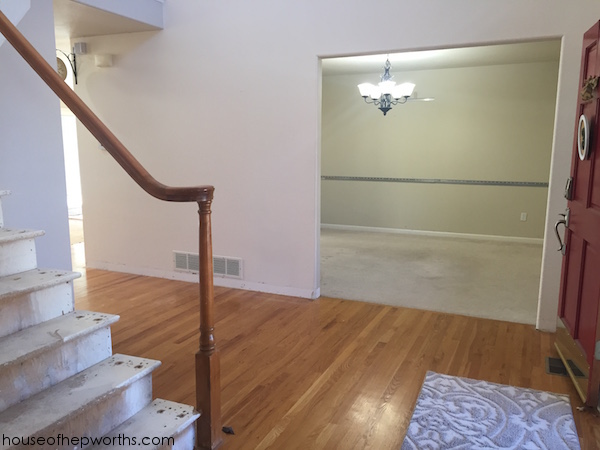
Isn’t this fun? I’m digging the crazy paint. With that wall gone, the carpet torn out, and no kitchen cabinets the house feels so huge and echo-y. In a good way.

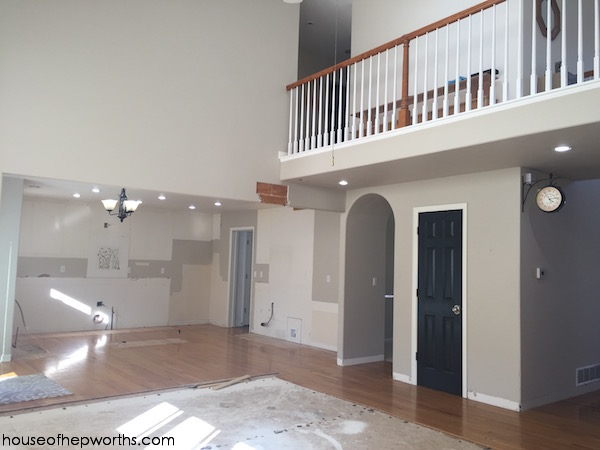
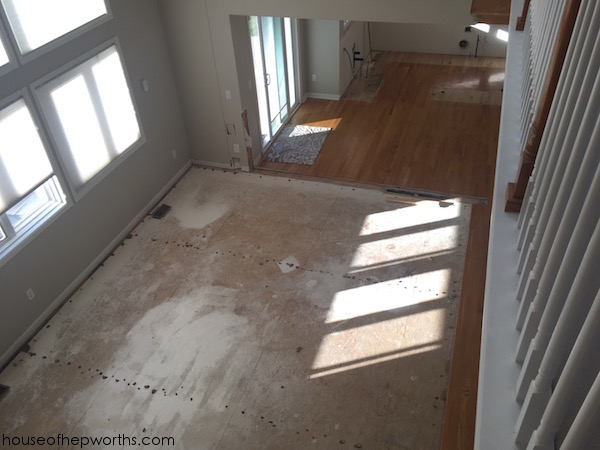
Any carpet on the main level is gonzo. It will all be wood, including the dining room. As you can see we removed the ikea cabinets in our dining room that we hung a few years ago. We are going to move them into our new board game room (formally known as the piano room or formal living room).
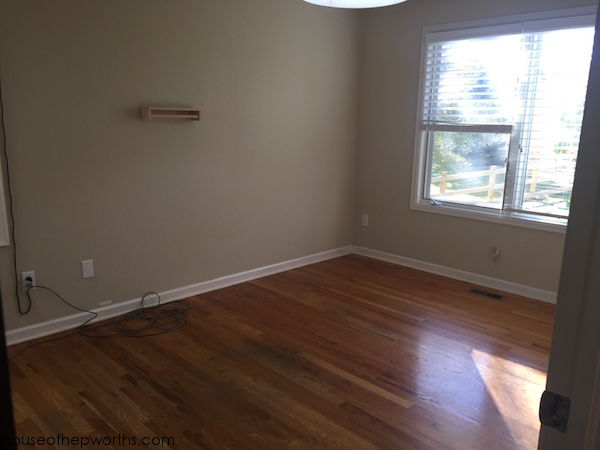
And here’s my empty office. We had to basically MOVE OUT of our house. We packed everything up and took pictures off the walls. We had to completely pack everything up because refinishing the floors will create a dust storm like you wouldn’t believe.
Where is all our stuff? Well, the big stuff is in our garage and everything else is in our basement.
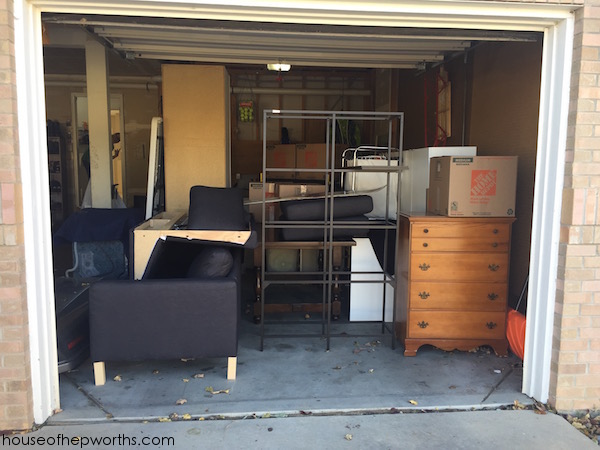
So now that we are without a kitchen and we’ve had to completely move out of our first floor, we are living in our basement and the second floor. Also, we have a kitchen set up in our garage. Super classy. That’s how we roll.
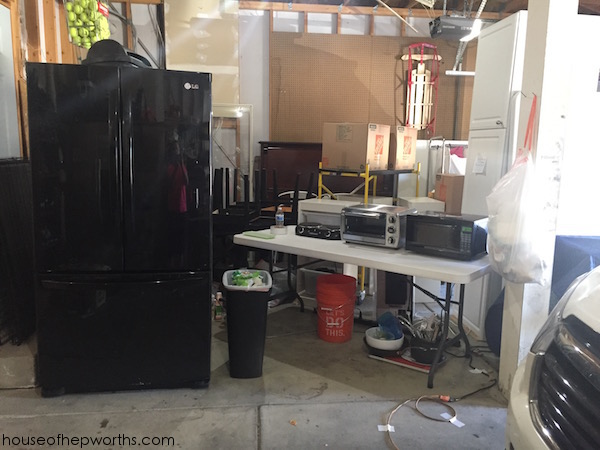
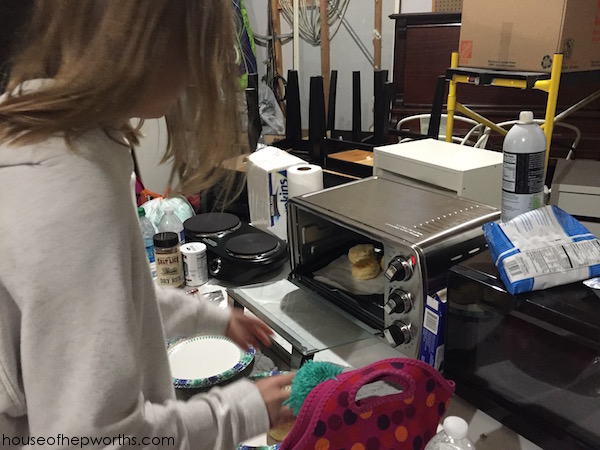
We’ve got our refrigerator, a burner, toaster oven, and a microwave. It’s a decent little setup. Kinsey’s making herself some biscuits.
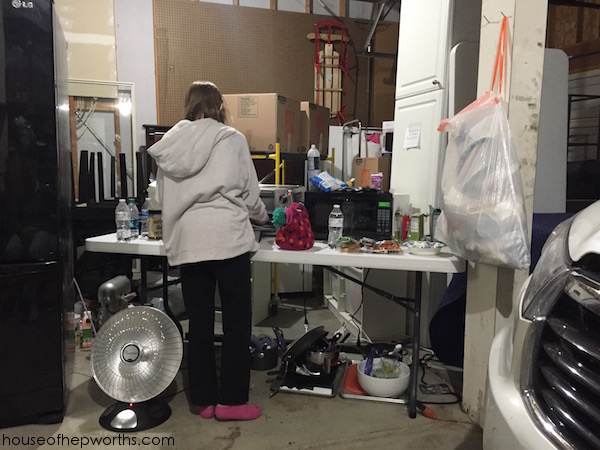
Fully functional, albeit it super trashy, make-shift kitchen in our garage. I wouldn’t recommend that burner to my worst enemy (we ended up returning it), but the toaster oven (from Costco) and the microwave (from Wal-mart) were decent enough.
WE ARE NOW READY TO START OUR FLOORS. Can you tell I’m excited?! Next post guys. All about the floors.
Thanks for reading! Have a wonderful week!

Ahhhhg! What a cliffhanger! Can’t wait to see the floors.
What more do you need than a toaster oven and microwave. lol
True!
OMG! I LOVE your house transformation blog…LOVE! Are you going to post completed project pics? Oh, please!
Yes, I’m working on that post!
Just curious what you did with the air return vents after you took down that half wall and had the hardwoods installed. Do you have any pictures of the final air return vent placement / style?
wow. super cool!! wish I had the courage to renovate some rooms…glad you did! Waiting anxiously to see finished product!!! must post it of course when you get your house back!!
This blog does not have the link to the next part in the series. How can I find it?